
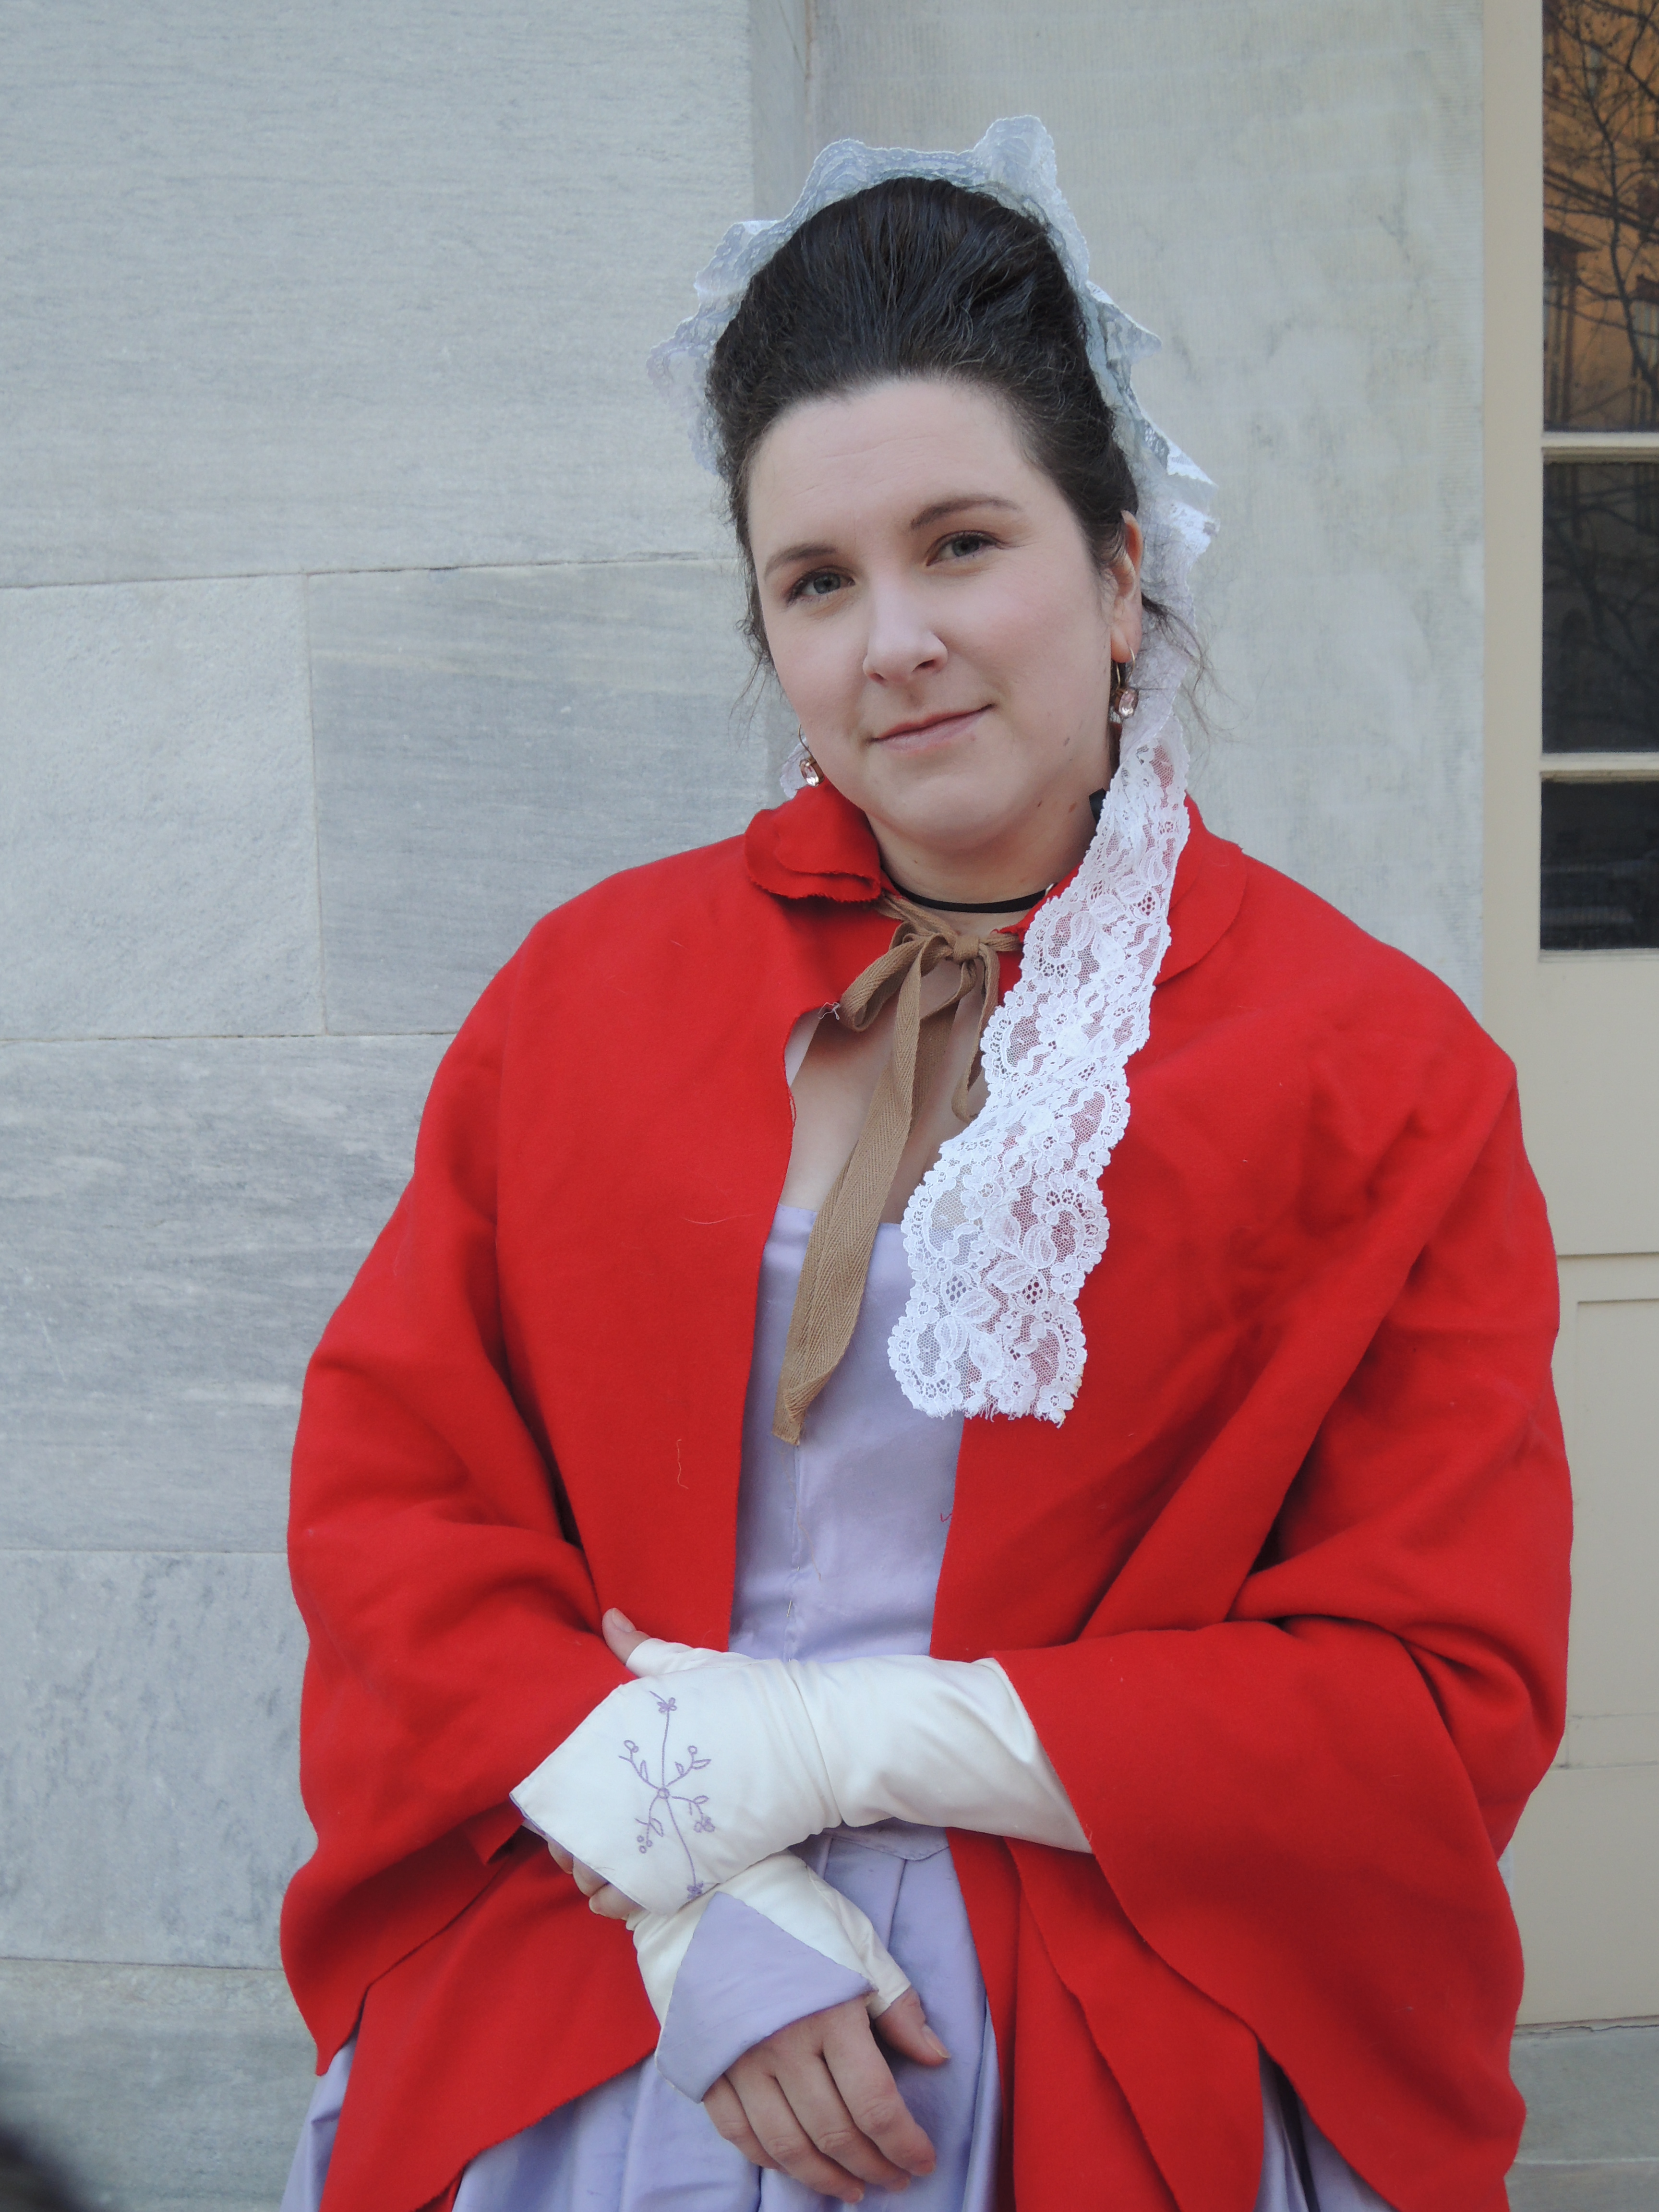
Last week the Usual Suspects and I went to the Museum of the American Revolution’s History After Dark event which promised dancing and embarrassing the Couture Courtesan into admitting she knows us (did a fantastic hand sewn polonaise gown for them for an Eliza Hamilton exhibit). It being winter in Pennsylvania the forecast was brisk and I deemed it time to get around to making the set of silk mitts I’ve been meaning to make for 25 or so years.
Patterning

I thought I might make this a sort-of tutorial, okay more like an old school dress diary for how I made them. I’ll even leave in my mistakes!
Step 1. You’ll need a few measurments
- Around the widest point of your hand
- Around your wrist
- Around your forearm
- The length you want them to be
- length from the base of your thumb to where you want your mitts to end
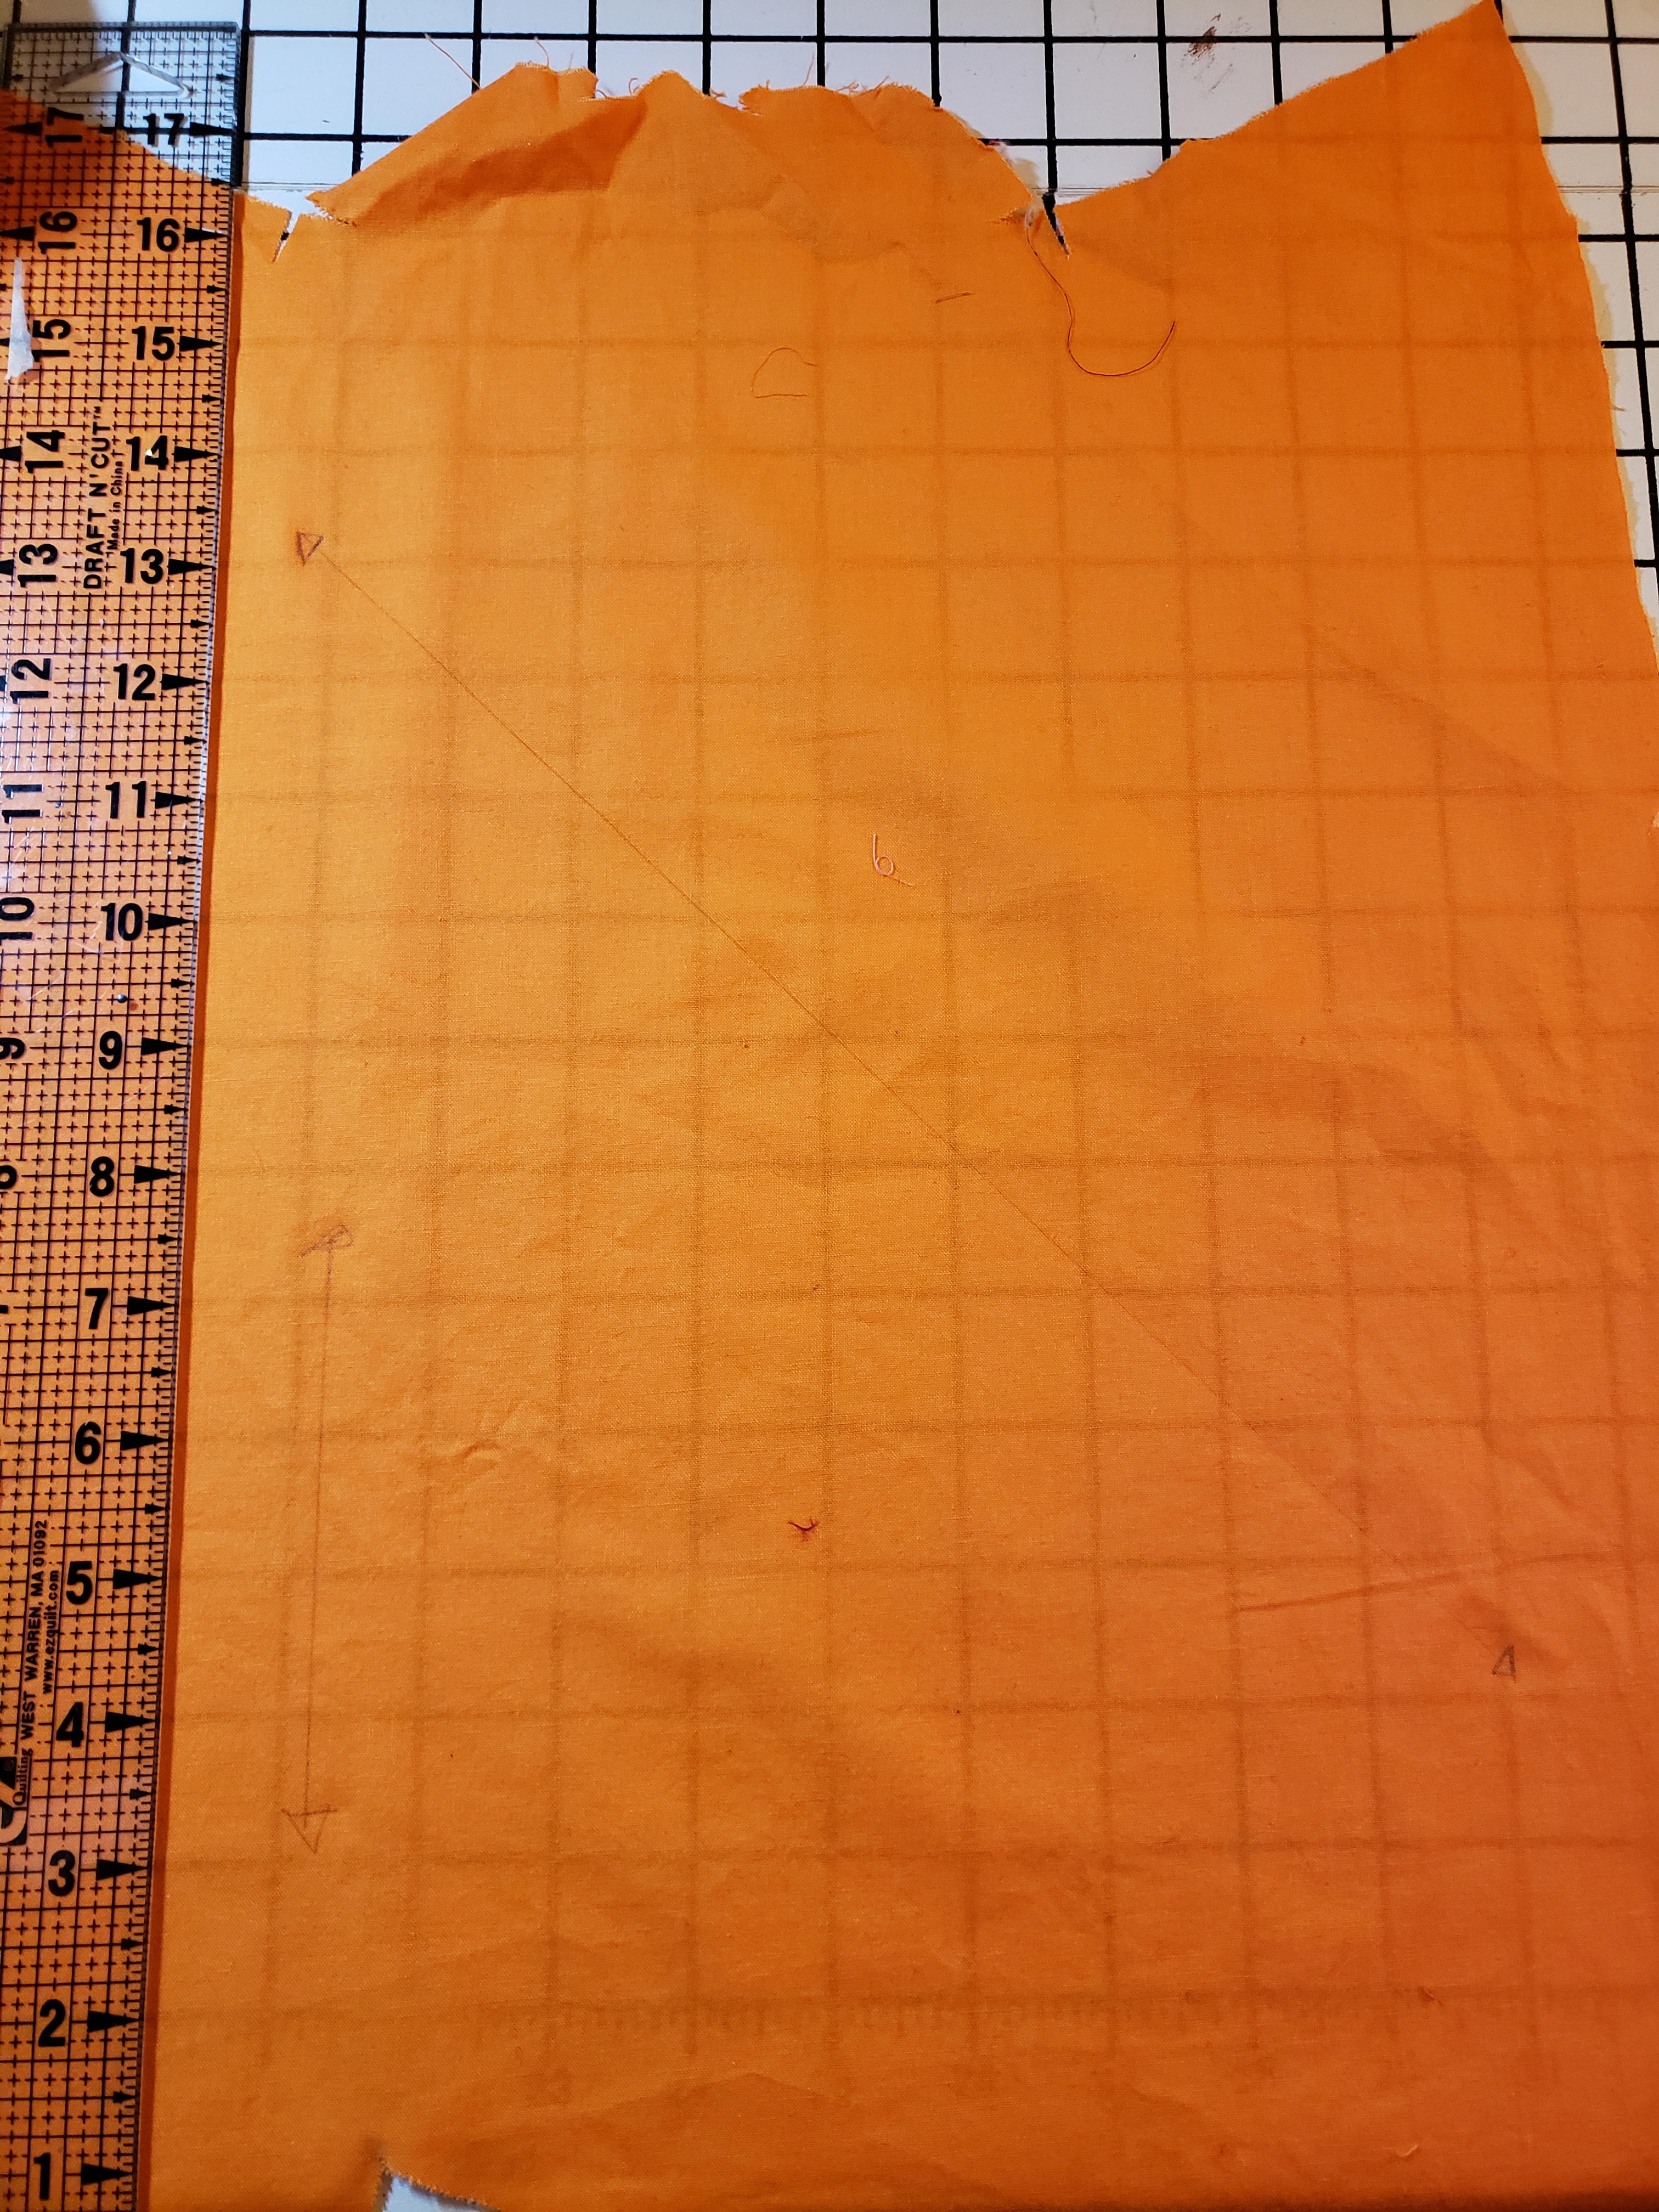
Step 2. Lets start badly patterning together! I began with scrap fabric and drew a straight line on the bias. Mitts are always cut on the bias because you need as much stretch as possible. This line will be come the point where you fold the mitts in half.
Step 3. (which is what I really SHOULD have taken a photo of) You’re going to take your earlier measurements and draw horizontal lines off your center line. You basically center your measurment on the line.
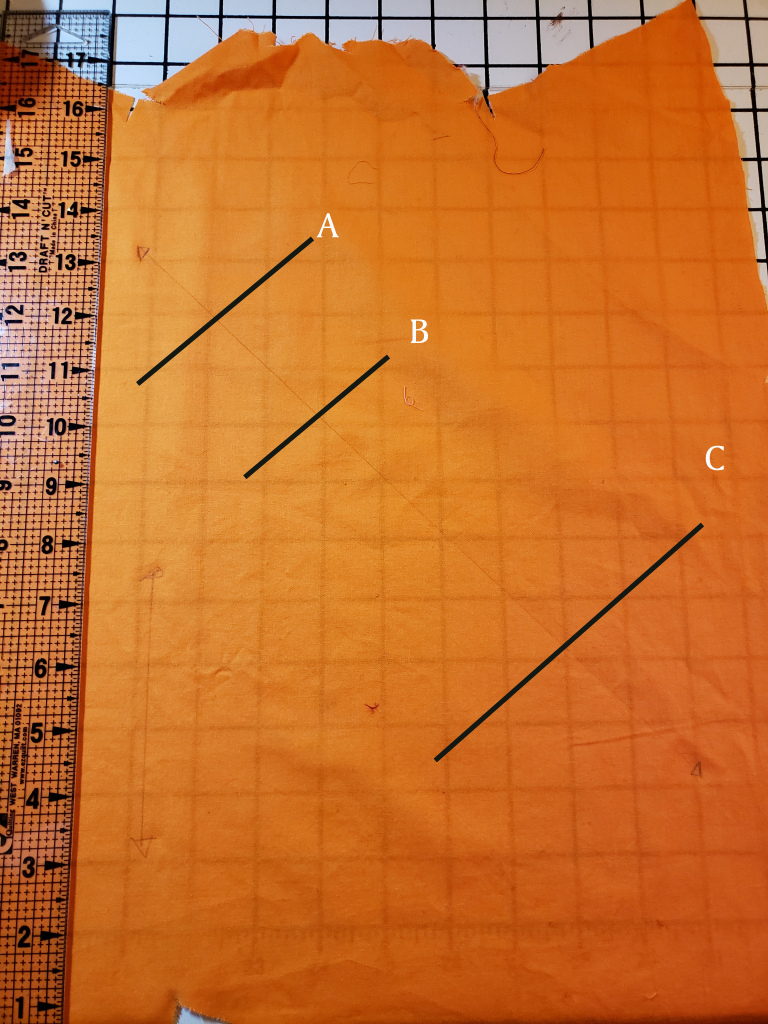
Line A is the measurment around the widest part of your hand. Line B is the measurment around you wrist and Line C is around your forearm.
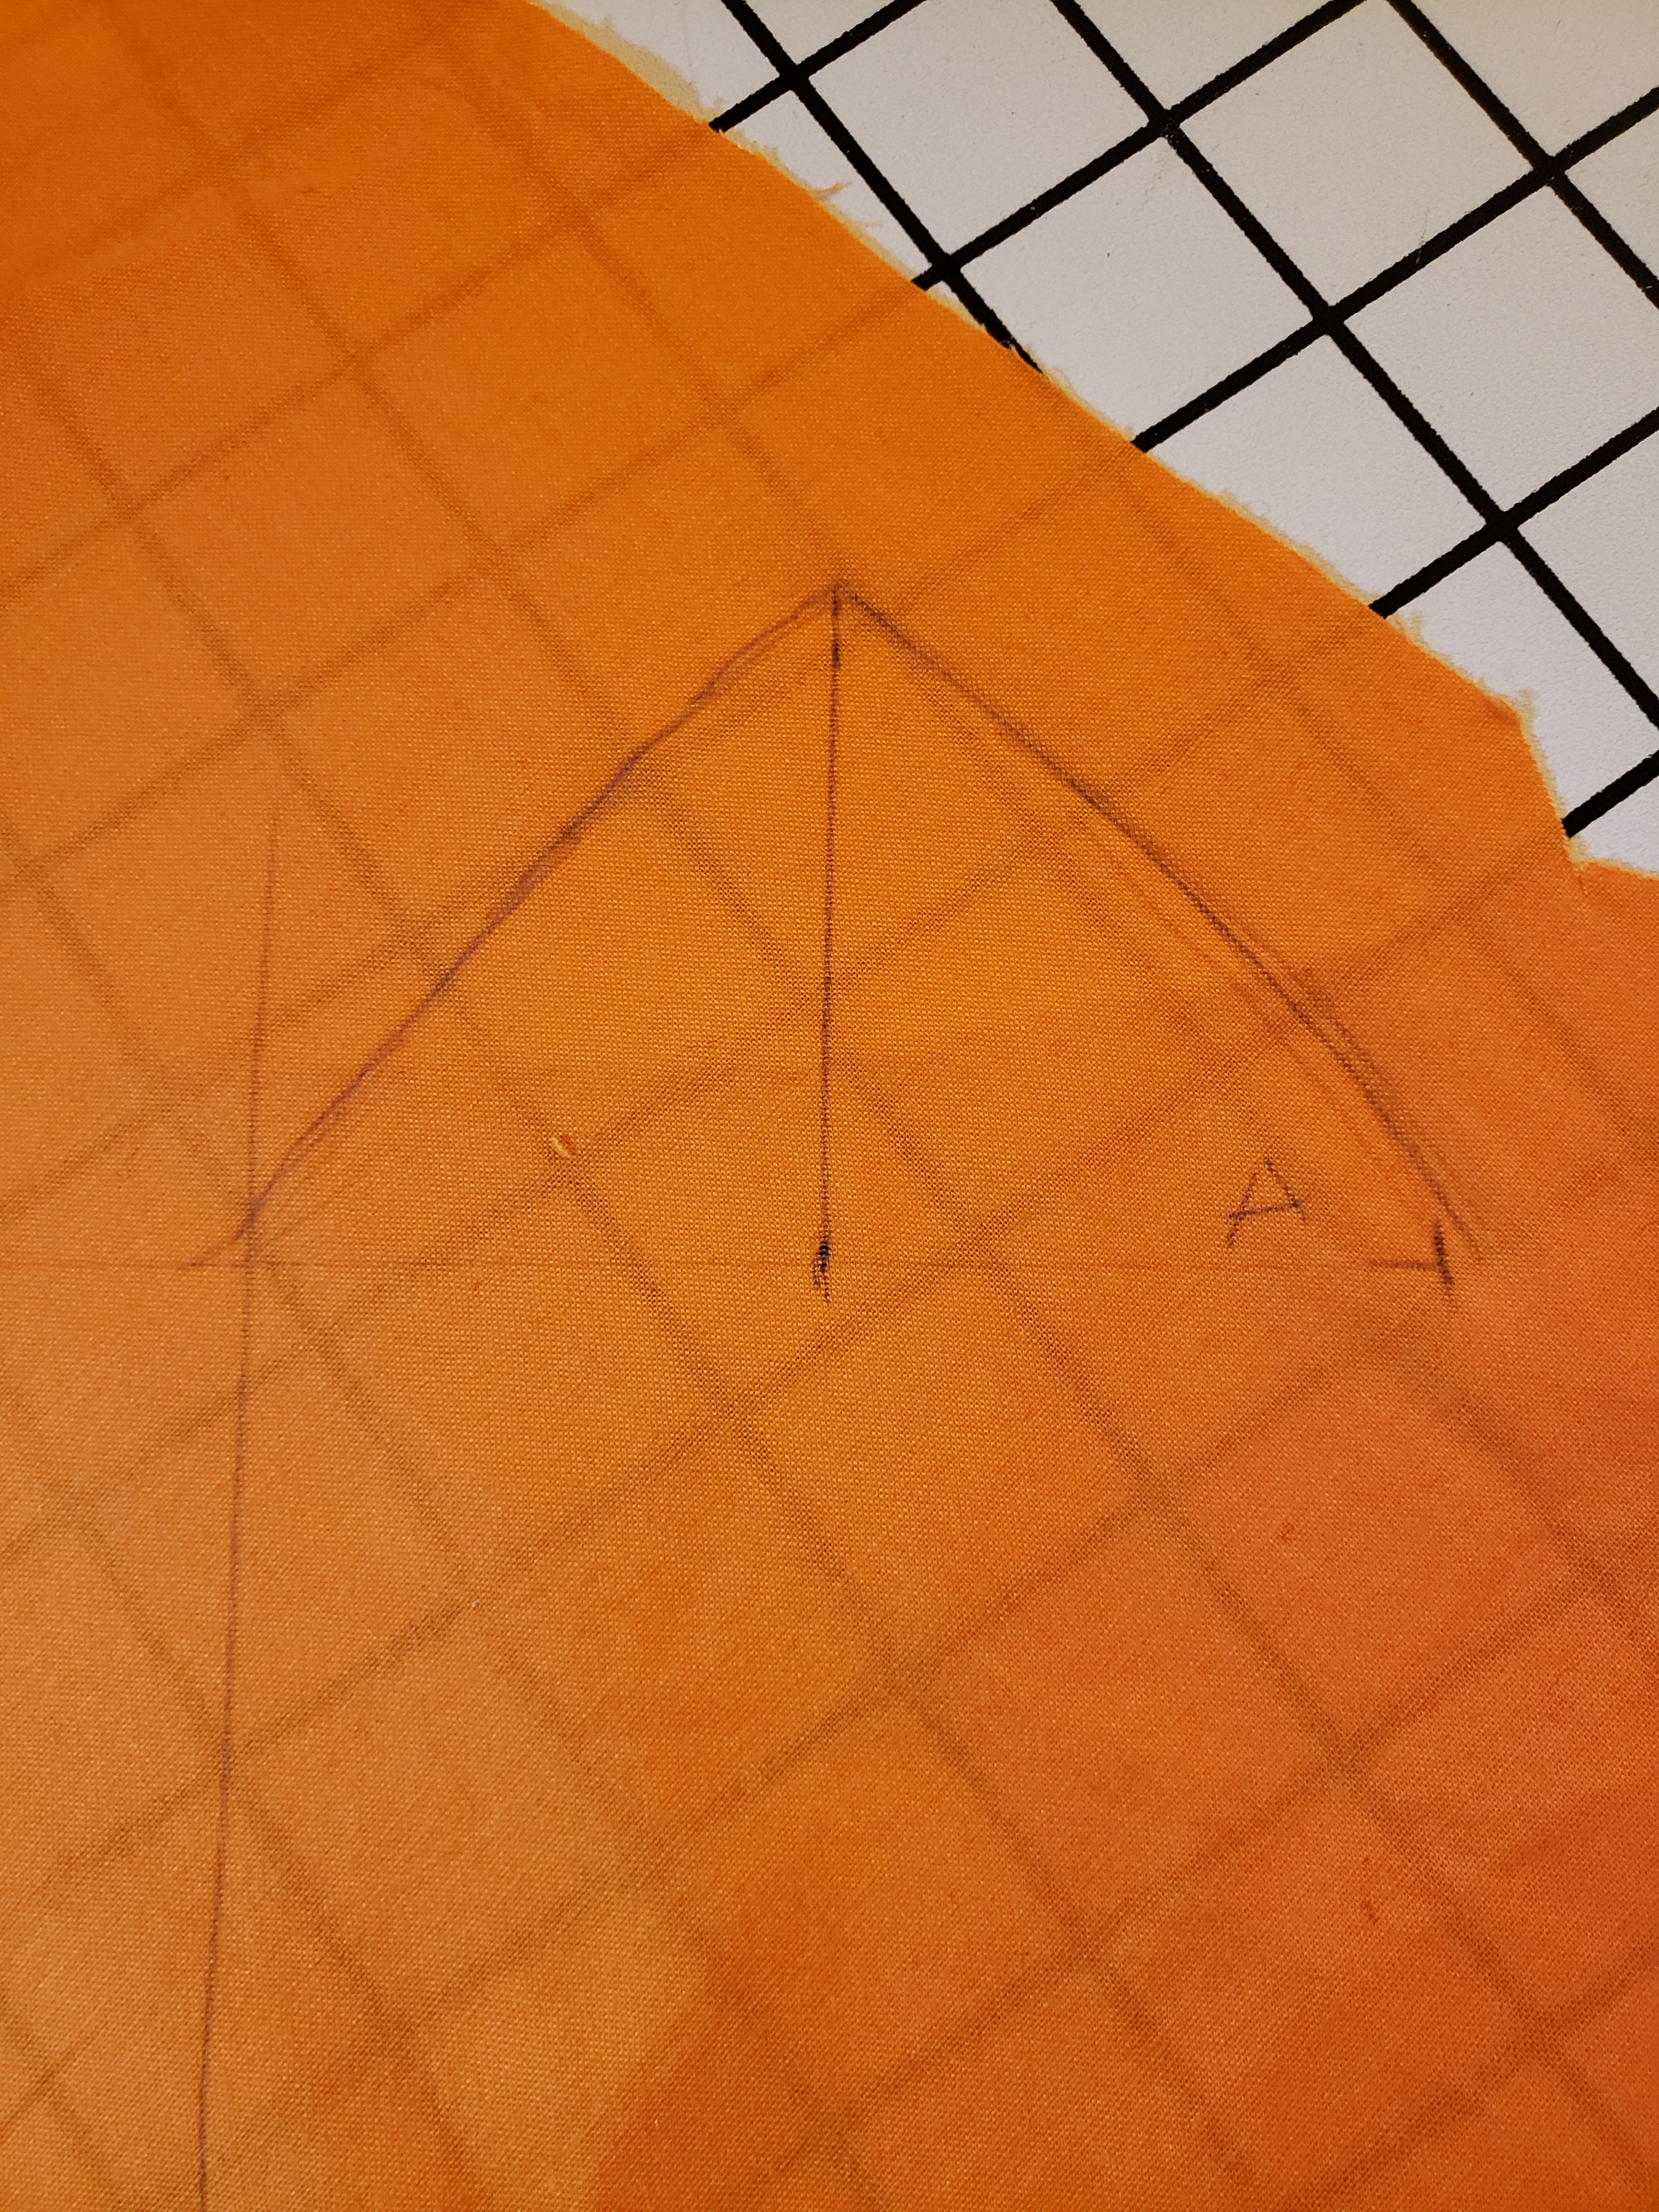
Step 4. pick one side to be the top of the mitt. I picked the right side. from the center line to the edge is the width over the top of your hand, draw on a point on that side if desired. There are examples without the point but I think it’s very elegant.
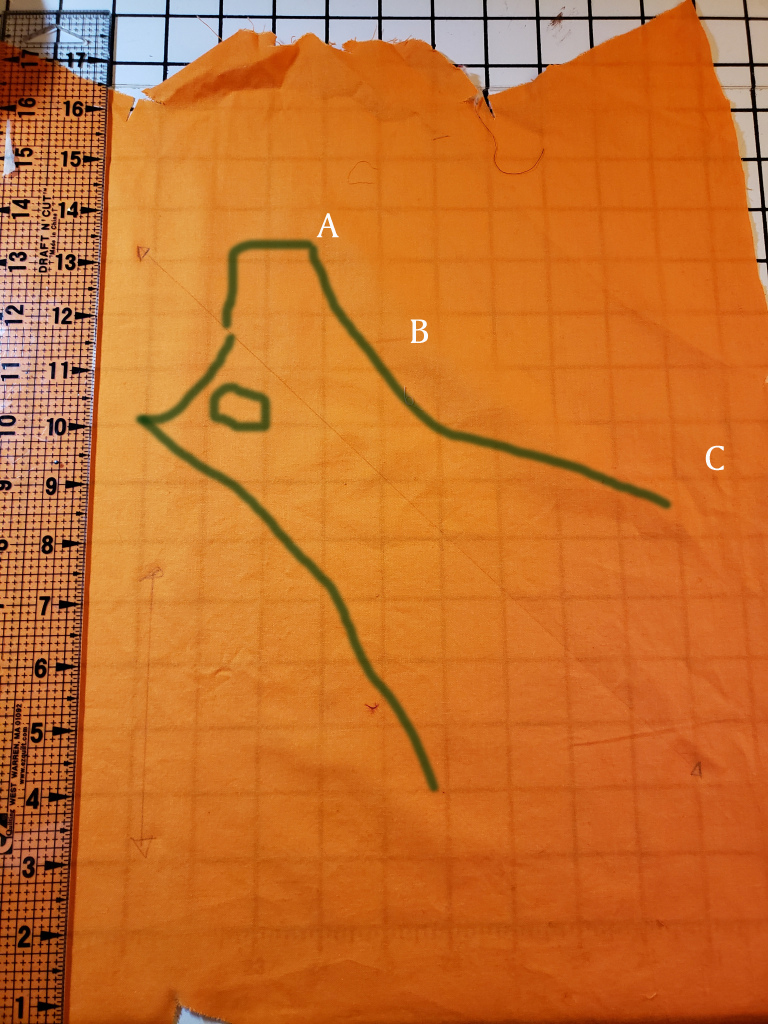
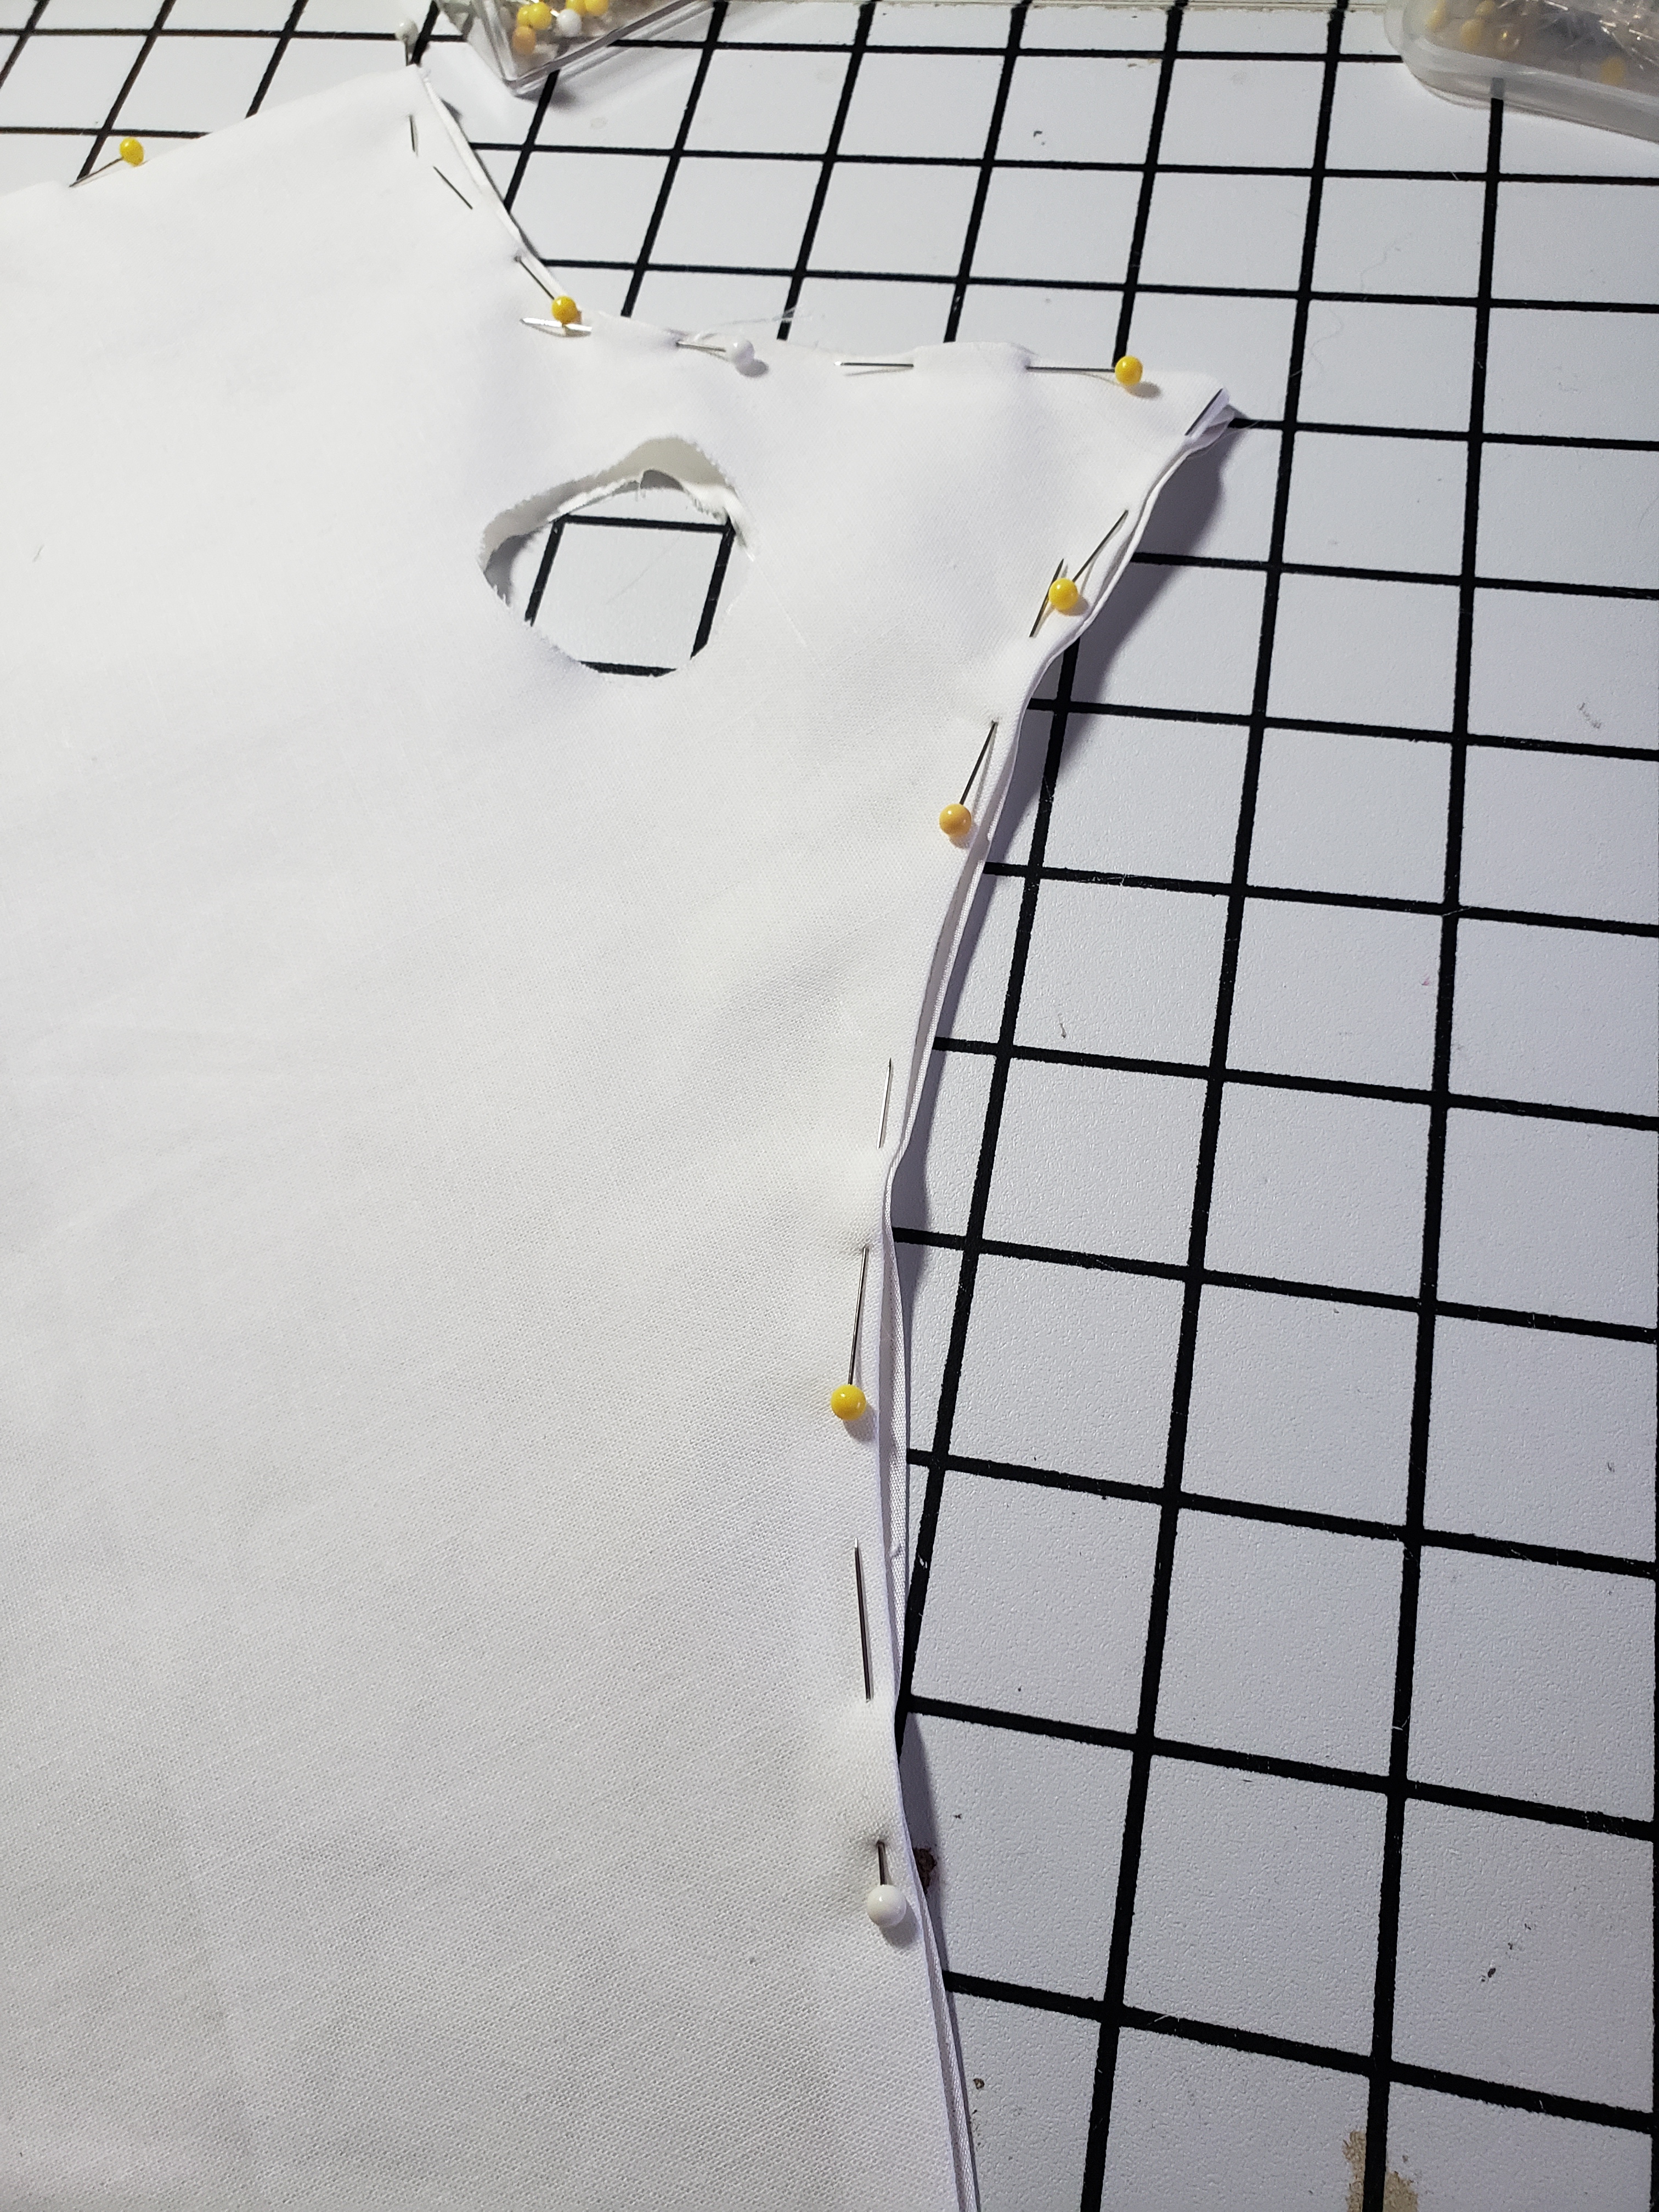
Step 5. Connect the dots for the outline. You’ll end up with an hour glass shape.
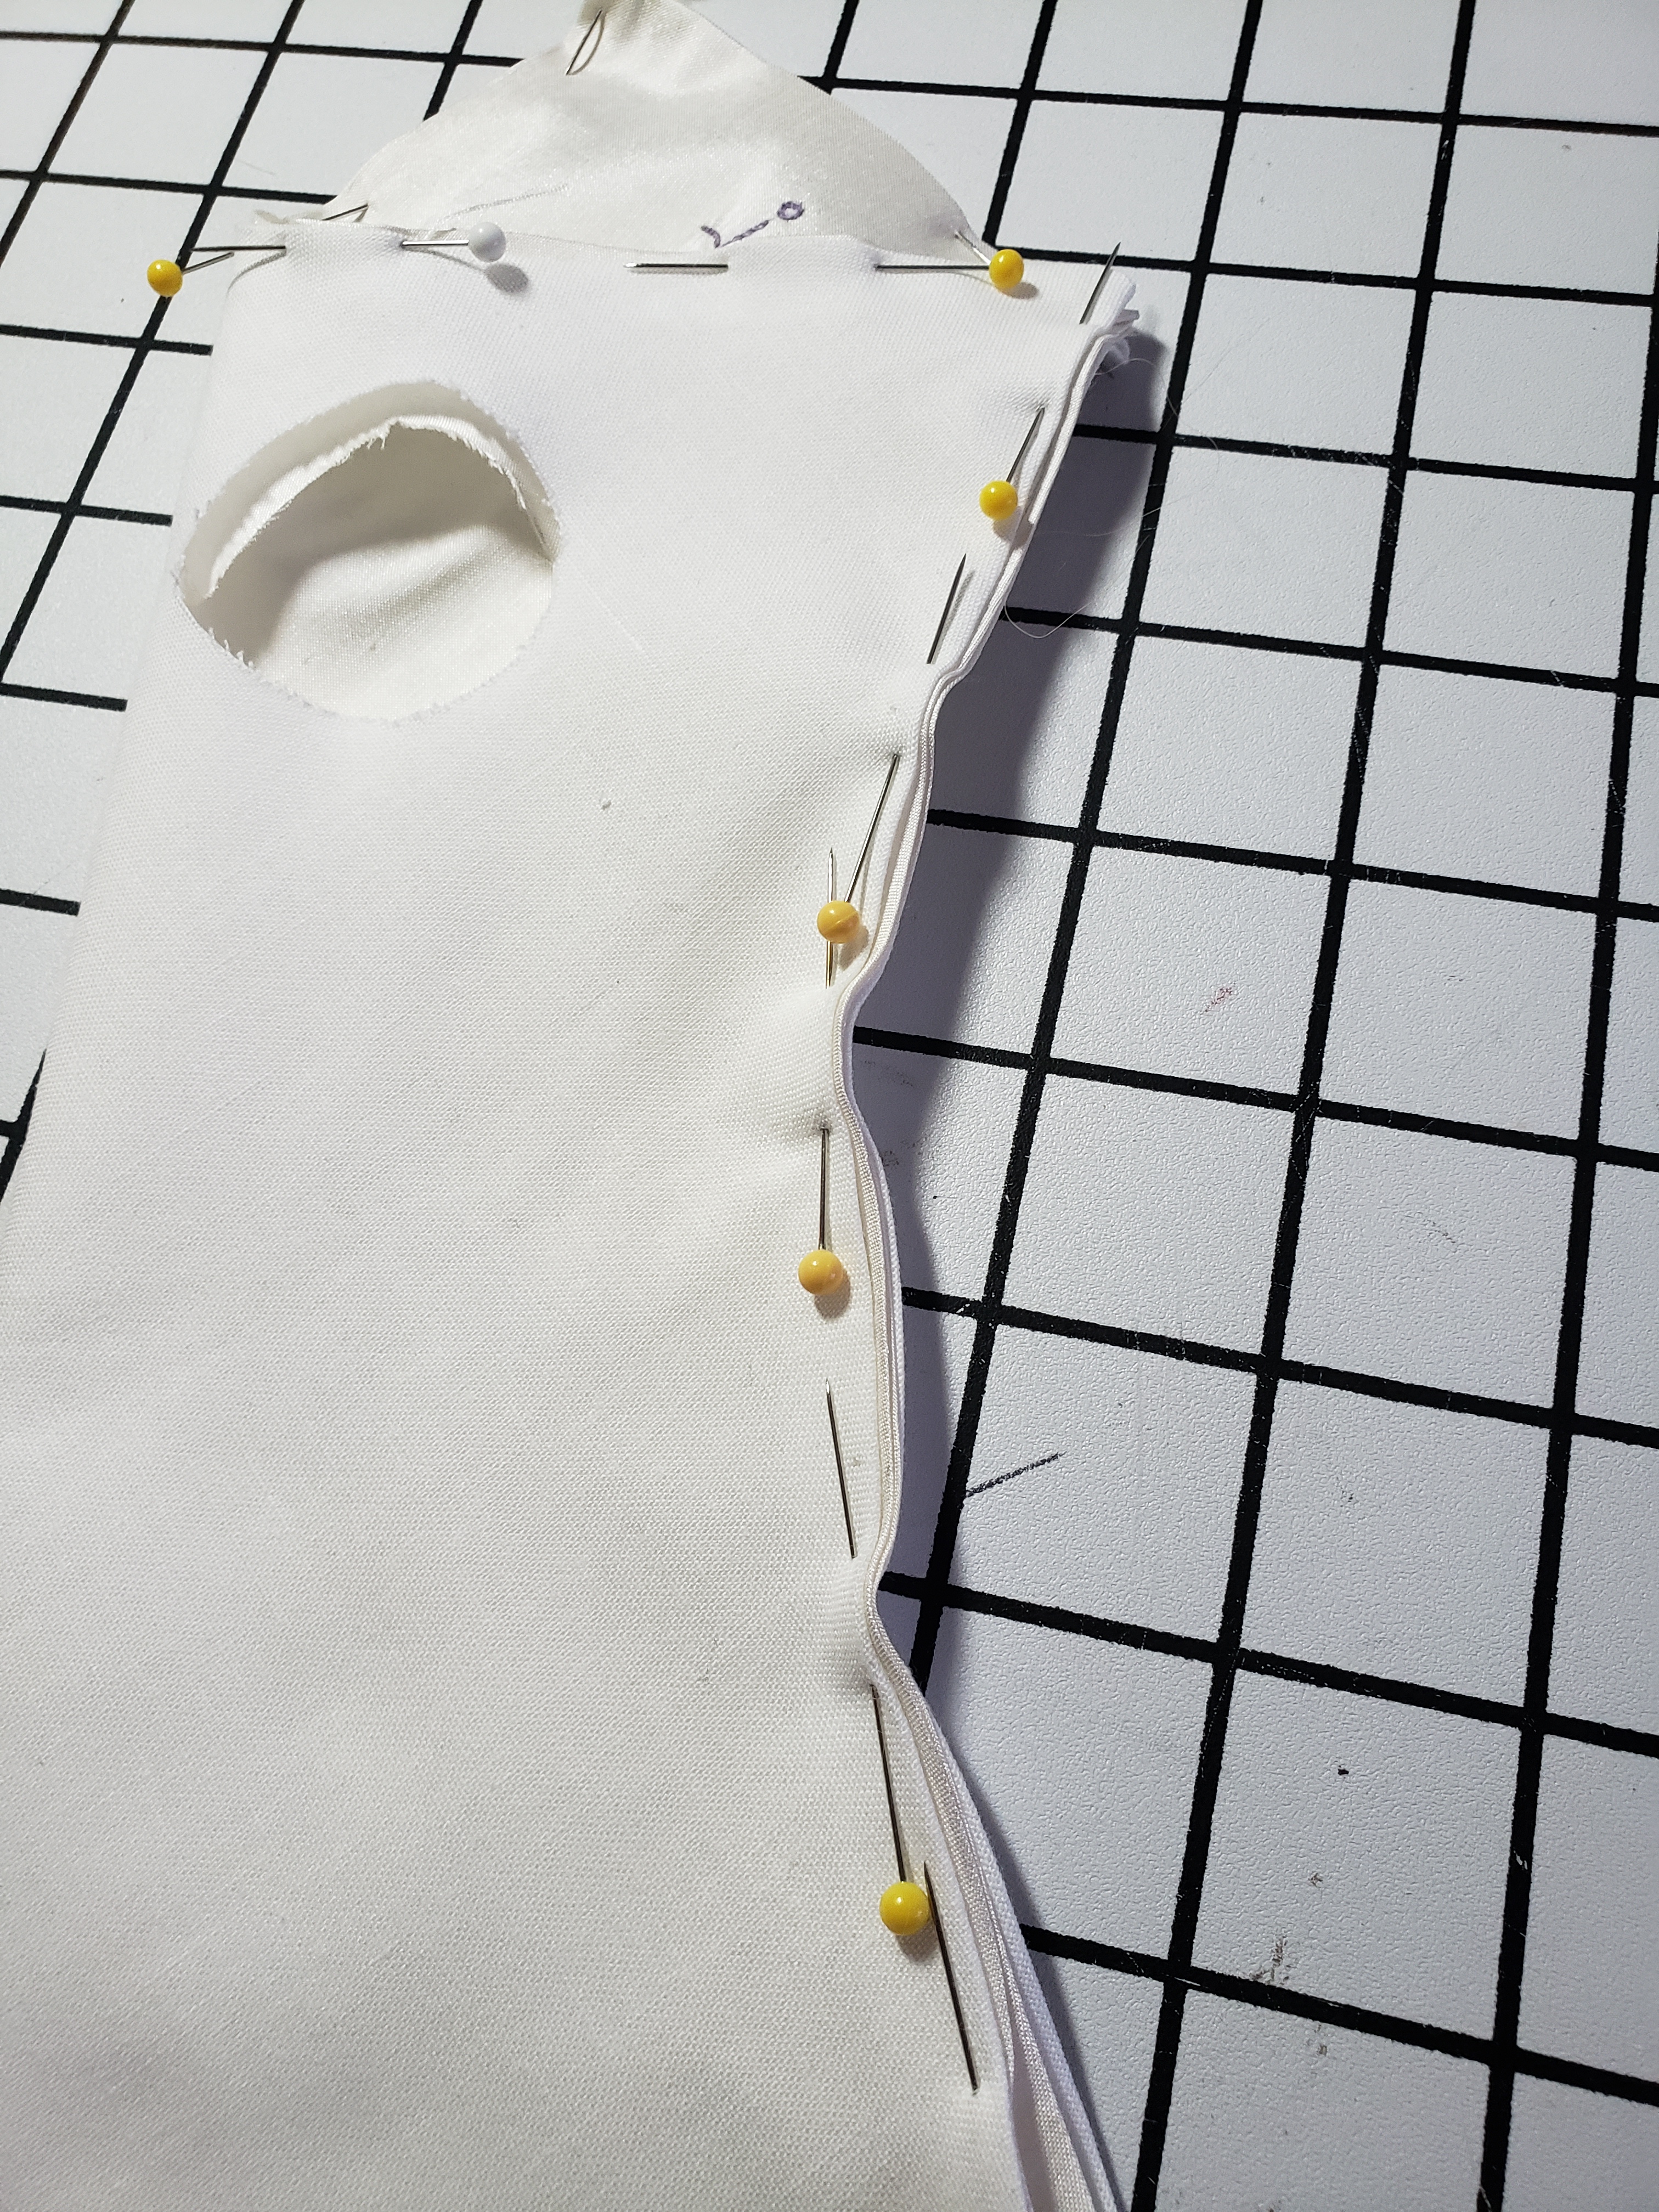
Step 6. add a thumb hole. Honestly start small and when you try them on you’ll tweak this. But a word of warning. My first mock up I centered the hole on the line. But thumbs aren’t centered on our hand. The beefy part of your thumb is more on the palm side.

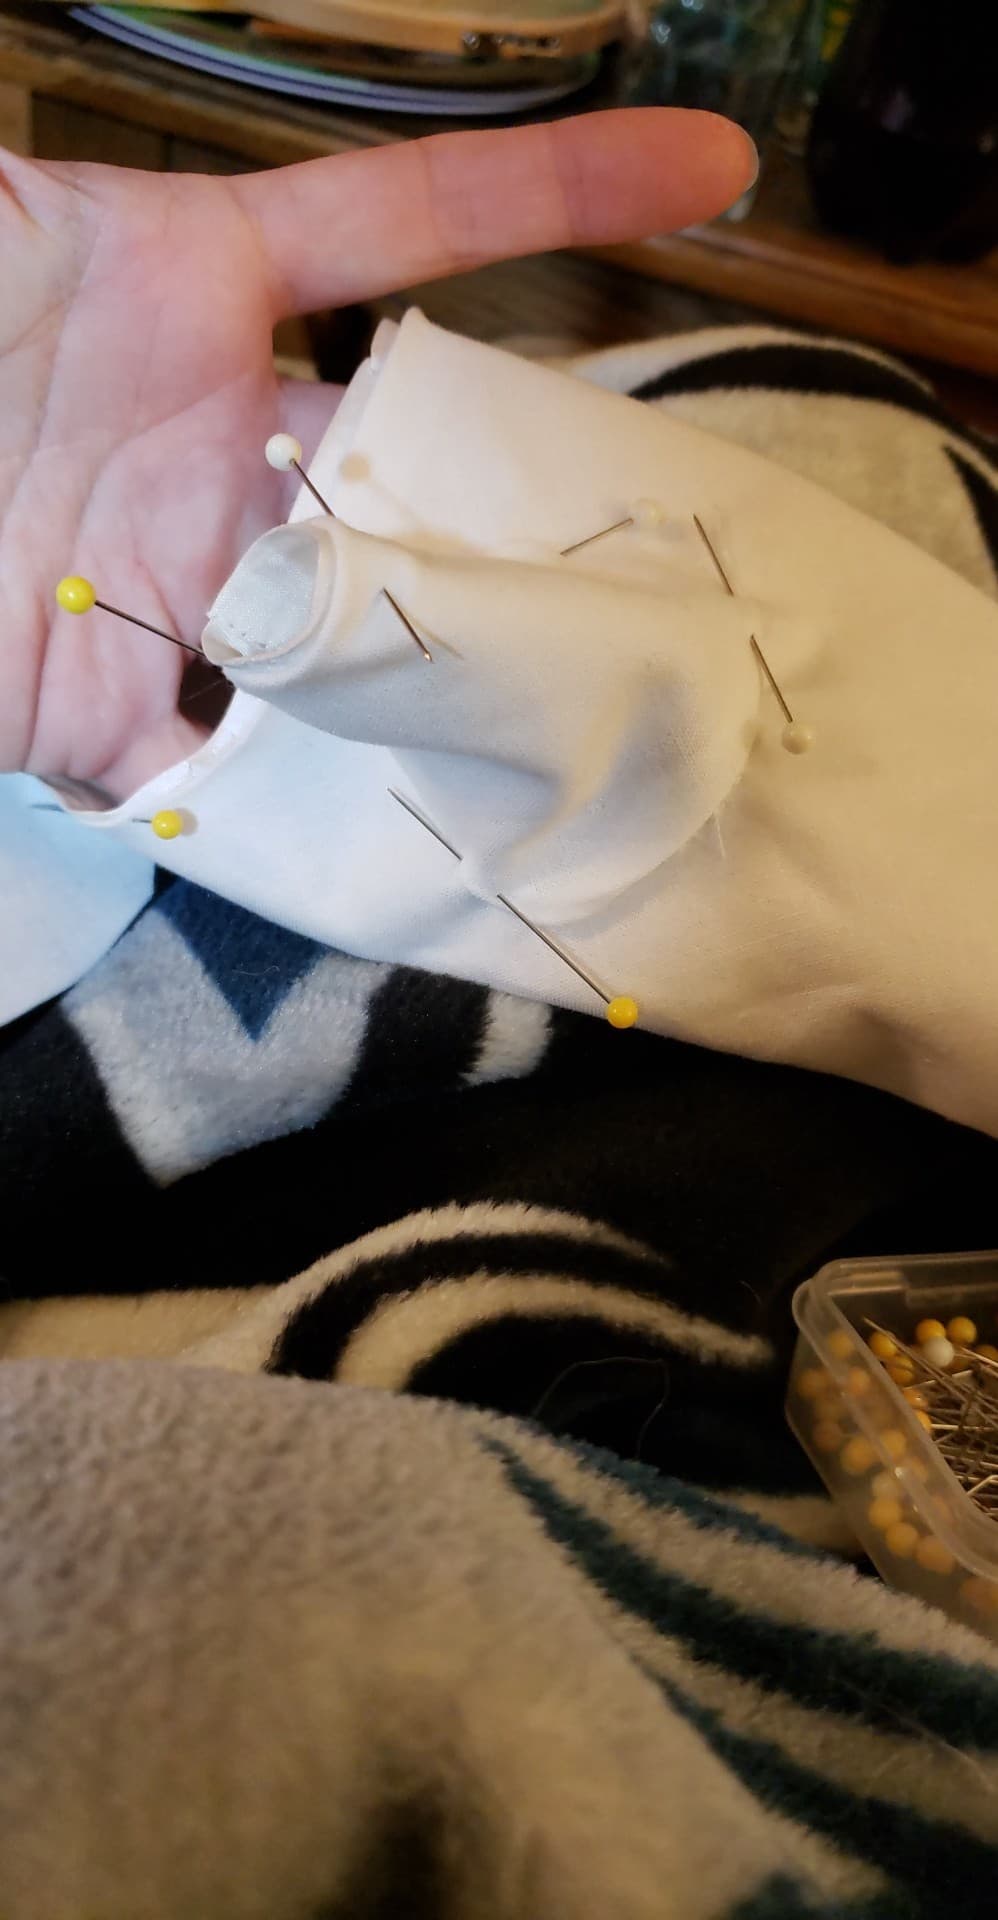
Step 7. Cut them out and pin up the side seam. Try them on. If you have a very large hand to wrist ratio you may need to add extra ease to the wrist measurment so you can get them on. But make them as tight as you can, I made mine super tight and by the time I wore them an hour they stretched so much I want to take them in.

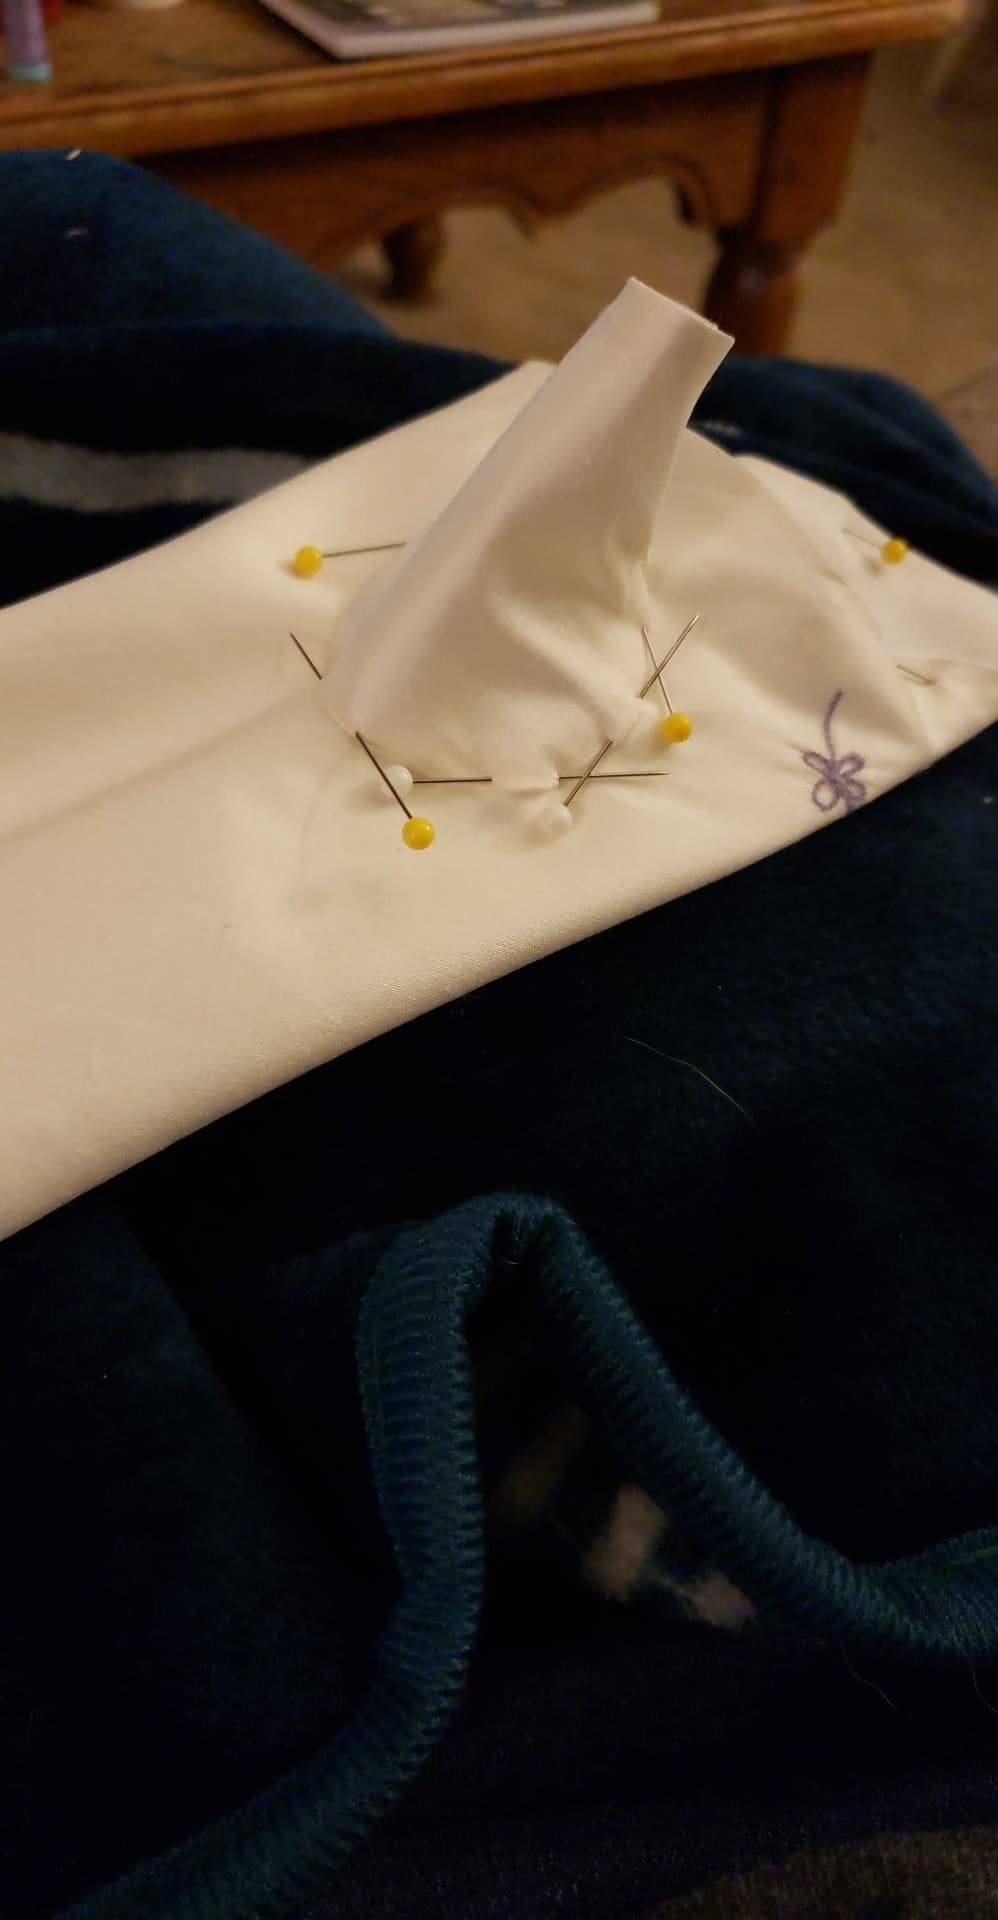
Now the awkward part. The thumb. I started by drawing a straight edge and then folding it around my thumb and pinning.
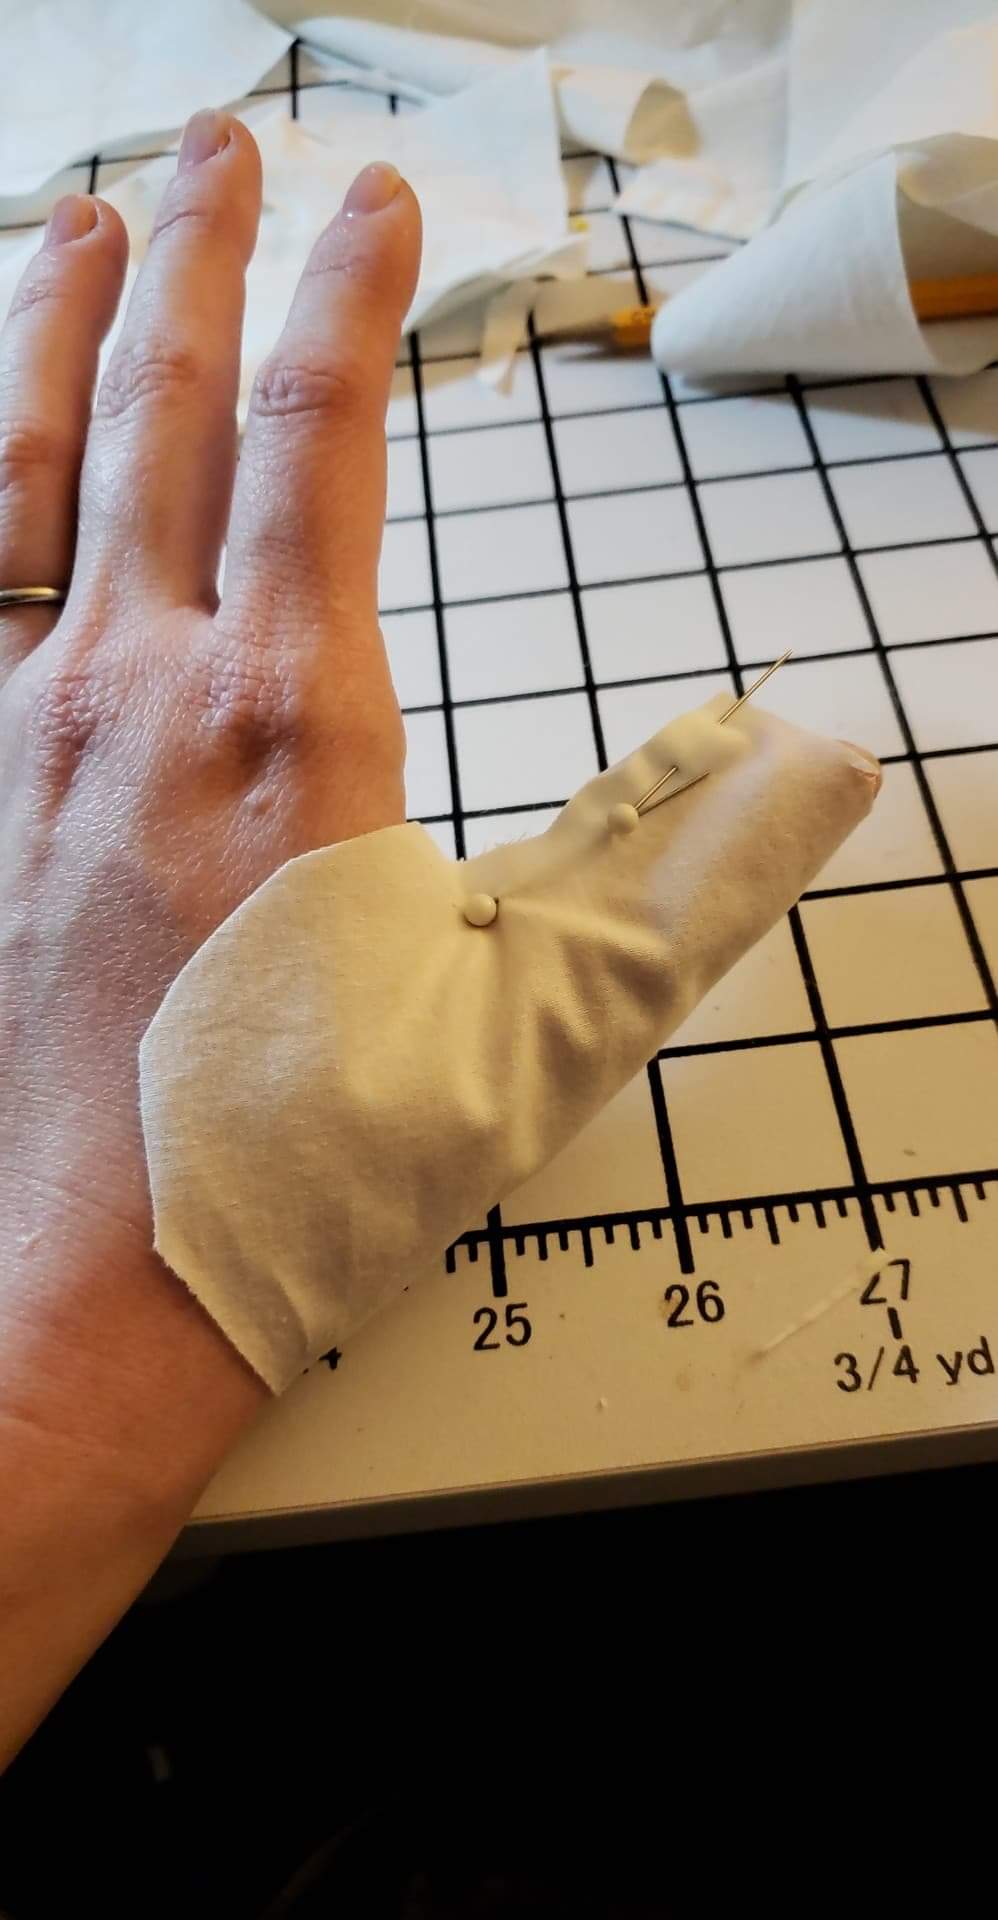
I wish I had helpful thumb advice but mostly I just…futzed. I promise it’s not hard. Just wrap your thumb and trim away the excess. You’ll be left with a pattern that’ll sit nicely on top of the body of your mitt.

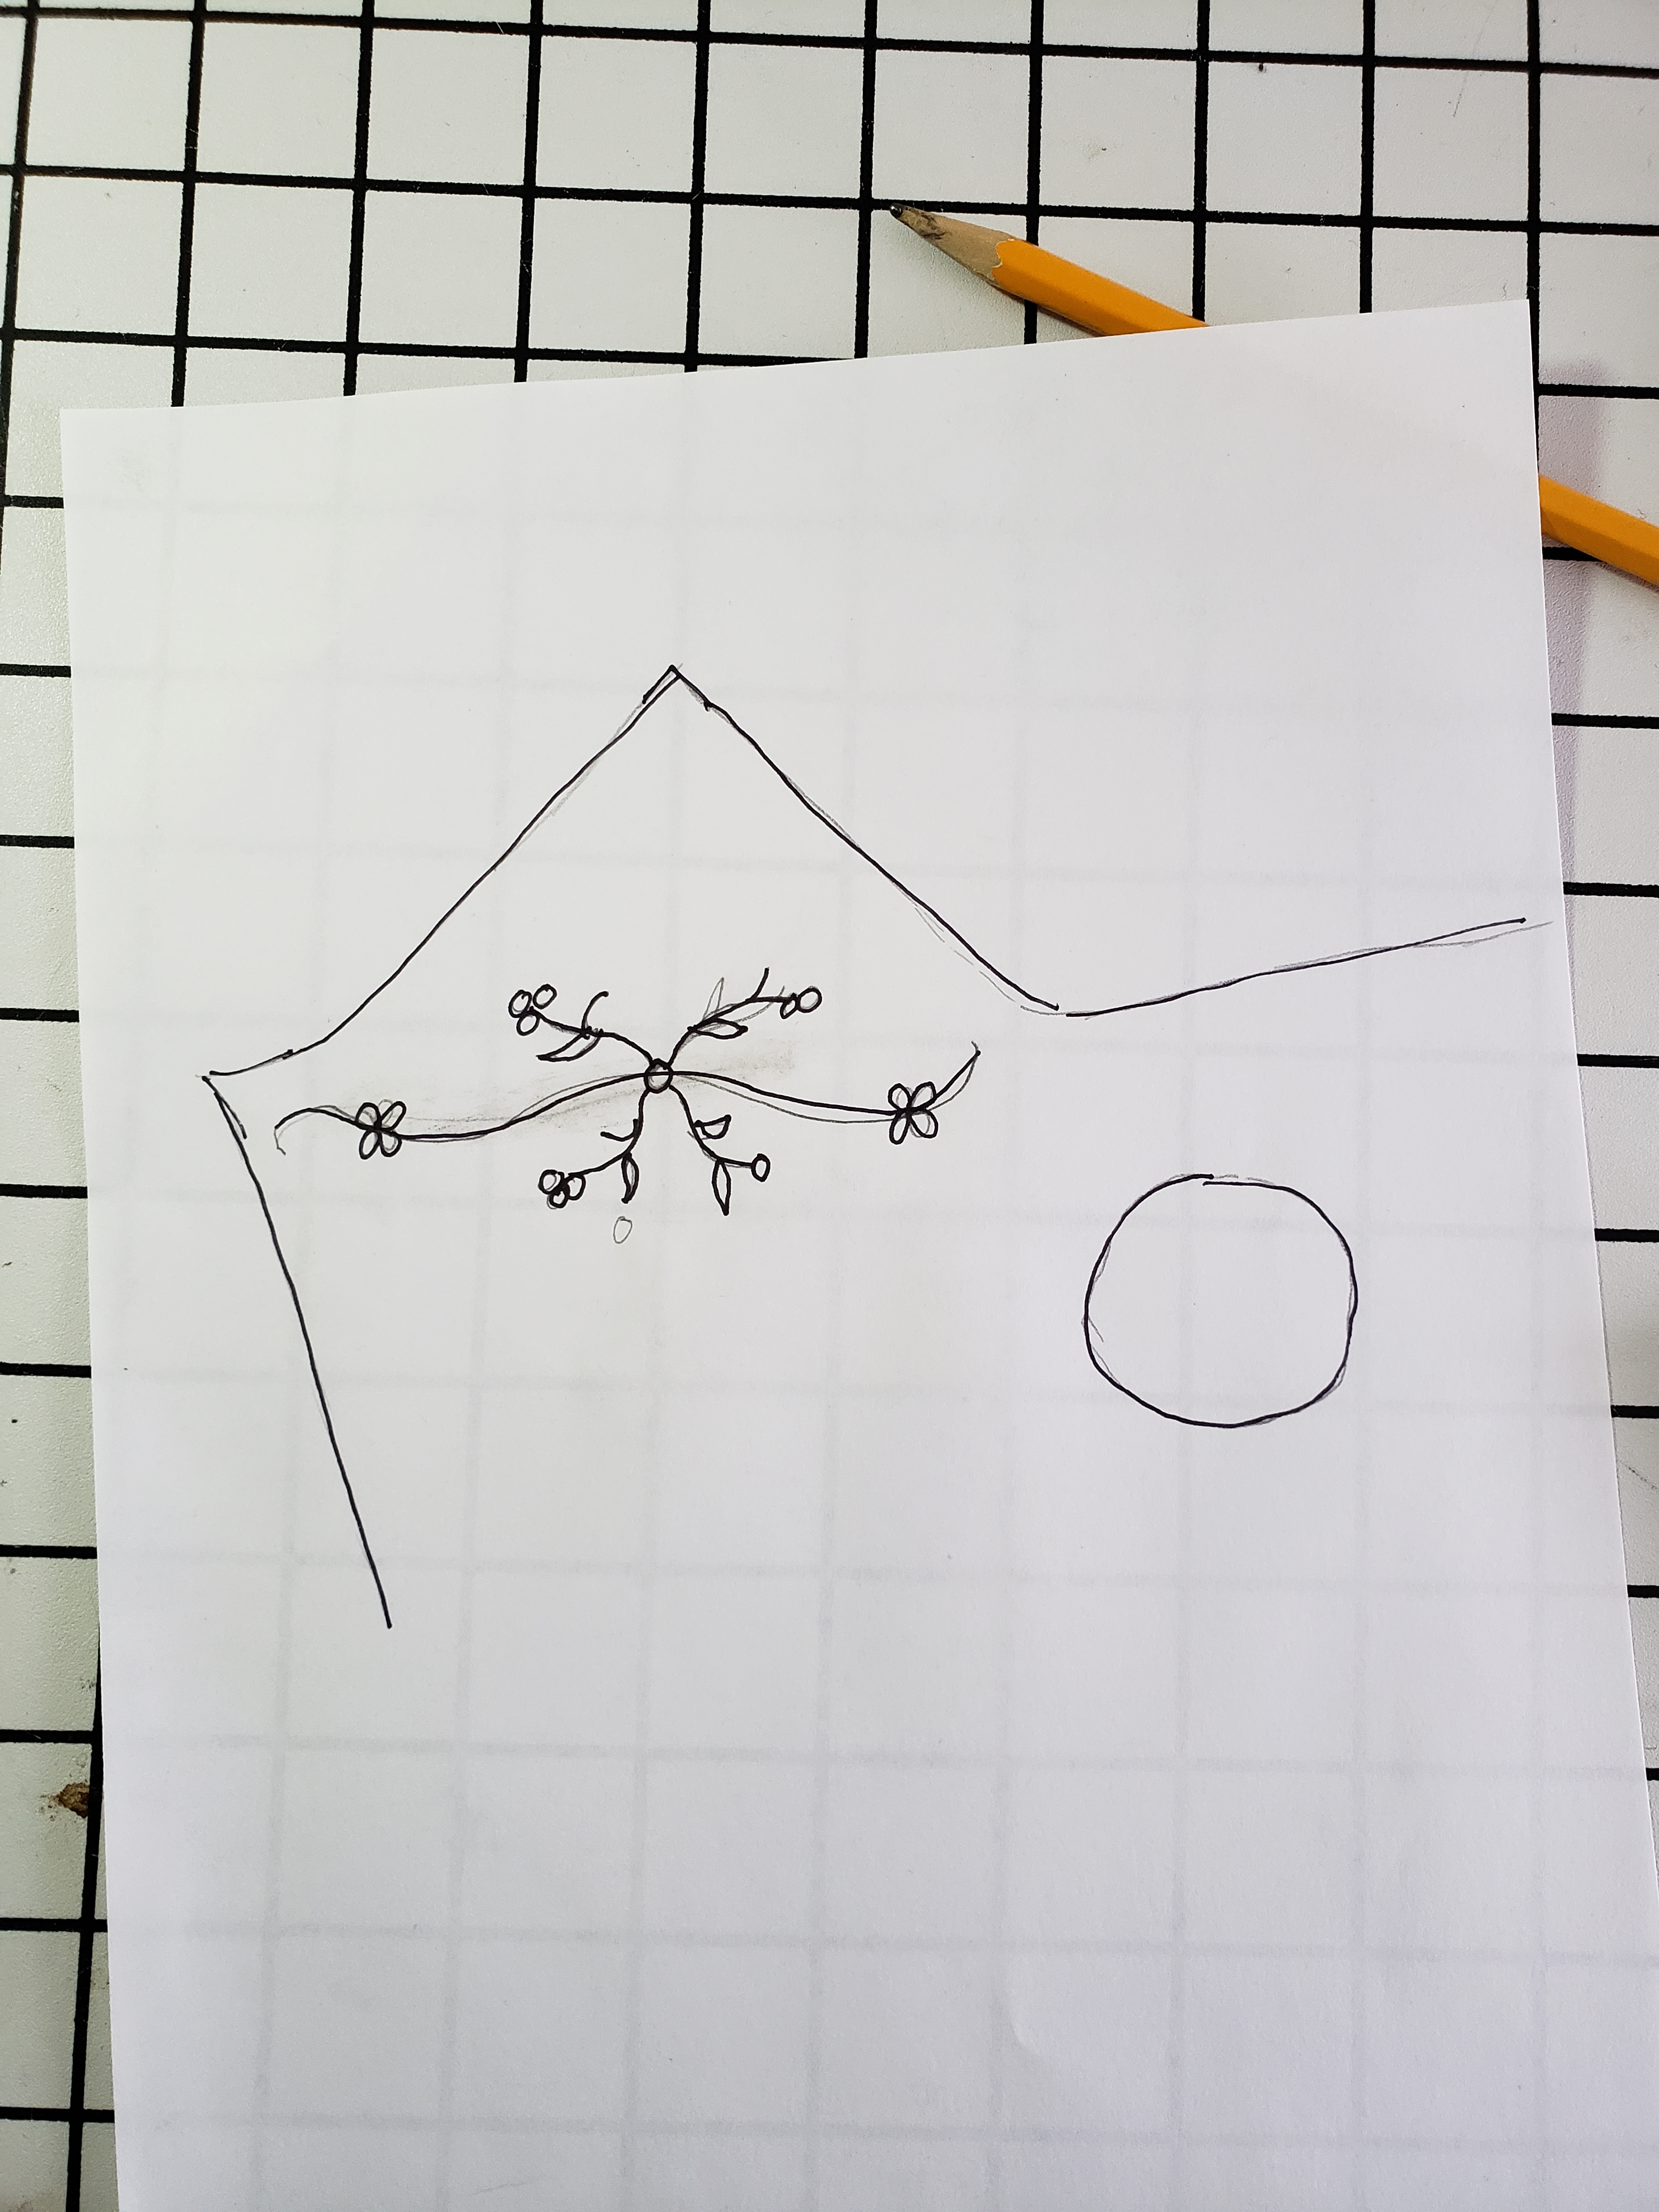
Here’s what my final pattern looks like. But again everyones arm measurements are different so no one-size-fits-all pattern will look good on everyone. It’s really very easy to fit your own, don’t be intimidated!

Decorate

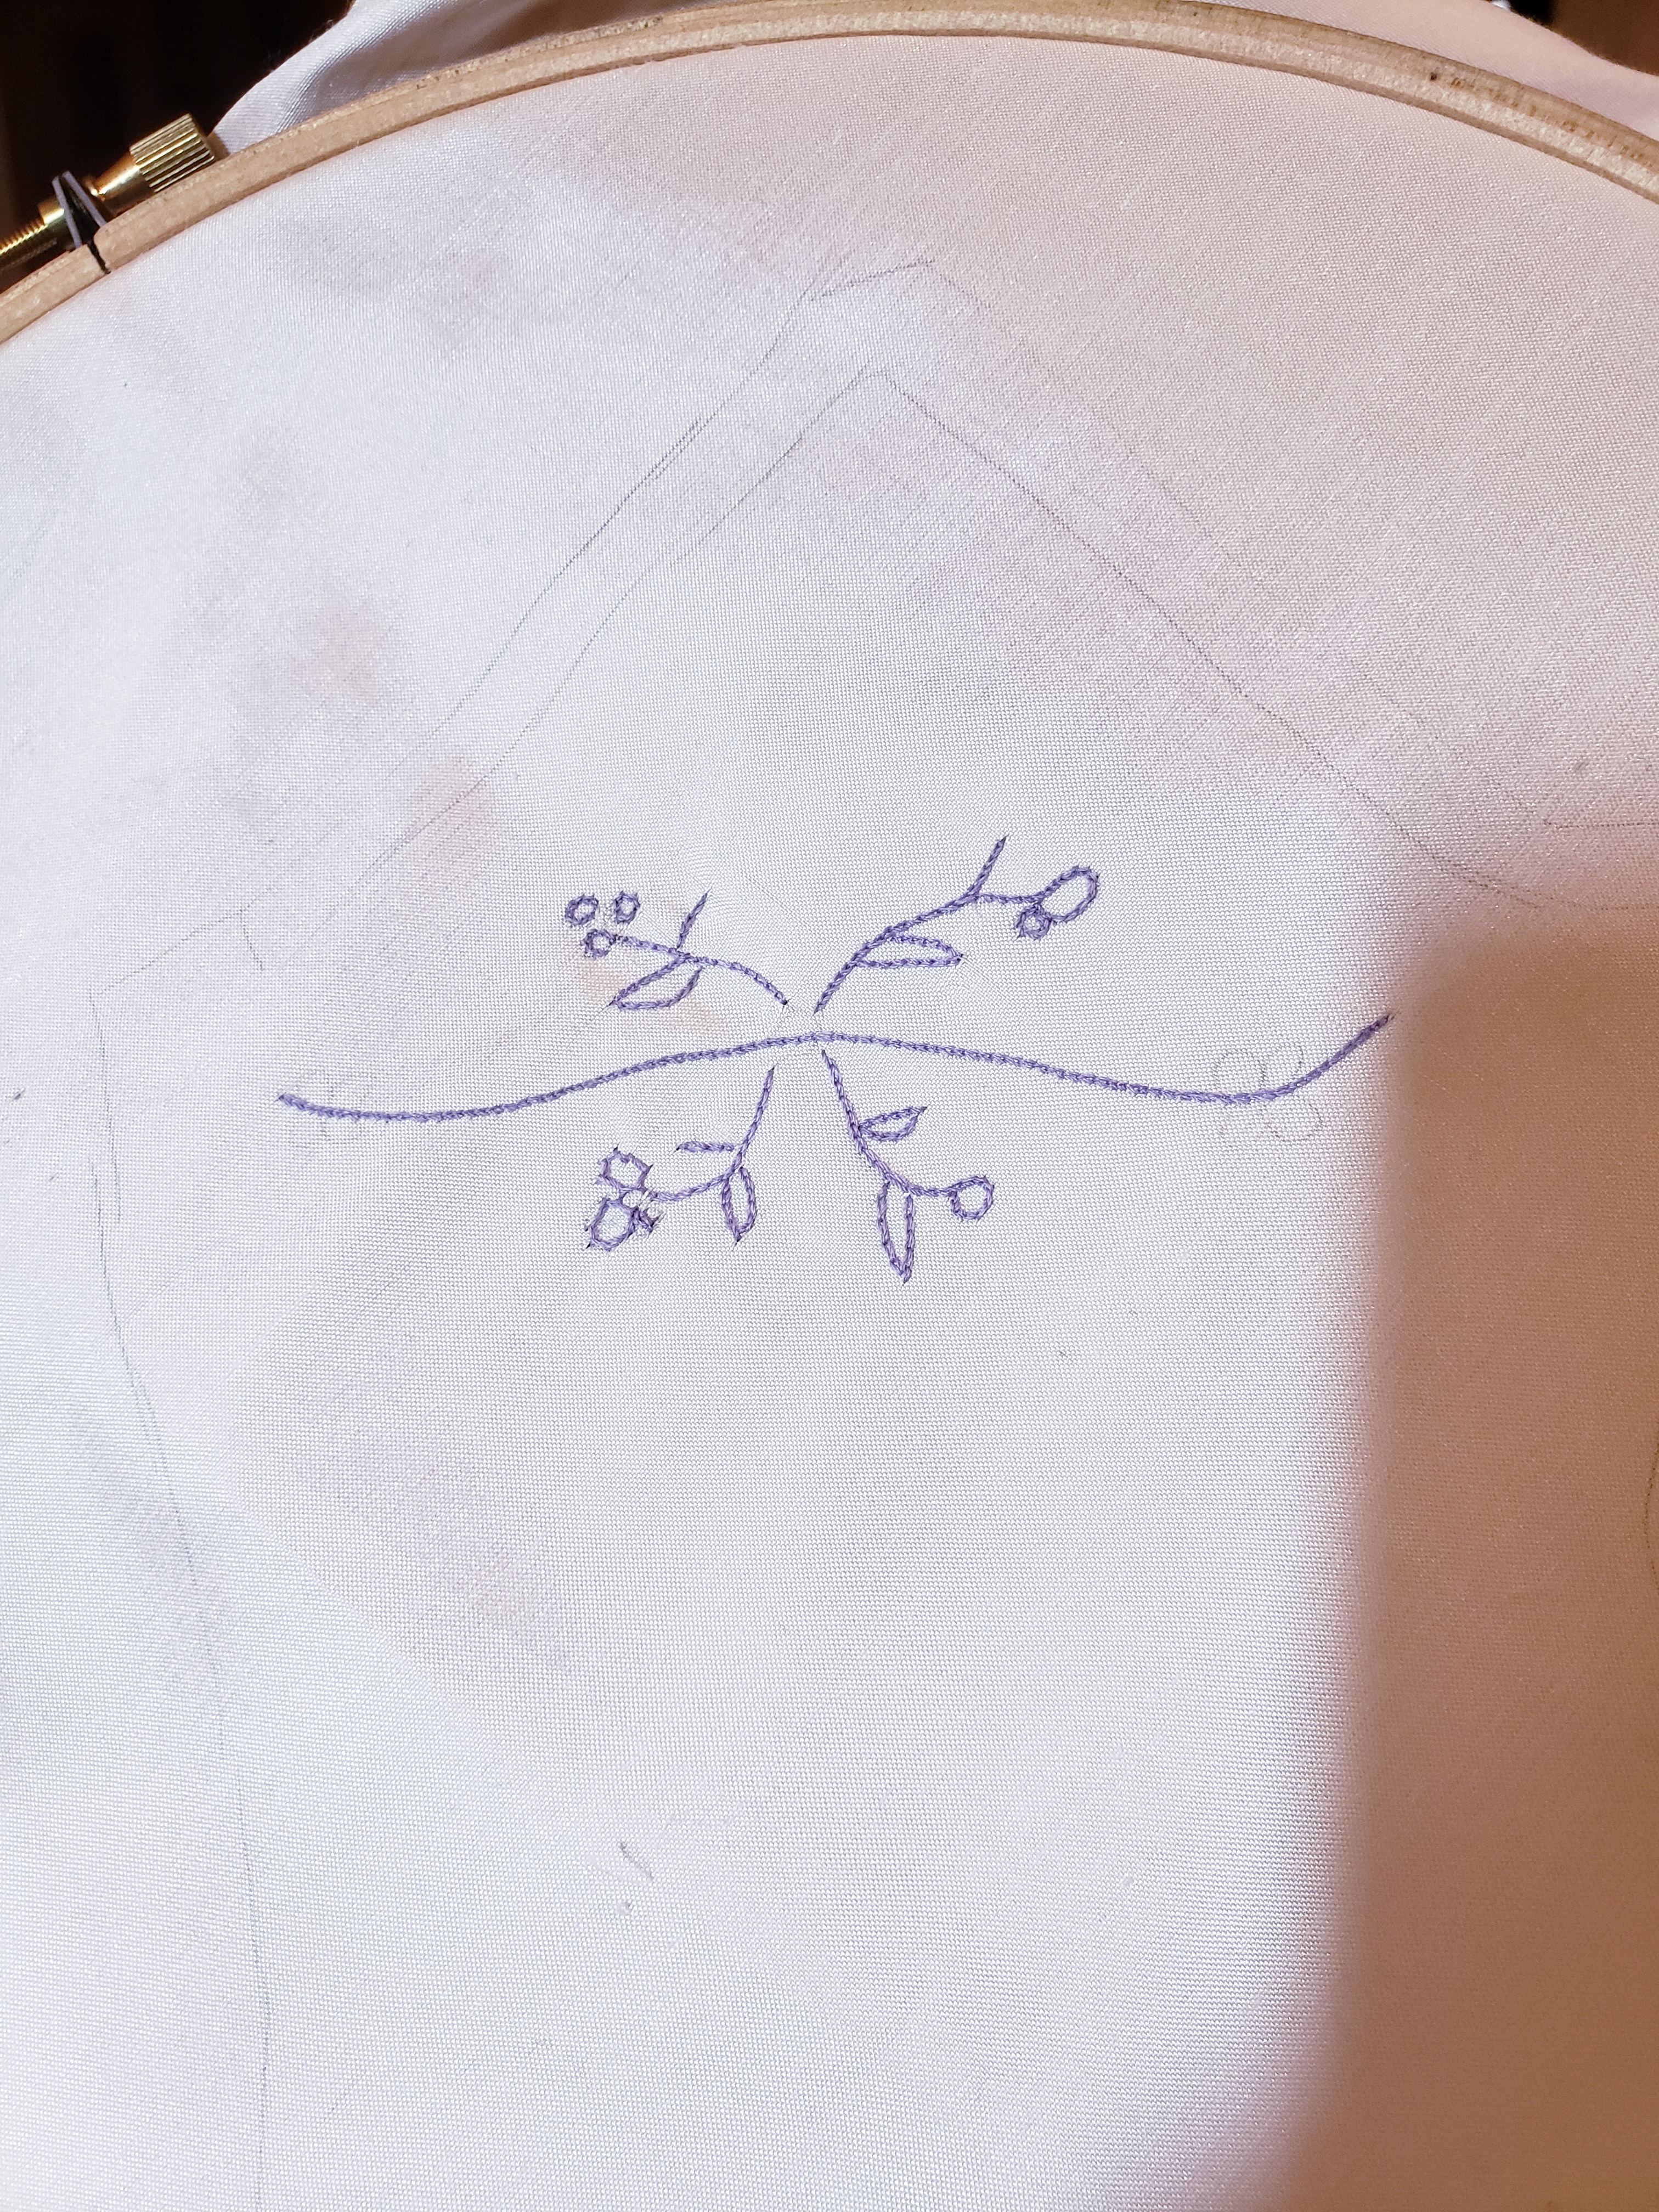
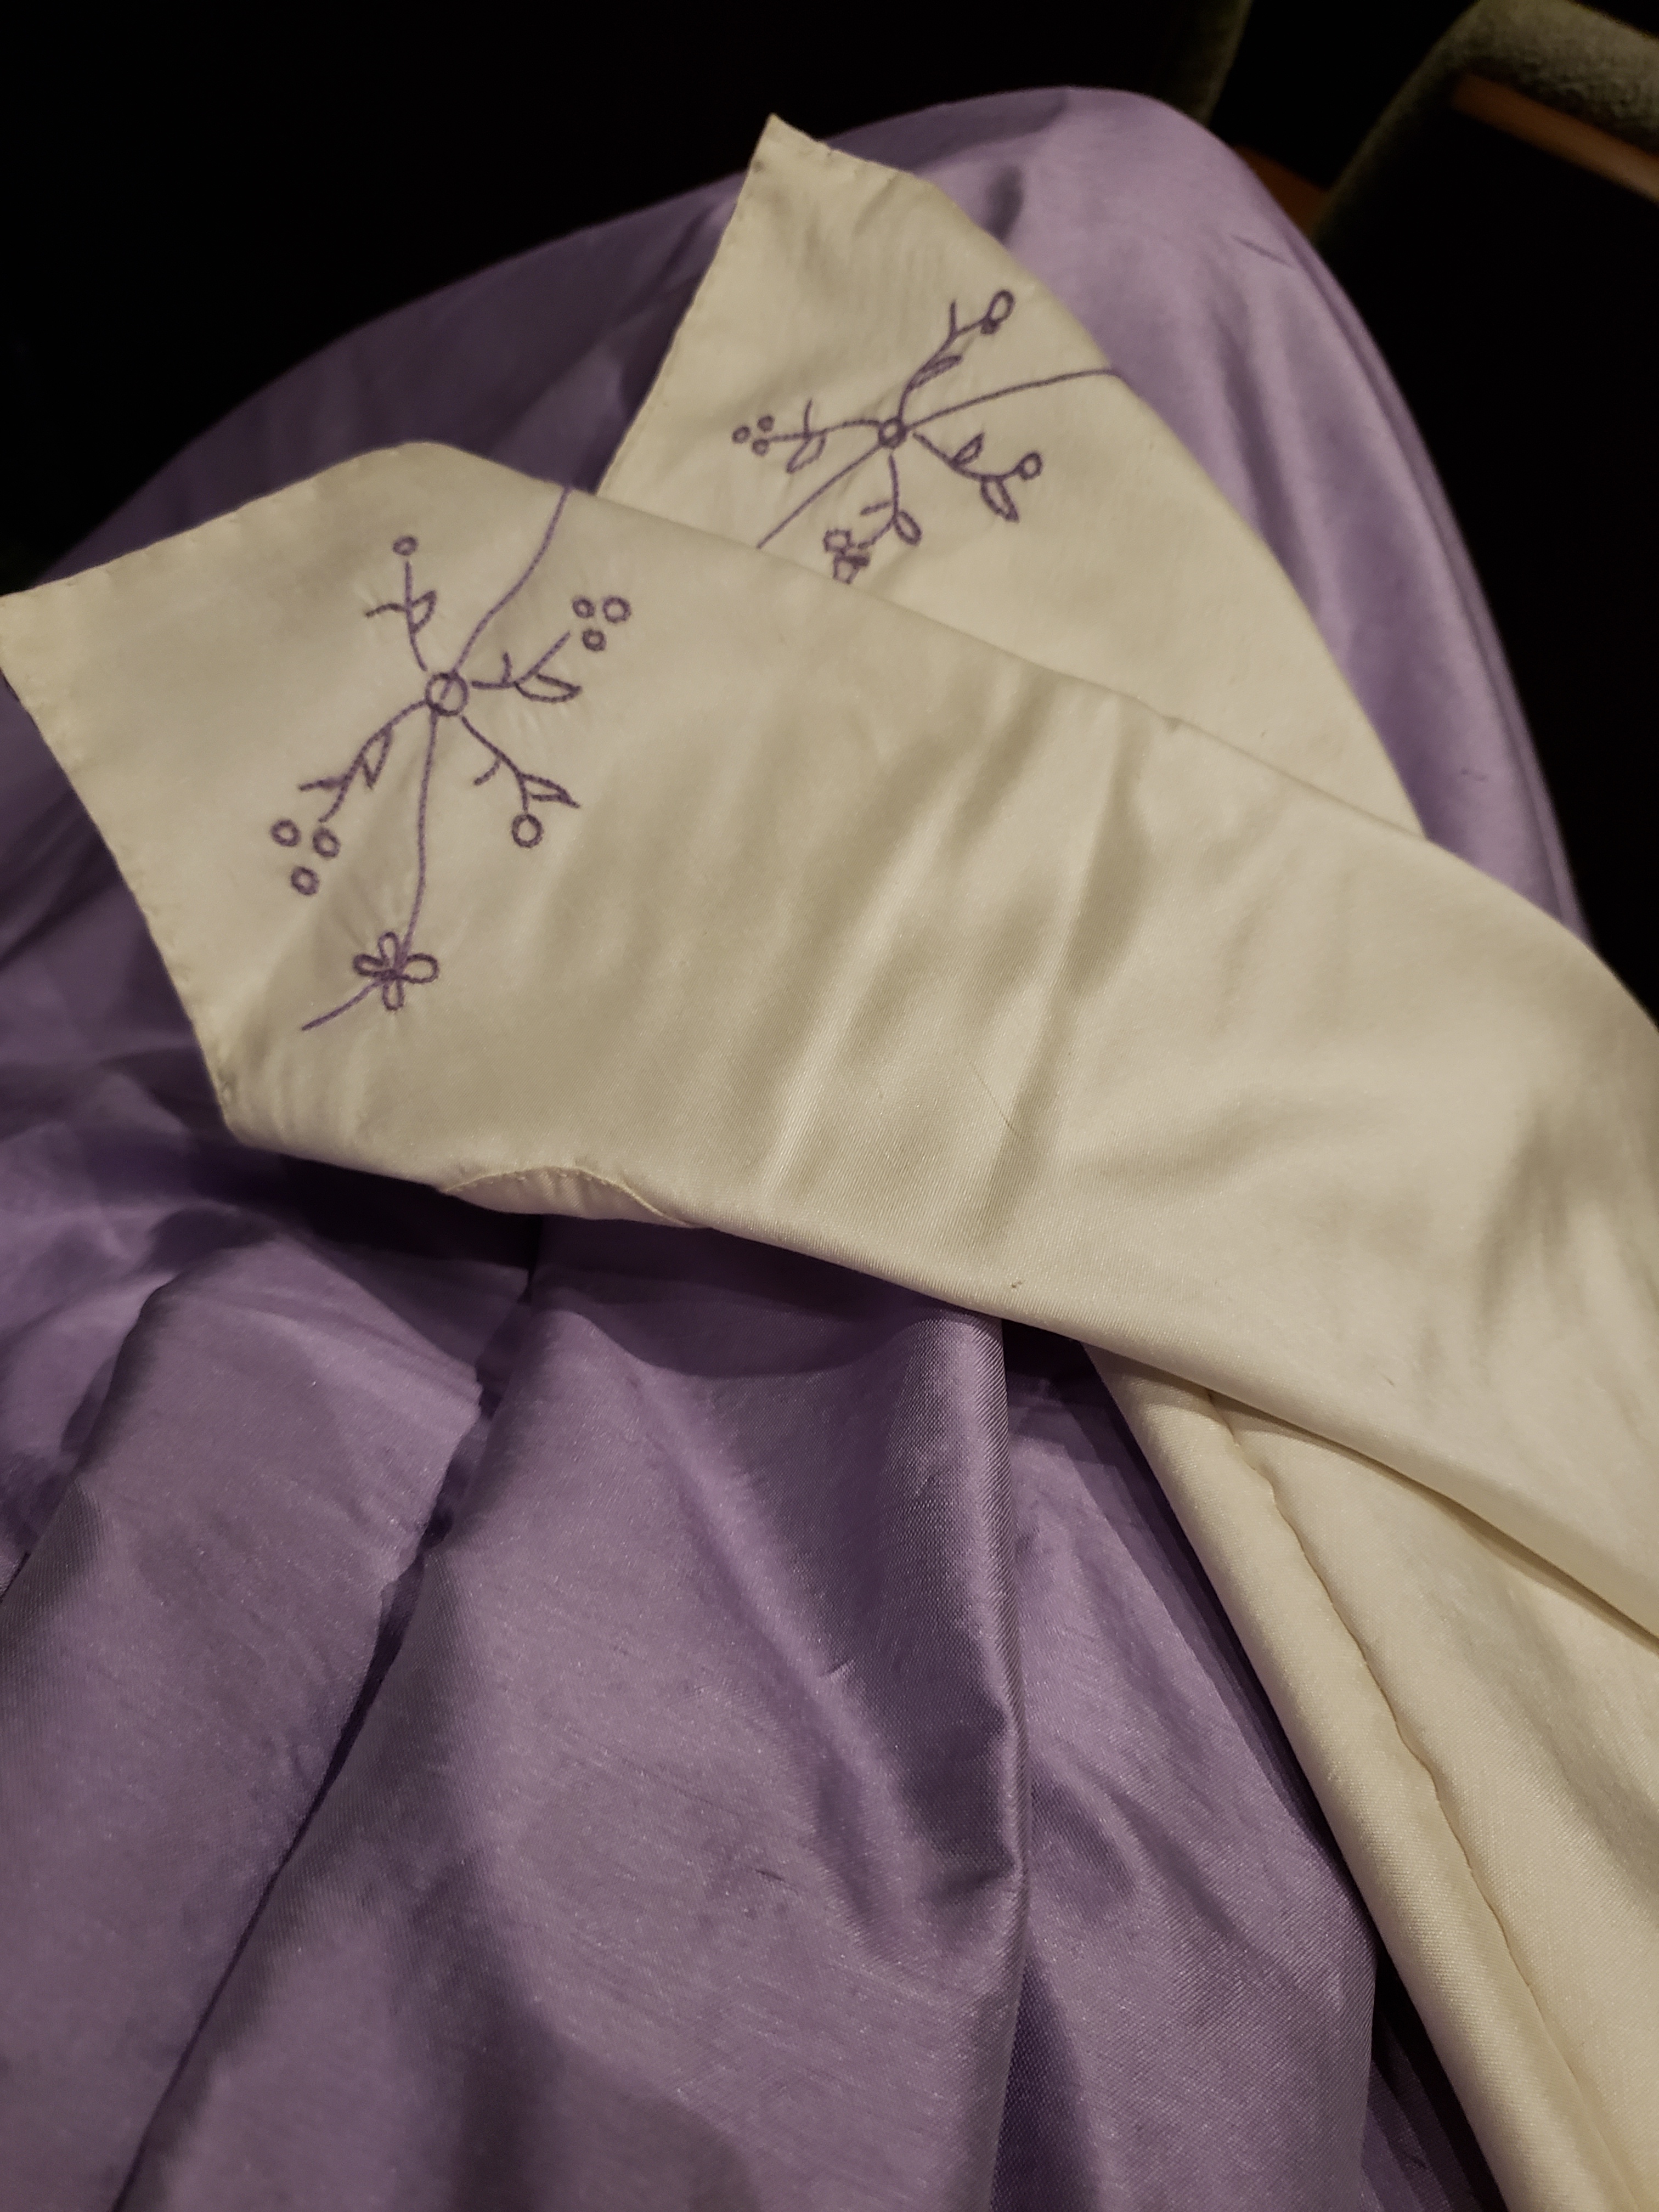
If you want to add any embellishment it is MUCH easier to do so before you assemble them. Mr. Sewloud got me a tambour embroidery kit for christmas so I wanted to try a small bit of practice embroidery on mine.
Assembly
Okay you’ve made a lovely pattern for a pair of mitts….now what? The fun part! Sewing them together. I feel the need to point out here that there is no one way to sew together mitts. Four sets of mitts went to the MAR in the car I was riding in, and all 4 were sewn together differently, and all 4 were documented ways. This is just the way that I found easiest.
Step 1. Iron all the seam allowances in on both the lining and the fashion fabric. I made mine out of silk taffeta scraps and cotton broadcloth scraps. You need such a small amount this is a great “use up scraps” project. Just remember to cut them on the bias. This is important for giving you the stretch needed to get them on over your hands.

Step 2. Place the lining over the silk, wrong sides together.
Step 3. Fold in half and sew up the side seam. I personally used the “English Stitch” Which is demonstrated far better than I could by American Duchess Here. I was really pleased with this stitch though as it provided a stretchy very small flat seam allowance, and I didn’t want bulk on the inside of my mitts
Step 4. Sew the top and bottom hems, I used a hem stitch but a whip stitch would work, or really any hand stitch will work.

Step 5. Thumbs! Thumbs are fiddly. No way around it. So I can’t stress this enough, it’s like 4″ long, it’s worth it to hand sew it. You just can’t fit that small space in a sewing machine. or if you can you’re a better woman than me. (making these did lead to a long thought experiment where I wondered how they mass manufacture barbie clothes). Begin by pressing all the thumb seam allowances up the same as the mitts. Overlap the side seams and top stitch into a tube.

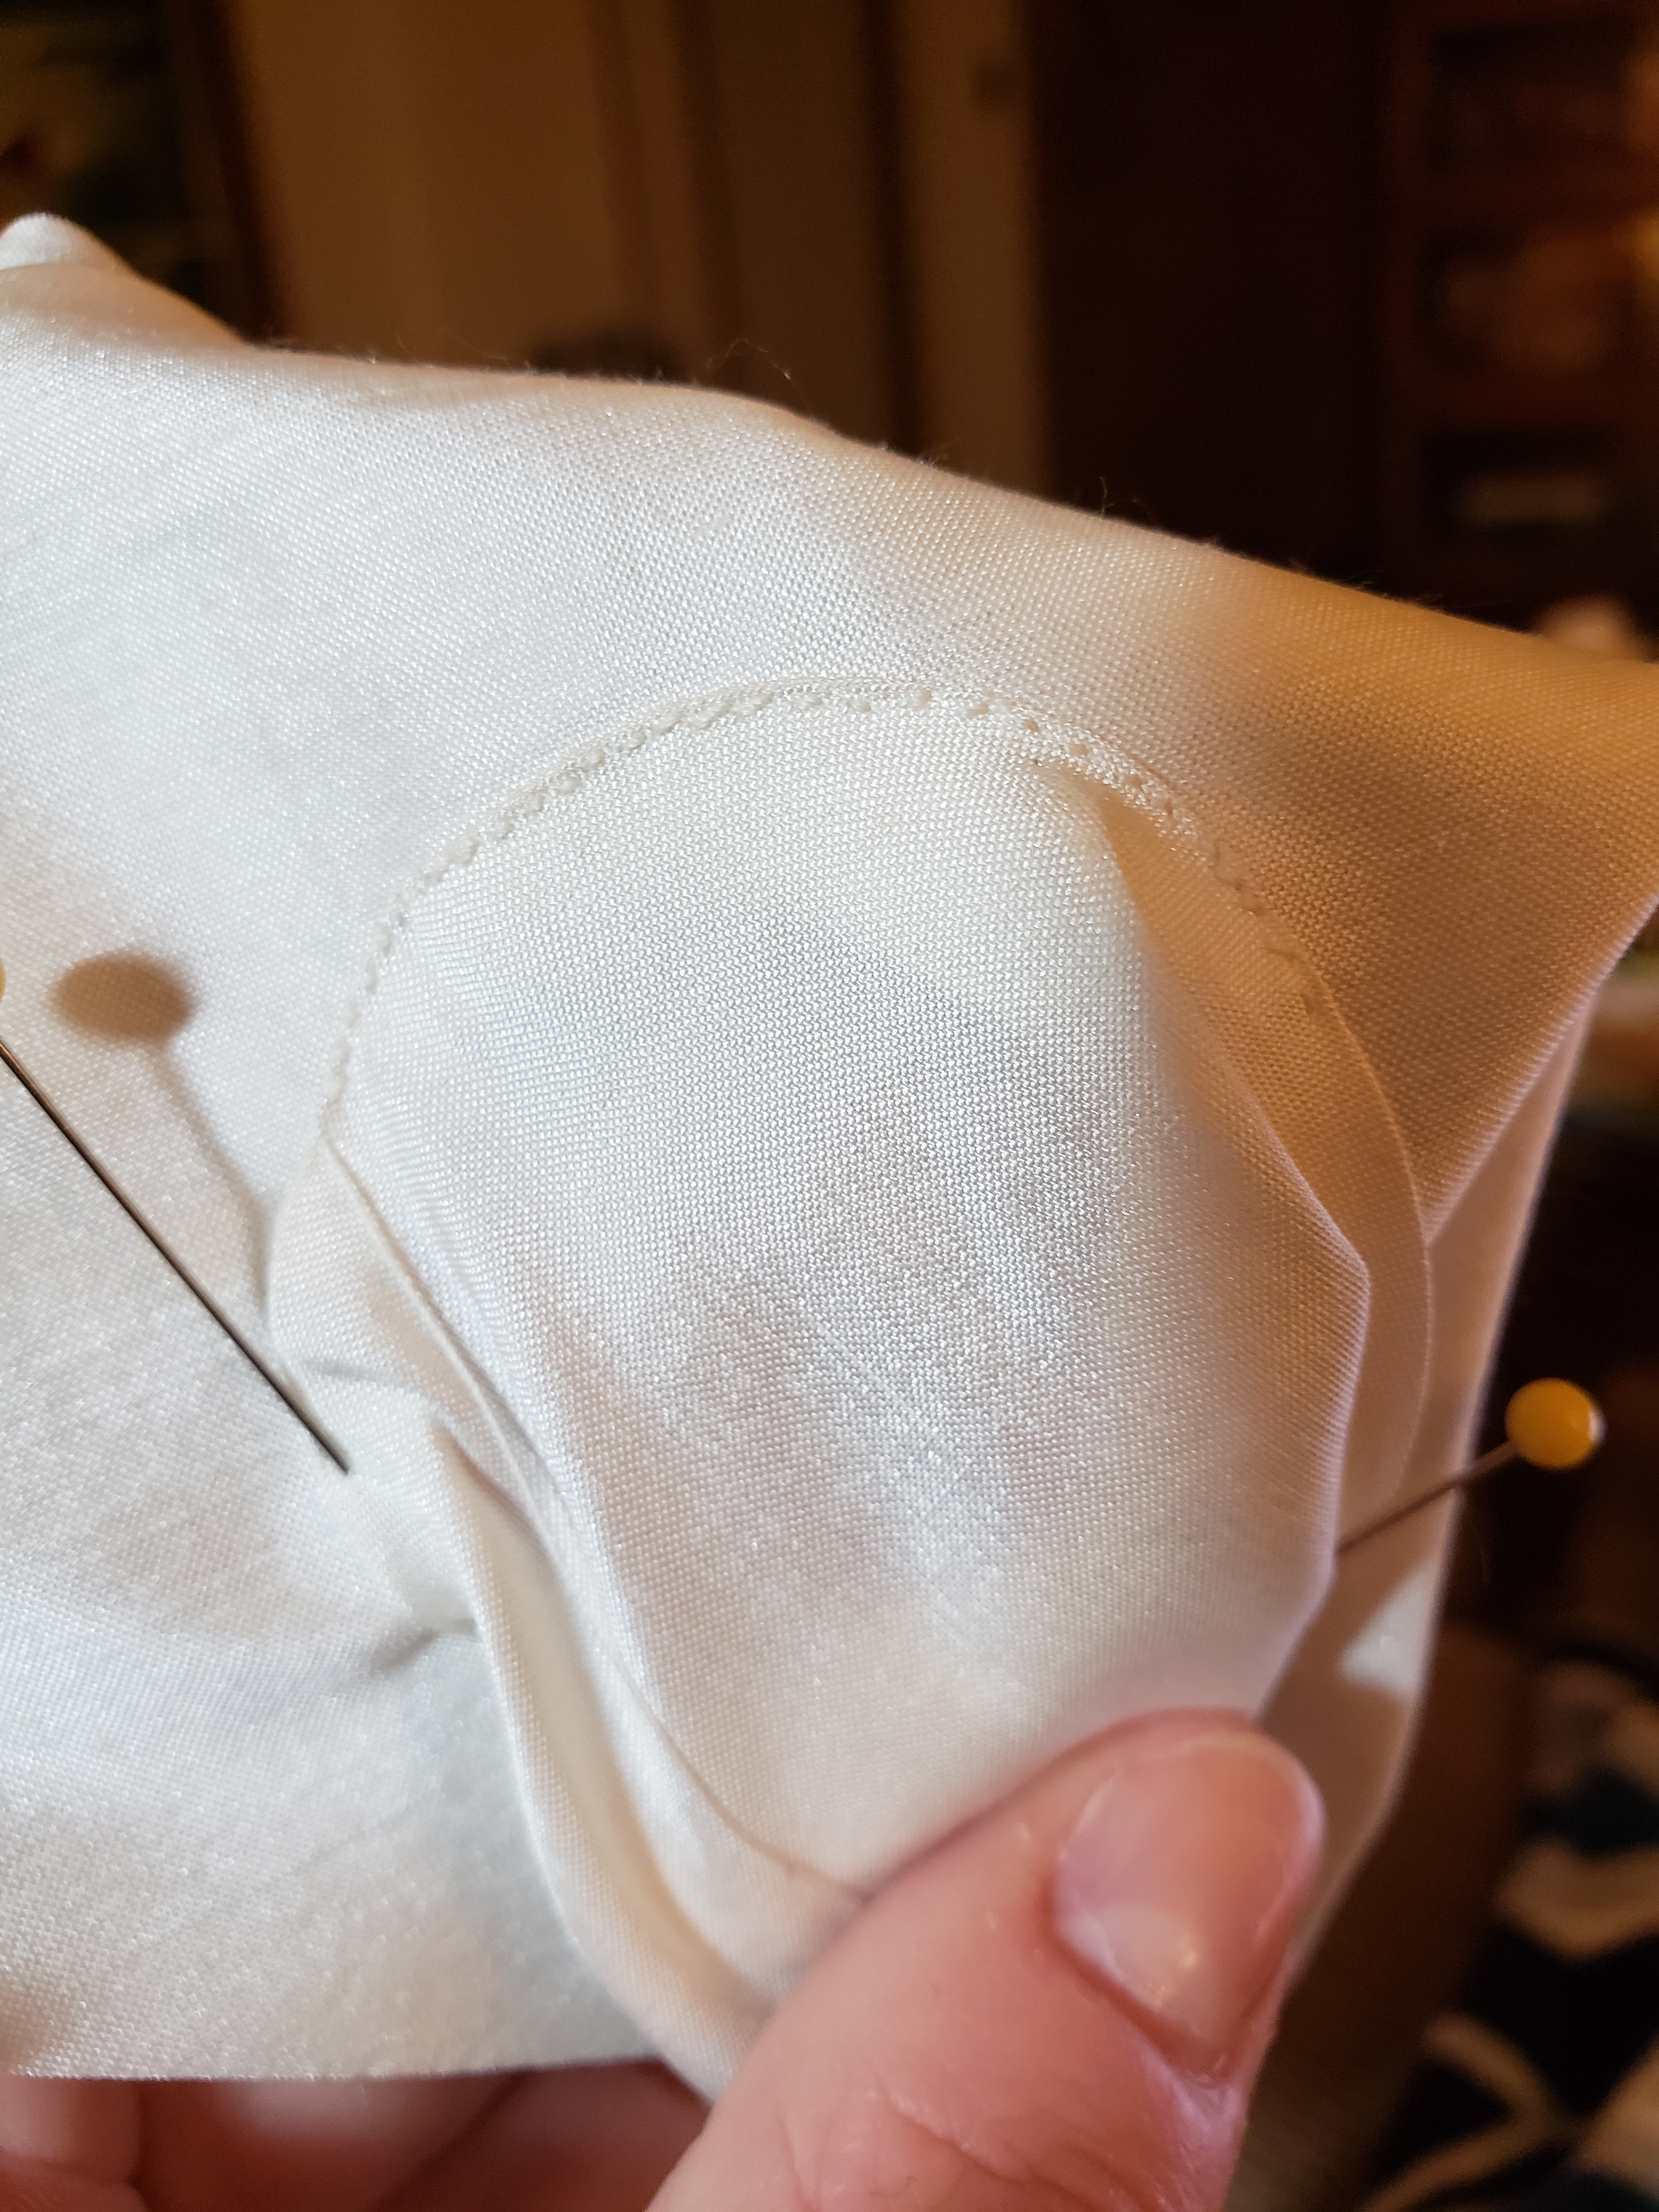
Step 6. Pin the thumbs onto your mitts. Make sure they point in the correct direction.
Step 7. Sew your thumb! I used tiny back stitches. This is the one part of your mitts that will really take strain so take the time to really sew them on.
ALTERNATIVE: Amanda made her mitts by folding under the seam allowance of the mitt body and inserting the thumb from below.

Step 8. Thumb lining. Assemble the thumb lining in a tube same as the thumb, now turn the entire mitt inside out so the thumb is sticking up, shimmy the thumb lining down over the thumb. Whip stitch in place to the lining and slip stitch to the top edge.
Step 9. If you want a facing of a contrasting silk or leather cut a triangle the size of your flap and iron the edges under. I used a scrap of lavender silk and whipped it into place.
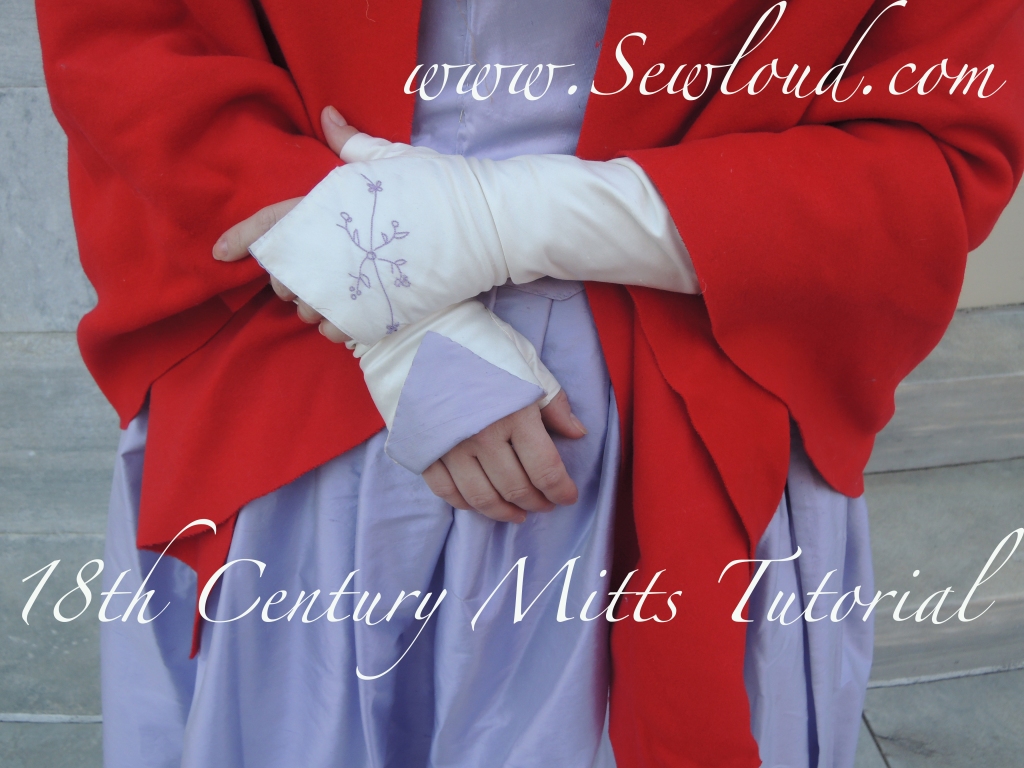
Step 10. WEAR YOUR NEW GORGEOUS MITTS AND BASK IN YOUR GLORY
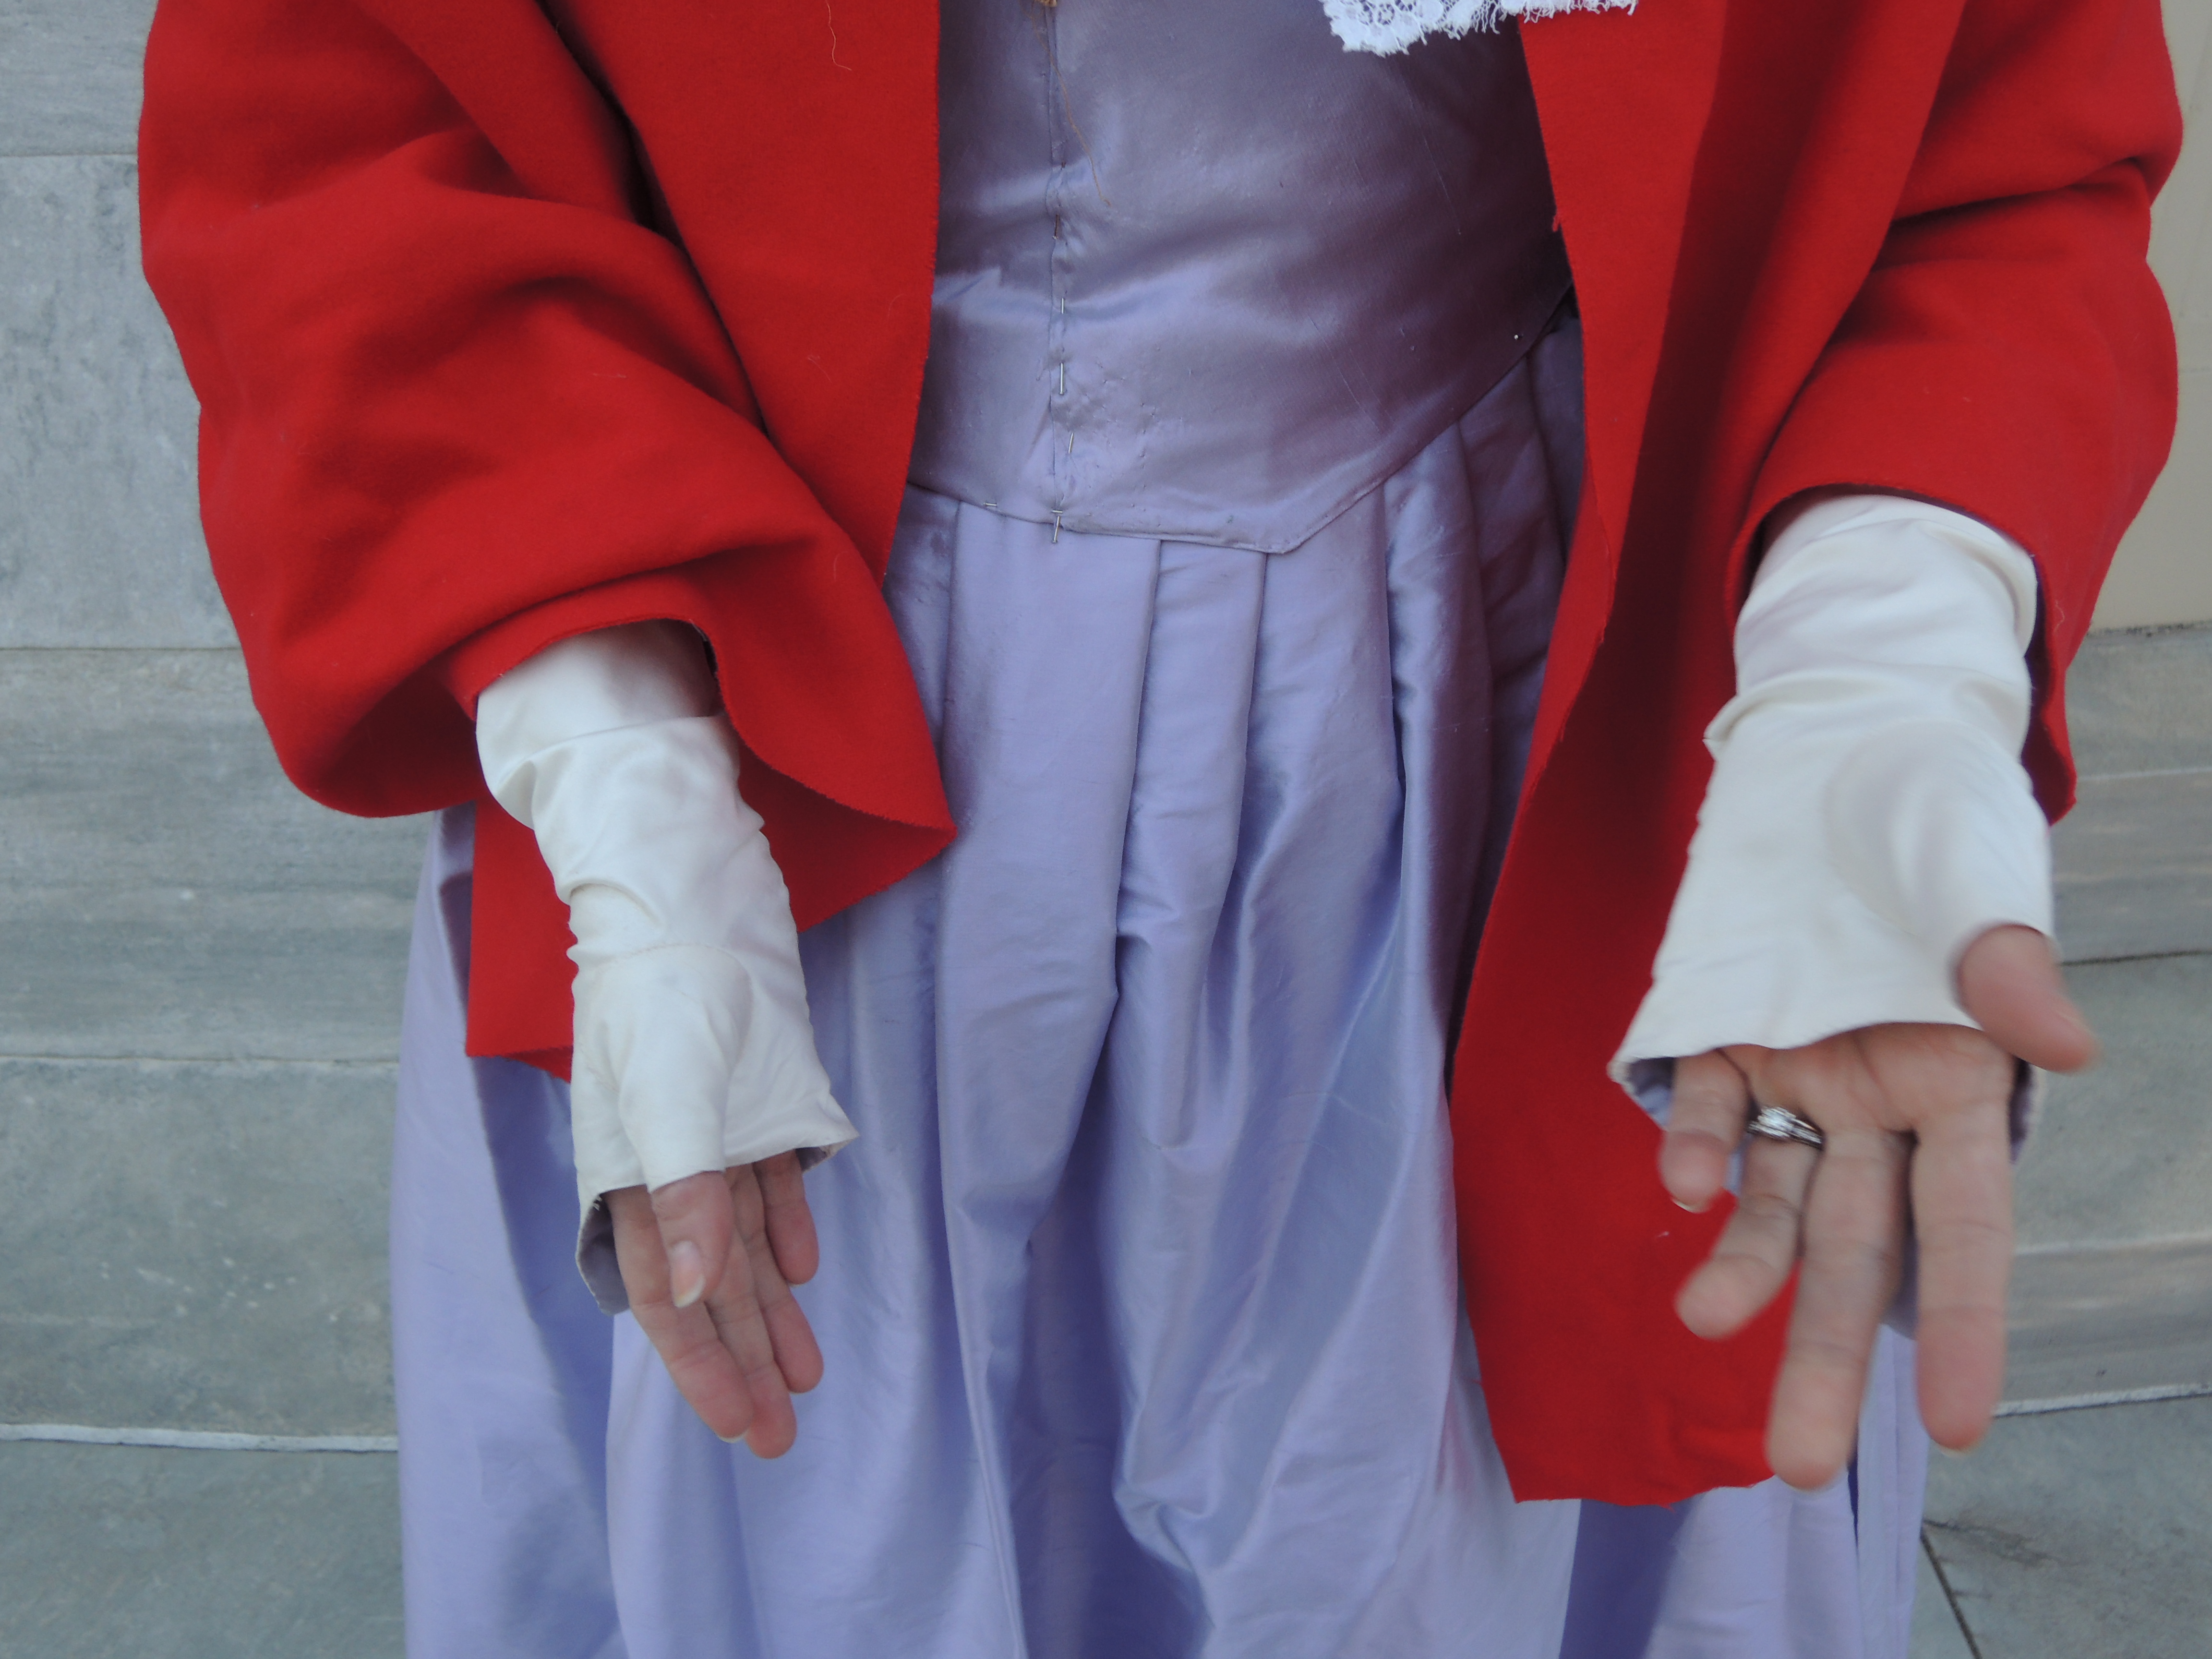
A note on fit
You may be like me, tempted to be annoyed that your mitts are wrinkly in the arm, live with it. The wrinkles come from the bias, and if you have any difference in the width of your hand and the width of your wrist you will have wrinkles. You NEED those wrinkles to get them on.
Also fit them as tightly as possible because any fabric, even stiff silk taffeta will stretch with repeatedly be taken on and off. I could BARELY get them on when making them and in an hour of wearing them I need take in the palms.
Lets end with more beauty shots


This was a HUGE help for someone just starting mitts – especially for someone who is a bit of an amateur yet. I have the American Duchess book, but the pictures are so tiny, that I often can’t tell what exactly they’re doing. Thank you!
LikeLike
I’m so glad it was helpful!
LikeLike
I used the American Duchess book to draft my pieces but was full of anxiety after finishing them, both bc of the tight fit and the wrinkles! This post helped settle my mind. Your mitts turned out really well.
LikeLike
Pingback: The Linen Mitts of Discontent
Pingback: The Linen Mitts of Discontent - Sew What Happens