From Amazon to Amazing!…err sort of
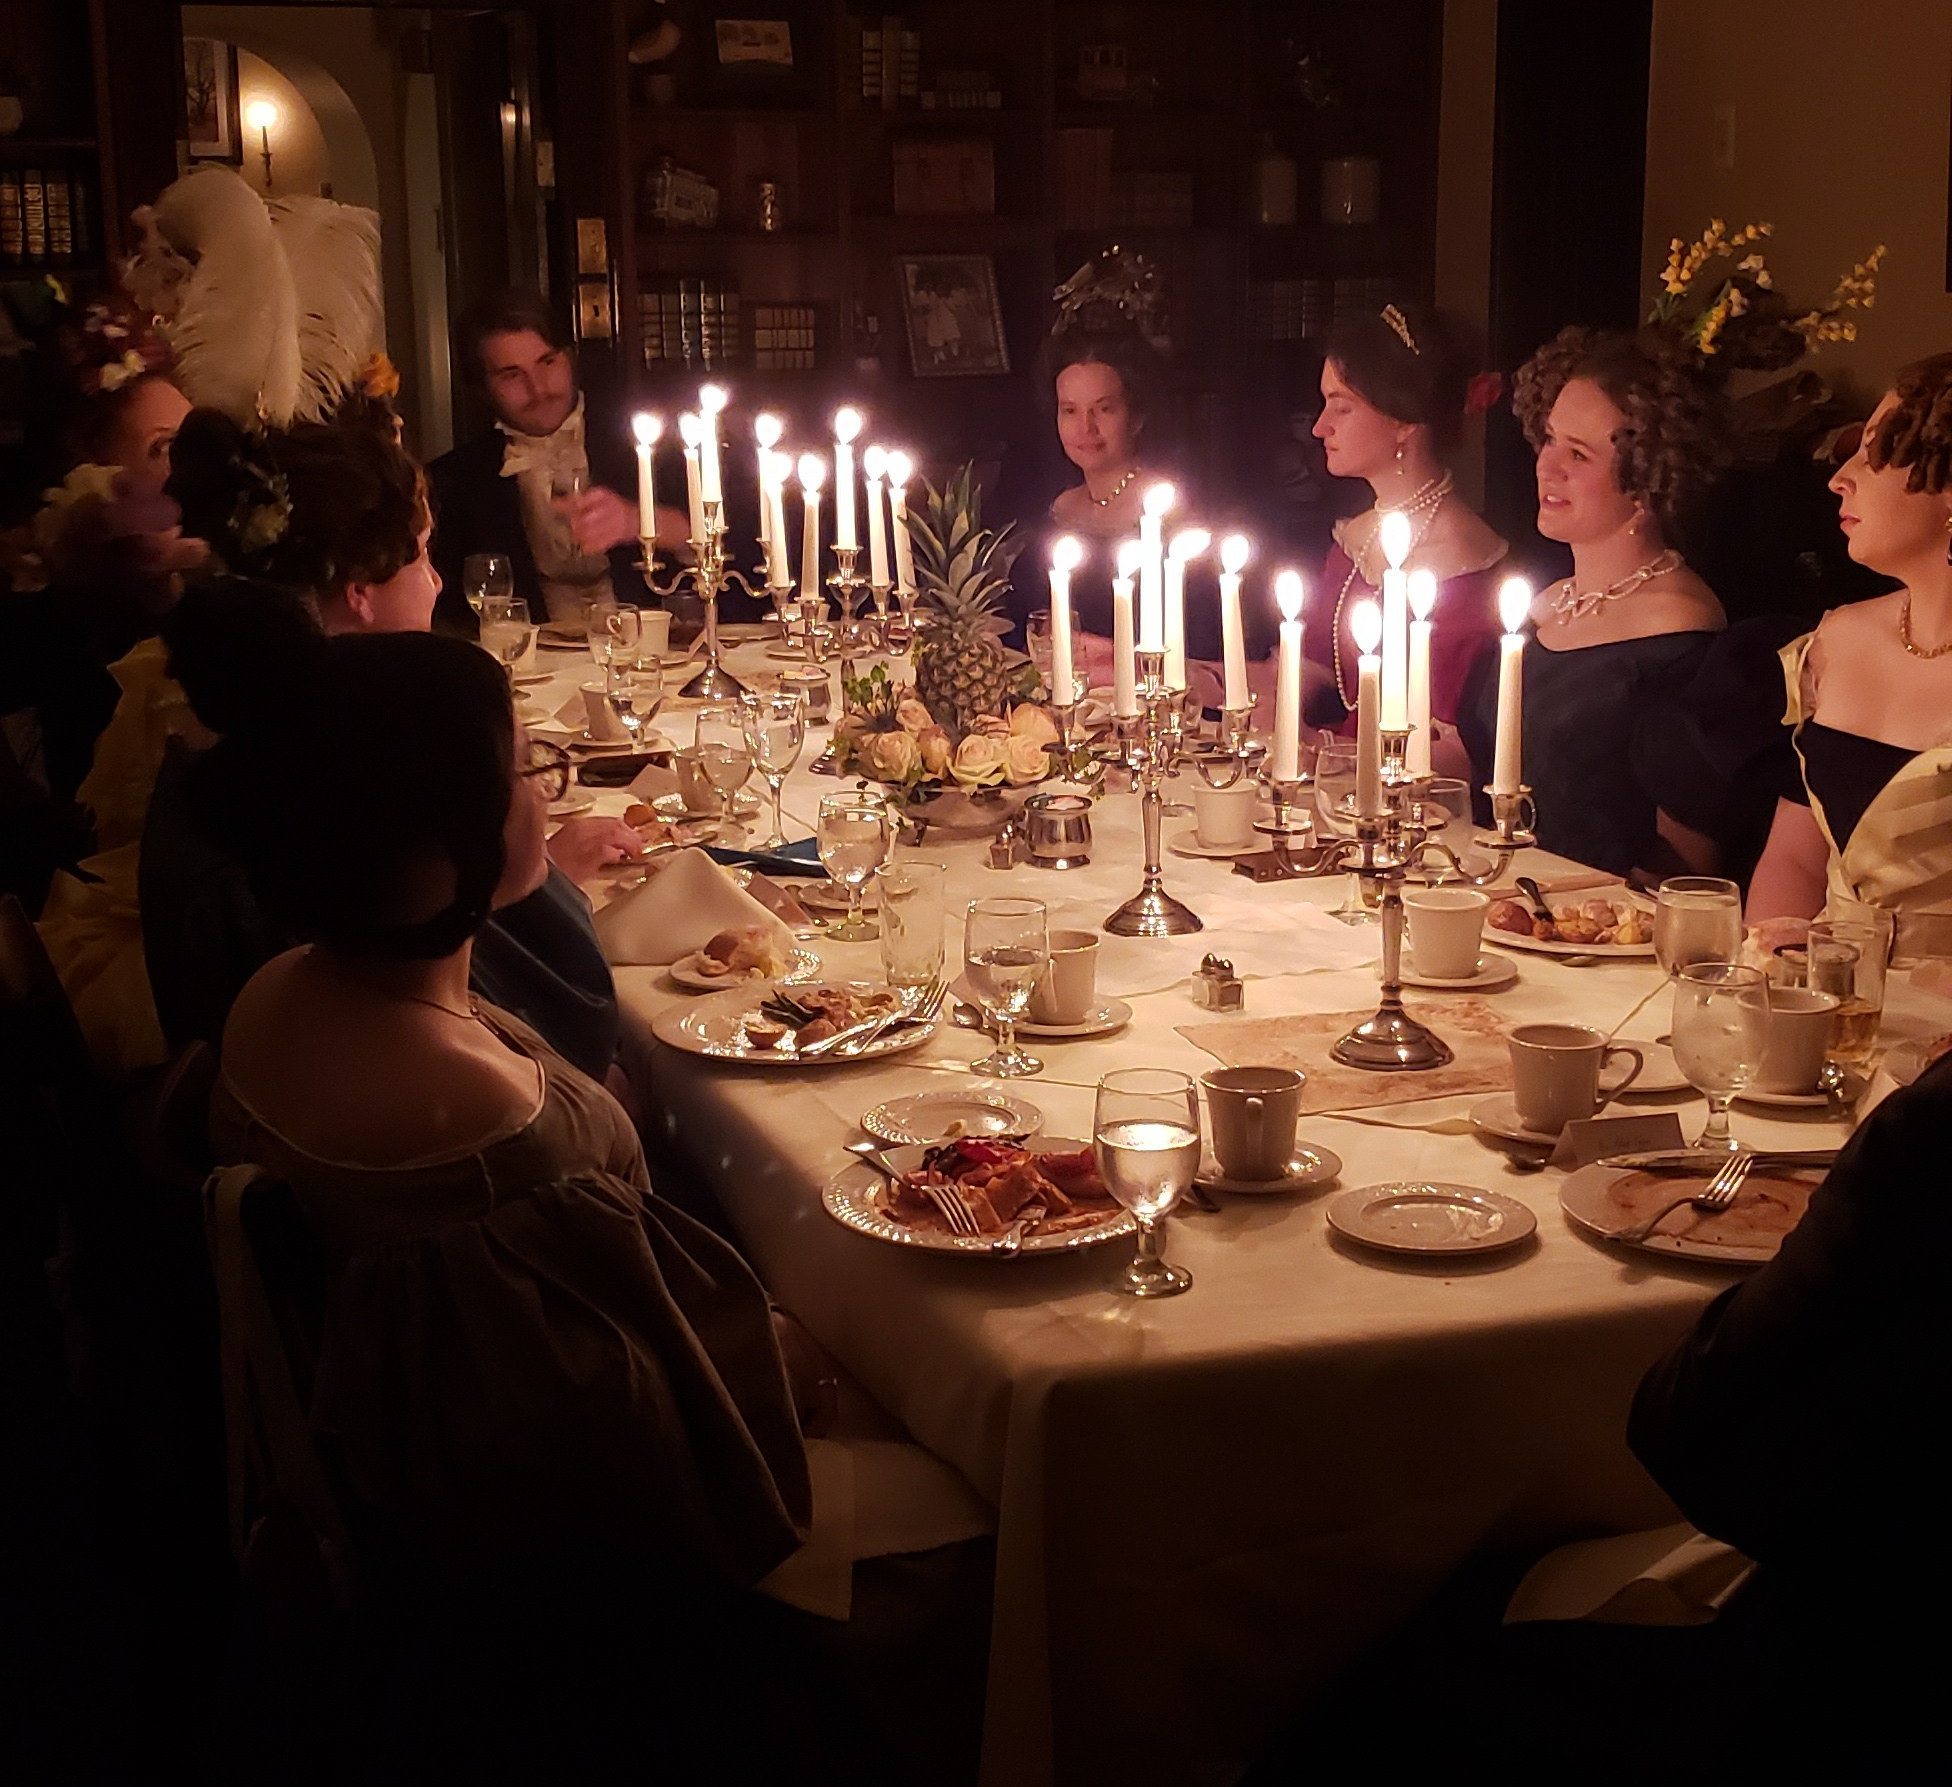
I’m starting to think more seriously about preparing for our upcoming Spring Victorian Soiree in April and when I took stock of my wardrobe it had been a little while *coughtenyearscough* since I have worn a bustle. And when I looked for said bustle it was…probably lost to the sands of time. Plus I have grown significantly as a person costumer since then so I may not have fit my new bigger personality….waist. So it was time to make a new one!

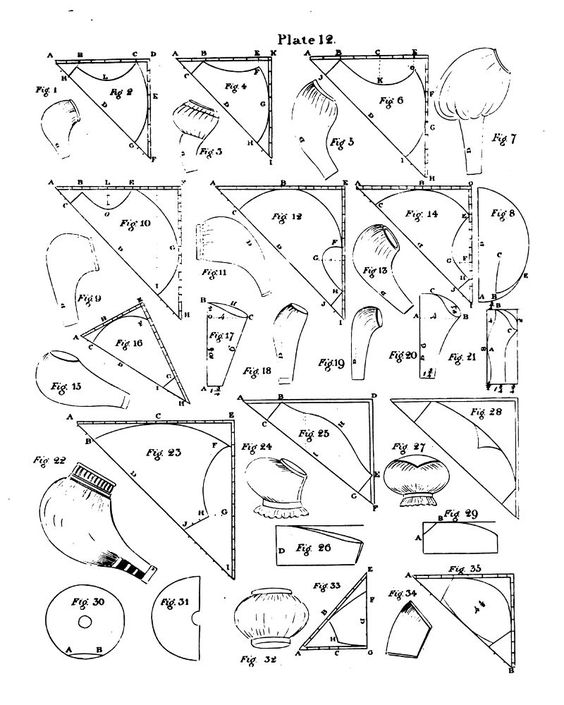
Corsets and Crinolines
Option one would of course be to sew one. The above bustle from Corsets and Crinolines is a great starting point if you are motivated to do so. However, I am currently working a LOT and feeling a touch overwhelmed by it all and was hoping for a bit of a cheat code. I looked on etsy and there are several great ones to be had but at $100-$200 a pop well that could be a whole dress length of fabric. So I started to look for other options. And would you believe you can get a bustle on Amazon of all place Who knew? Bustle

It was $30 and part of me was honestly curious what would arrive…and in 2 days on Prime it showed up at my door looking just as expected. Impressive really.
What you get for $30
- What feels like a cotton blend
- Steel hoops, not the super heavy buckram covered stuff you’d get 10 years ago but the stuff that comes in bridal hoops now
- ties at the waist
- Bones are a little short in the channel
- Funny top to be explained later
Easy ways to upgrade
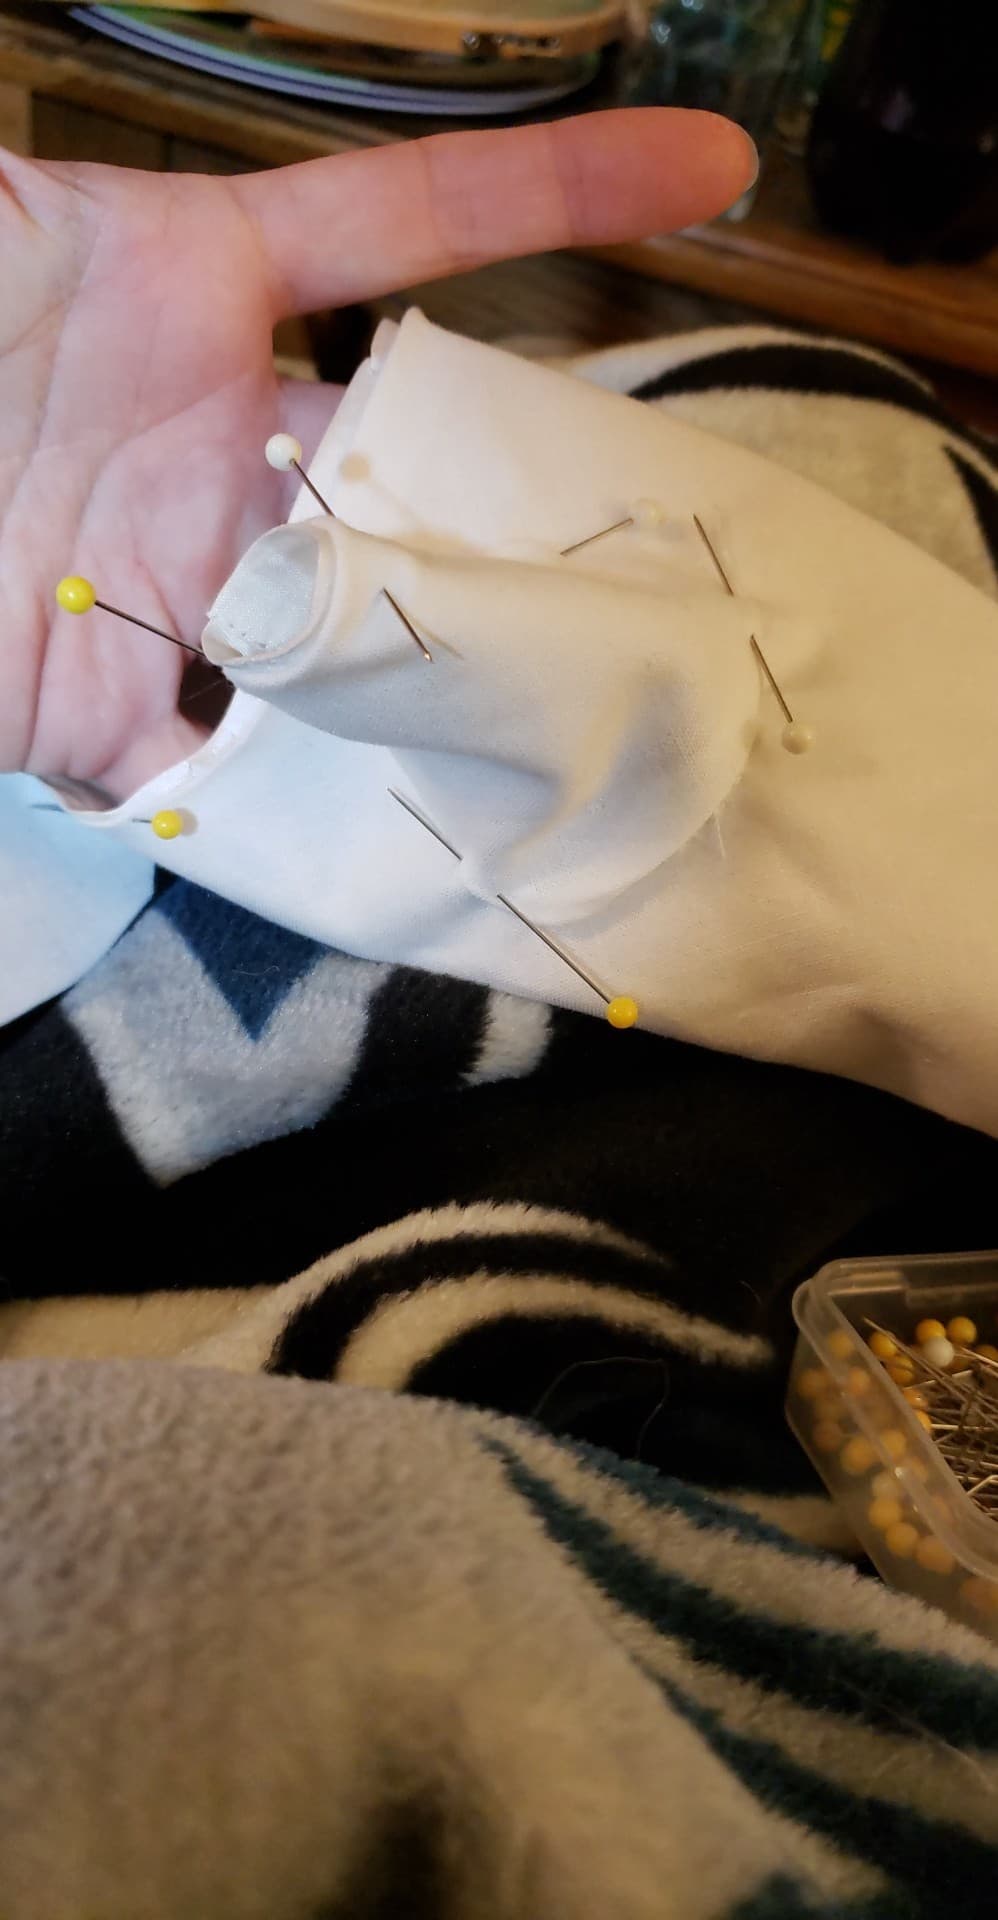
The first thing I did to improve my bustle (I apologize that I didn’t think to take BEFORE photos just after, I’m such a good blogger), was to take off the waist tie. I wanted to put on a more substantial waistband that would close in the middle with a tie.
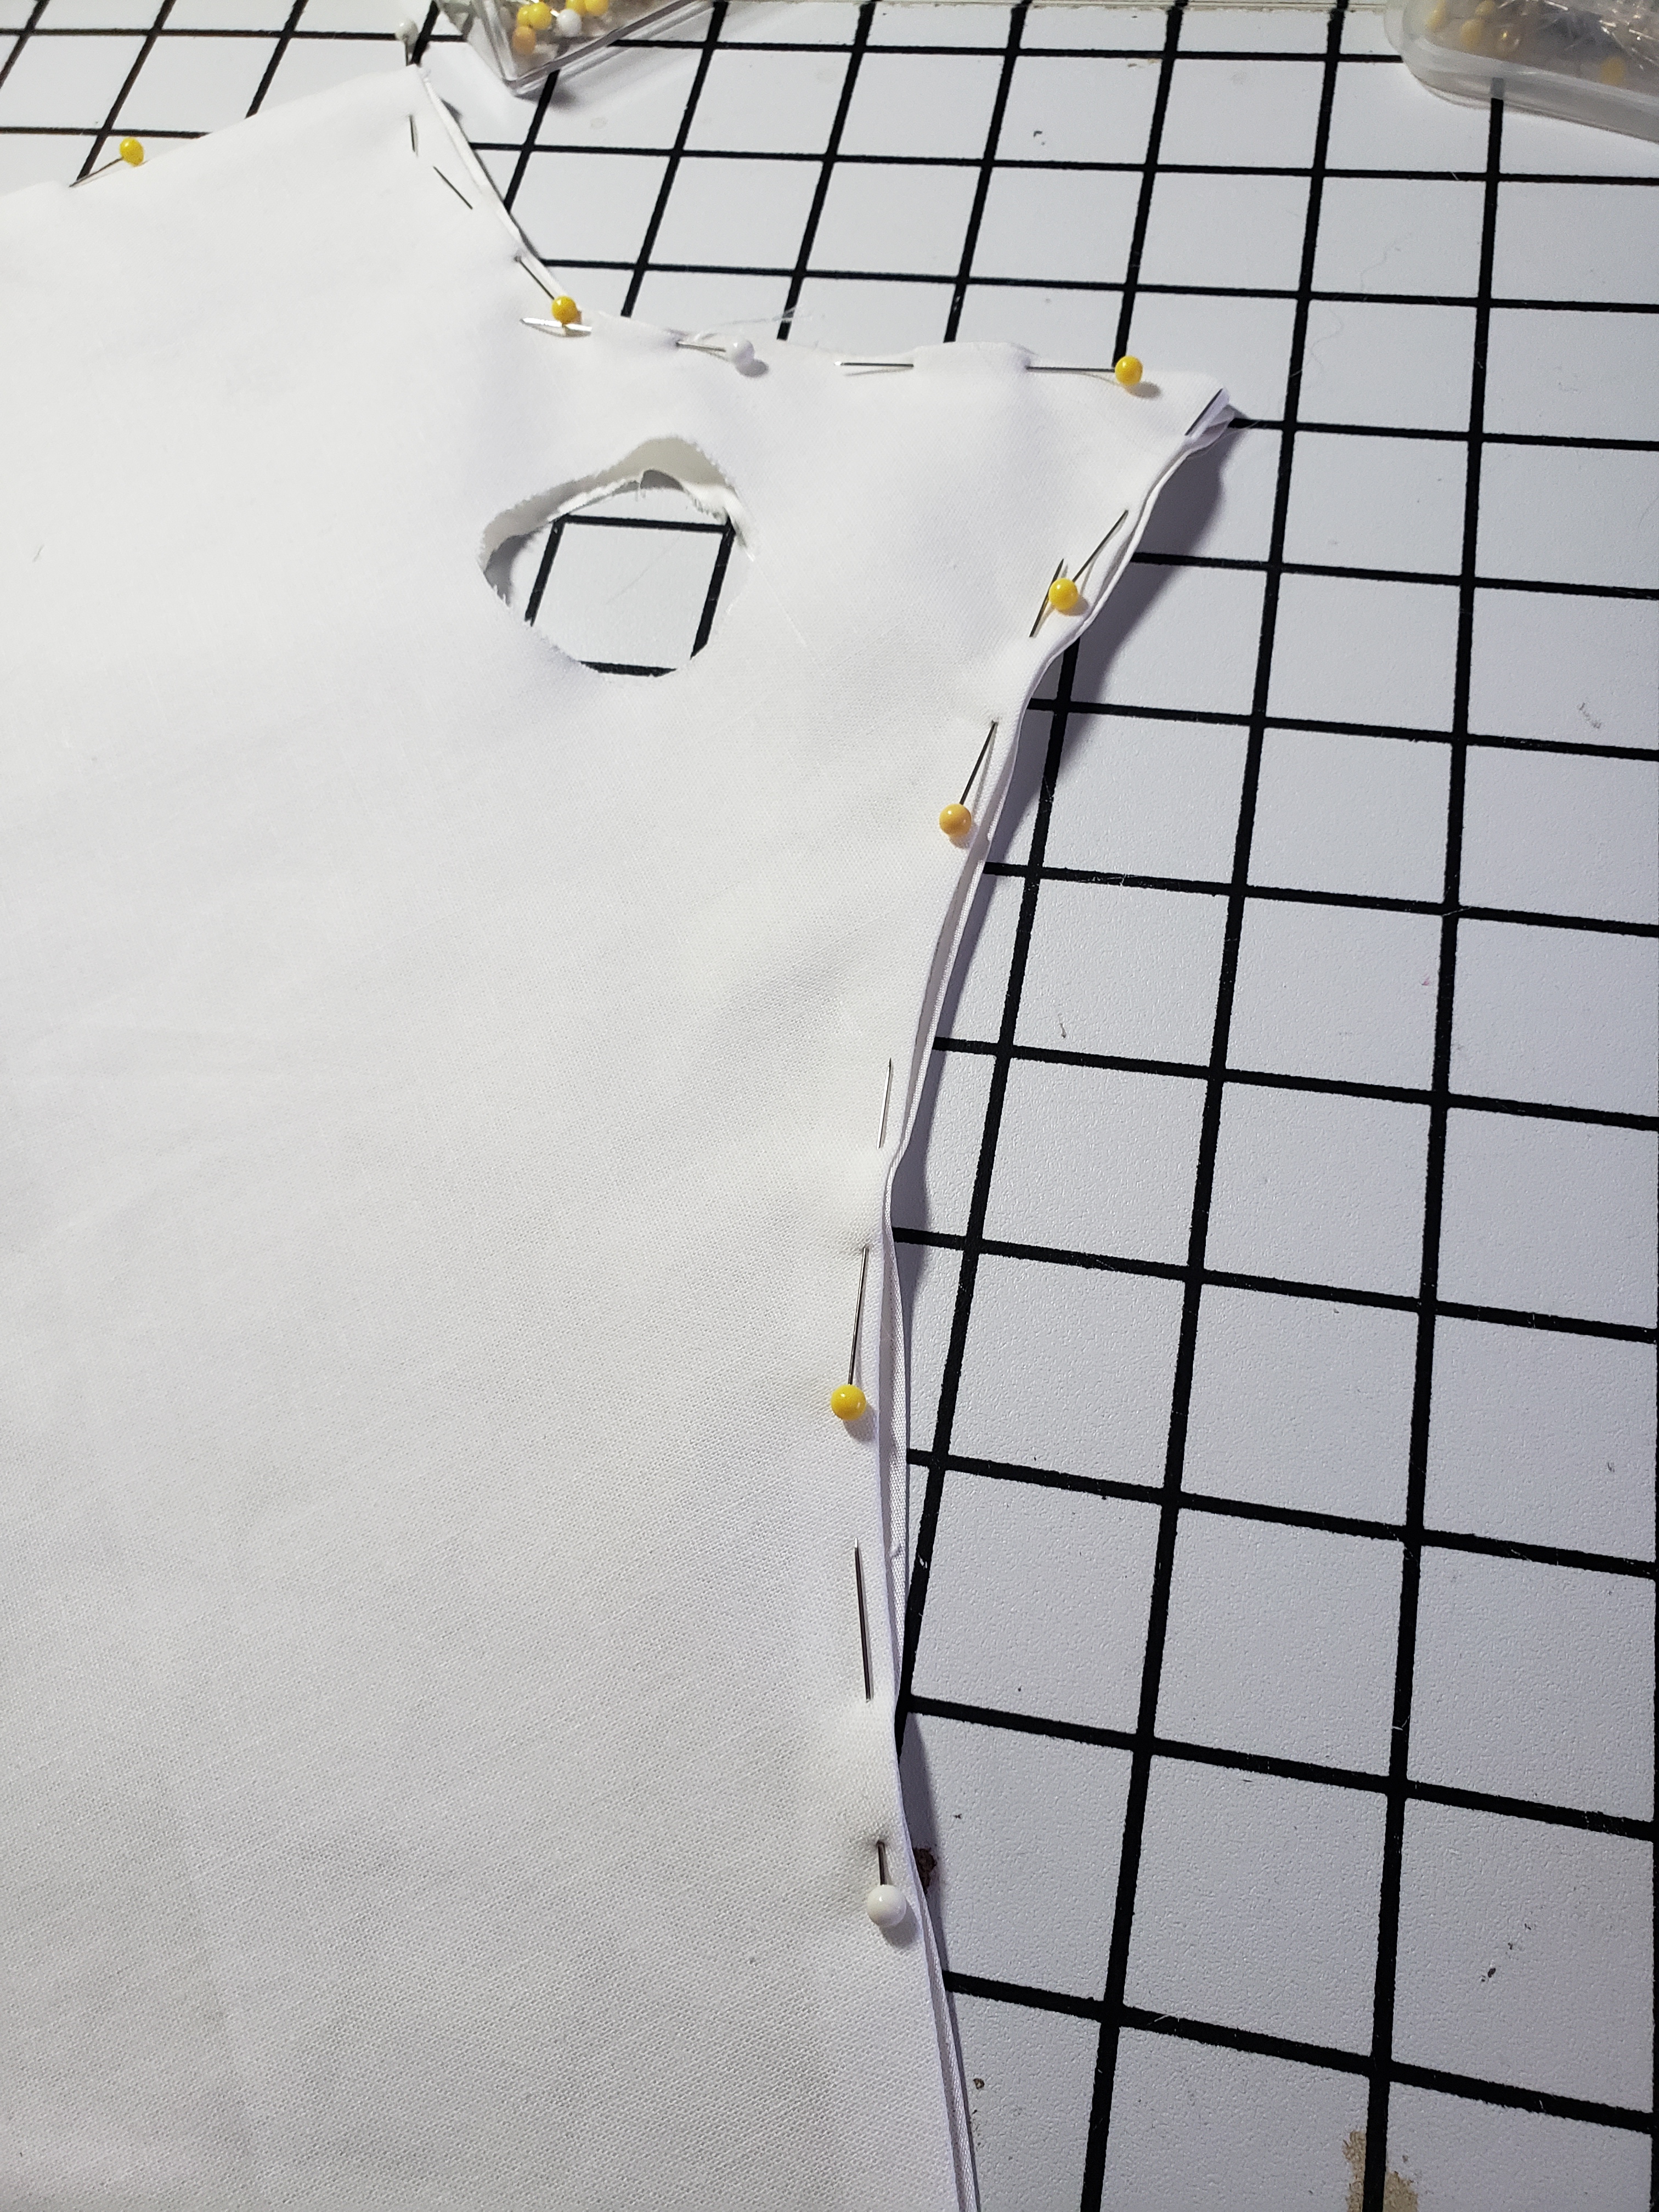
The second thing I did was wrestle it inside out so I could awkwardly wedge it into the sewing machine and take a 1″ish (heavy on the -ish) dart out of the center so I could pull the U tighter and it would have more pronounced backward thrust.
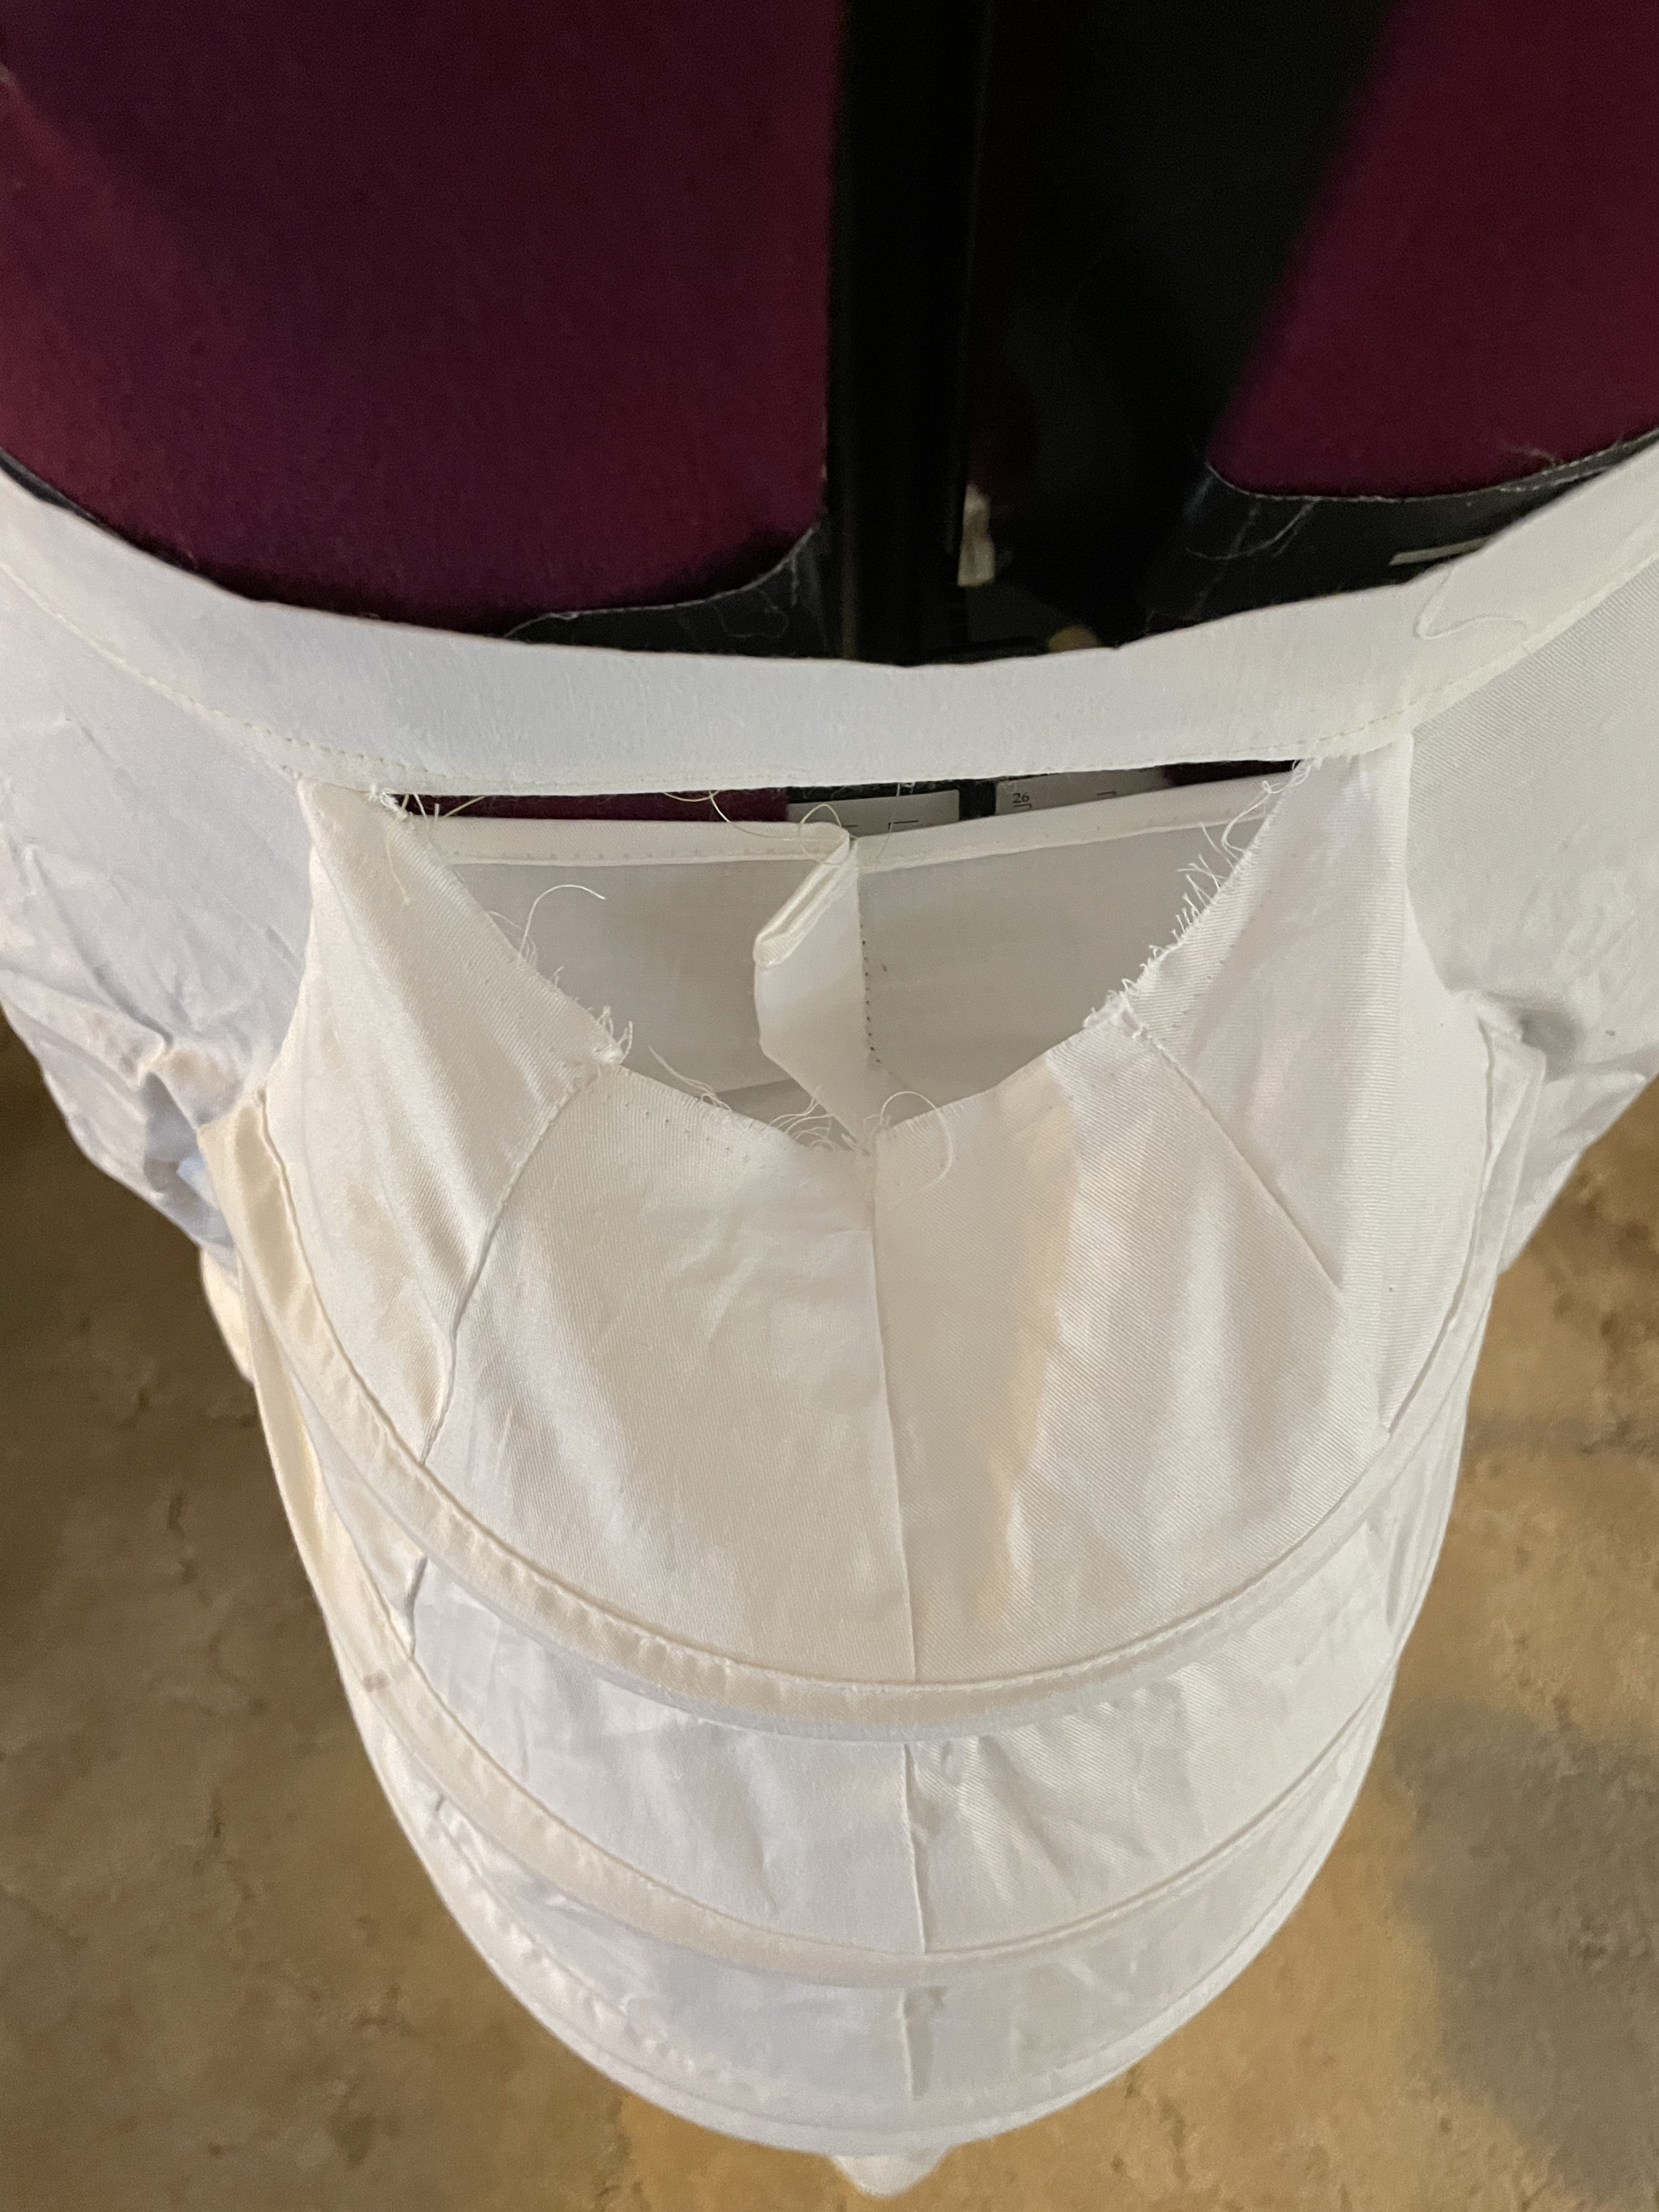
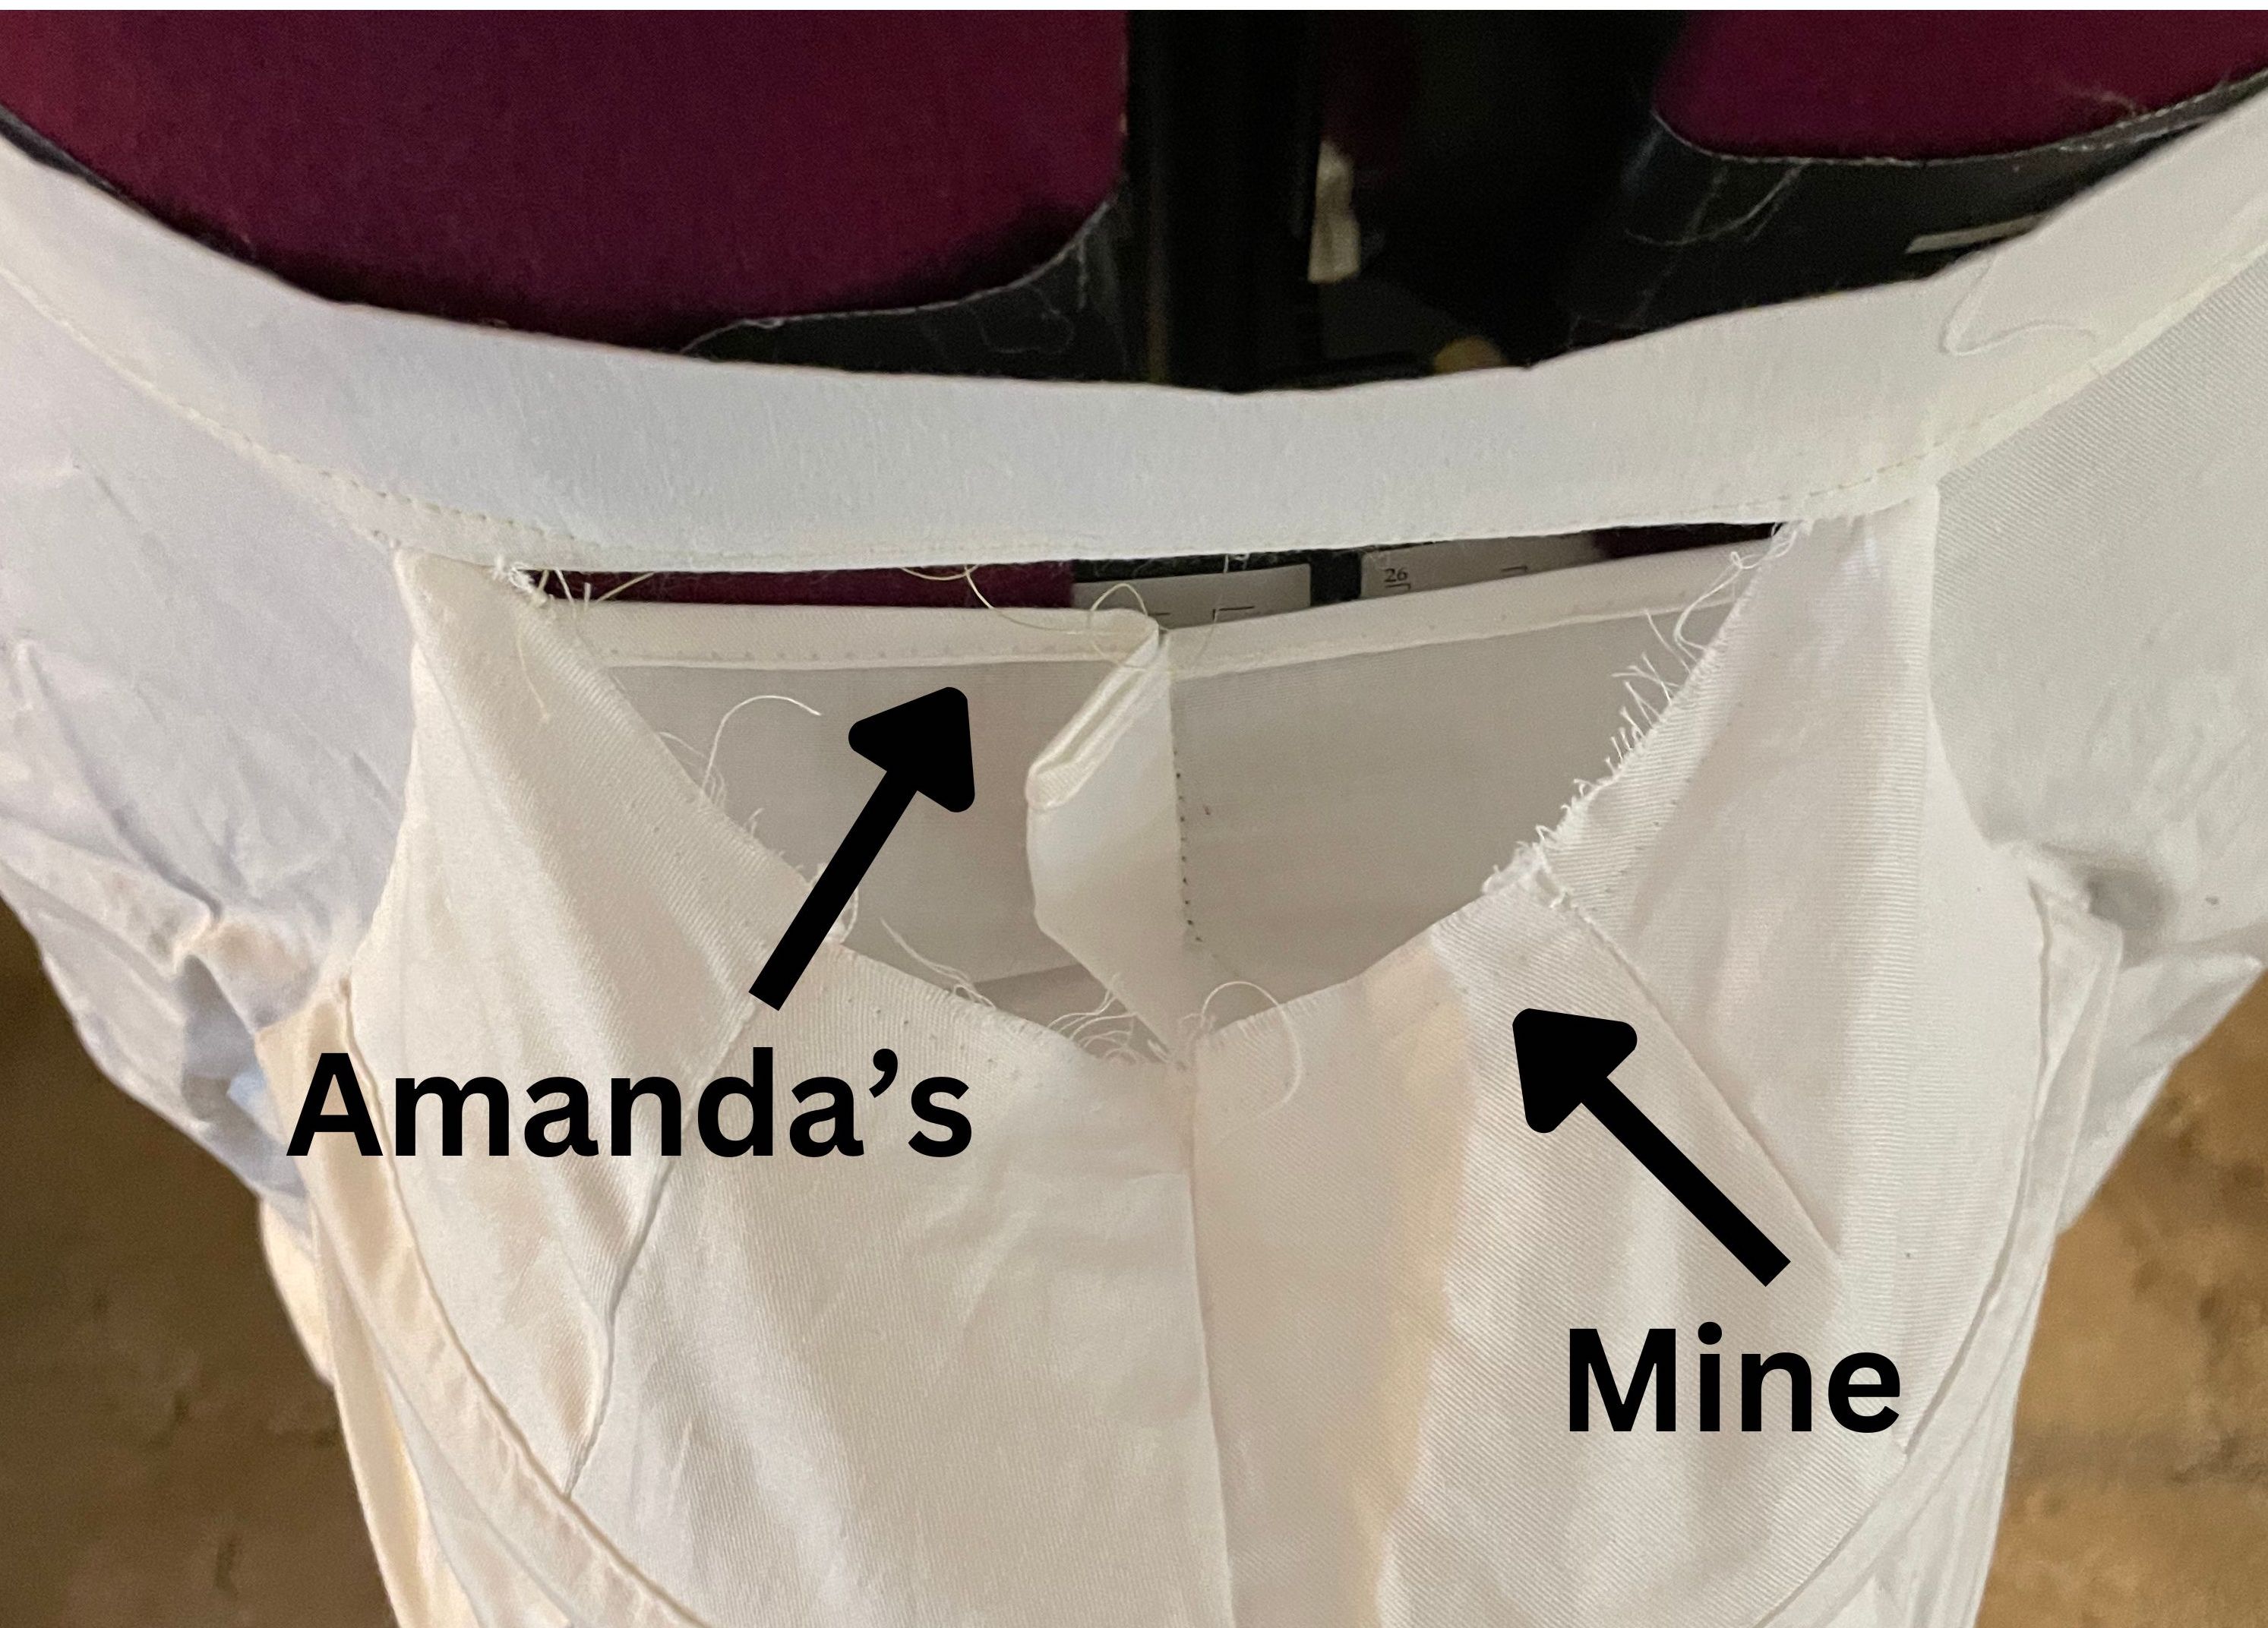
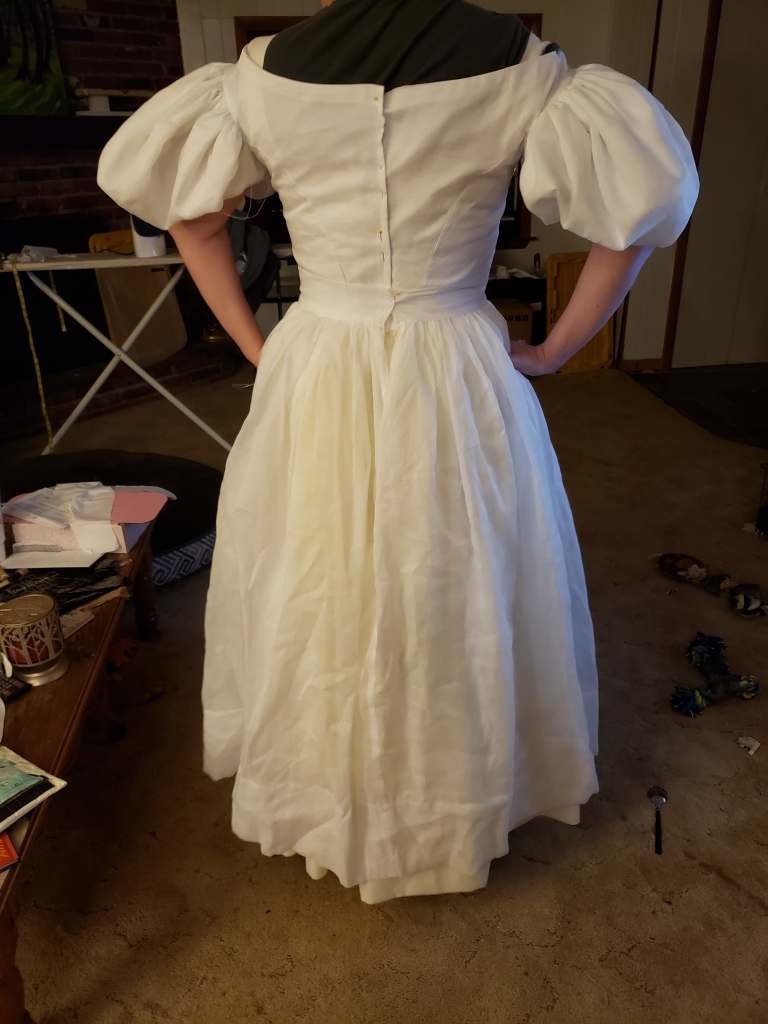
Amanda was very helpfully at sewing day when I was working on this and had her recreation of the Corsets and Crinolines’ bustle and when comparing them I noticed something. Where the waistband connected was across the flat BACK of the curved part NOT along the curved edge. If I attached my wasitline back where Amazon had it the bustle would never sit flat against my back as it would be pulling in the wrong direction.

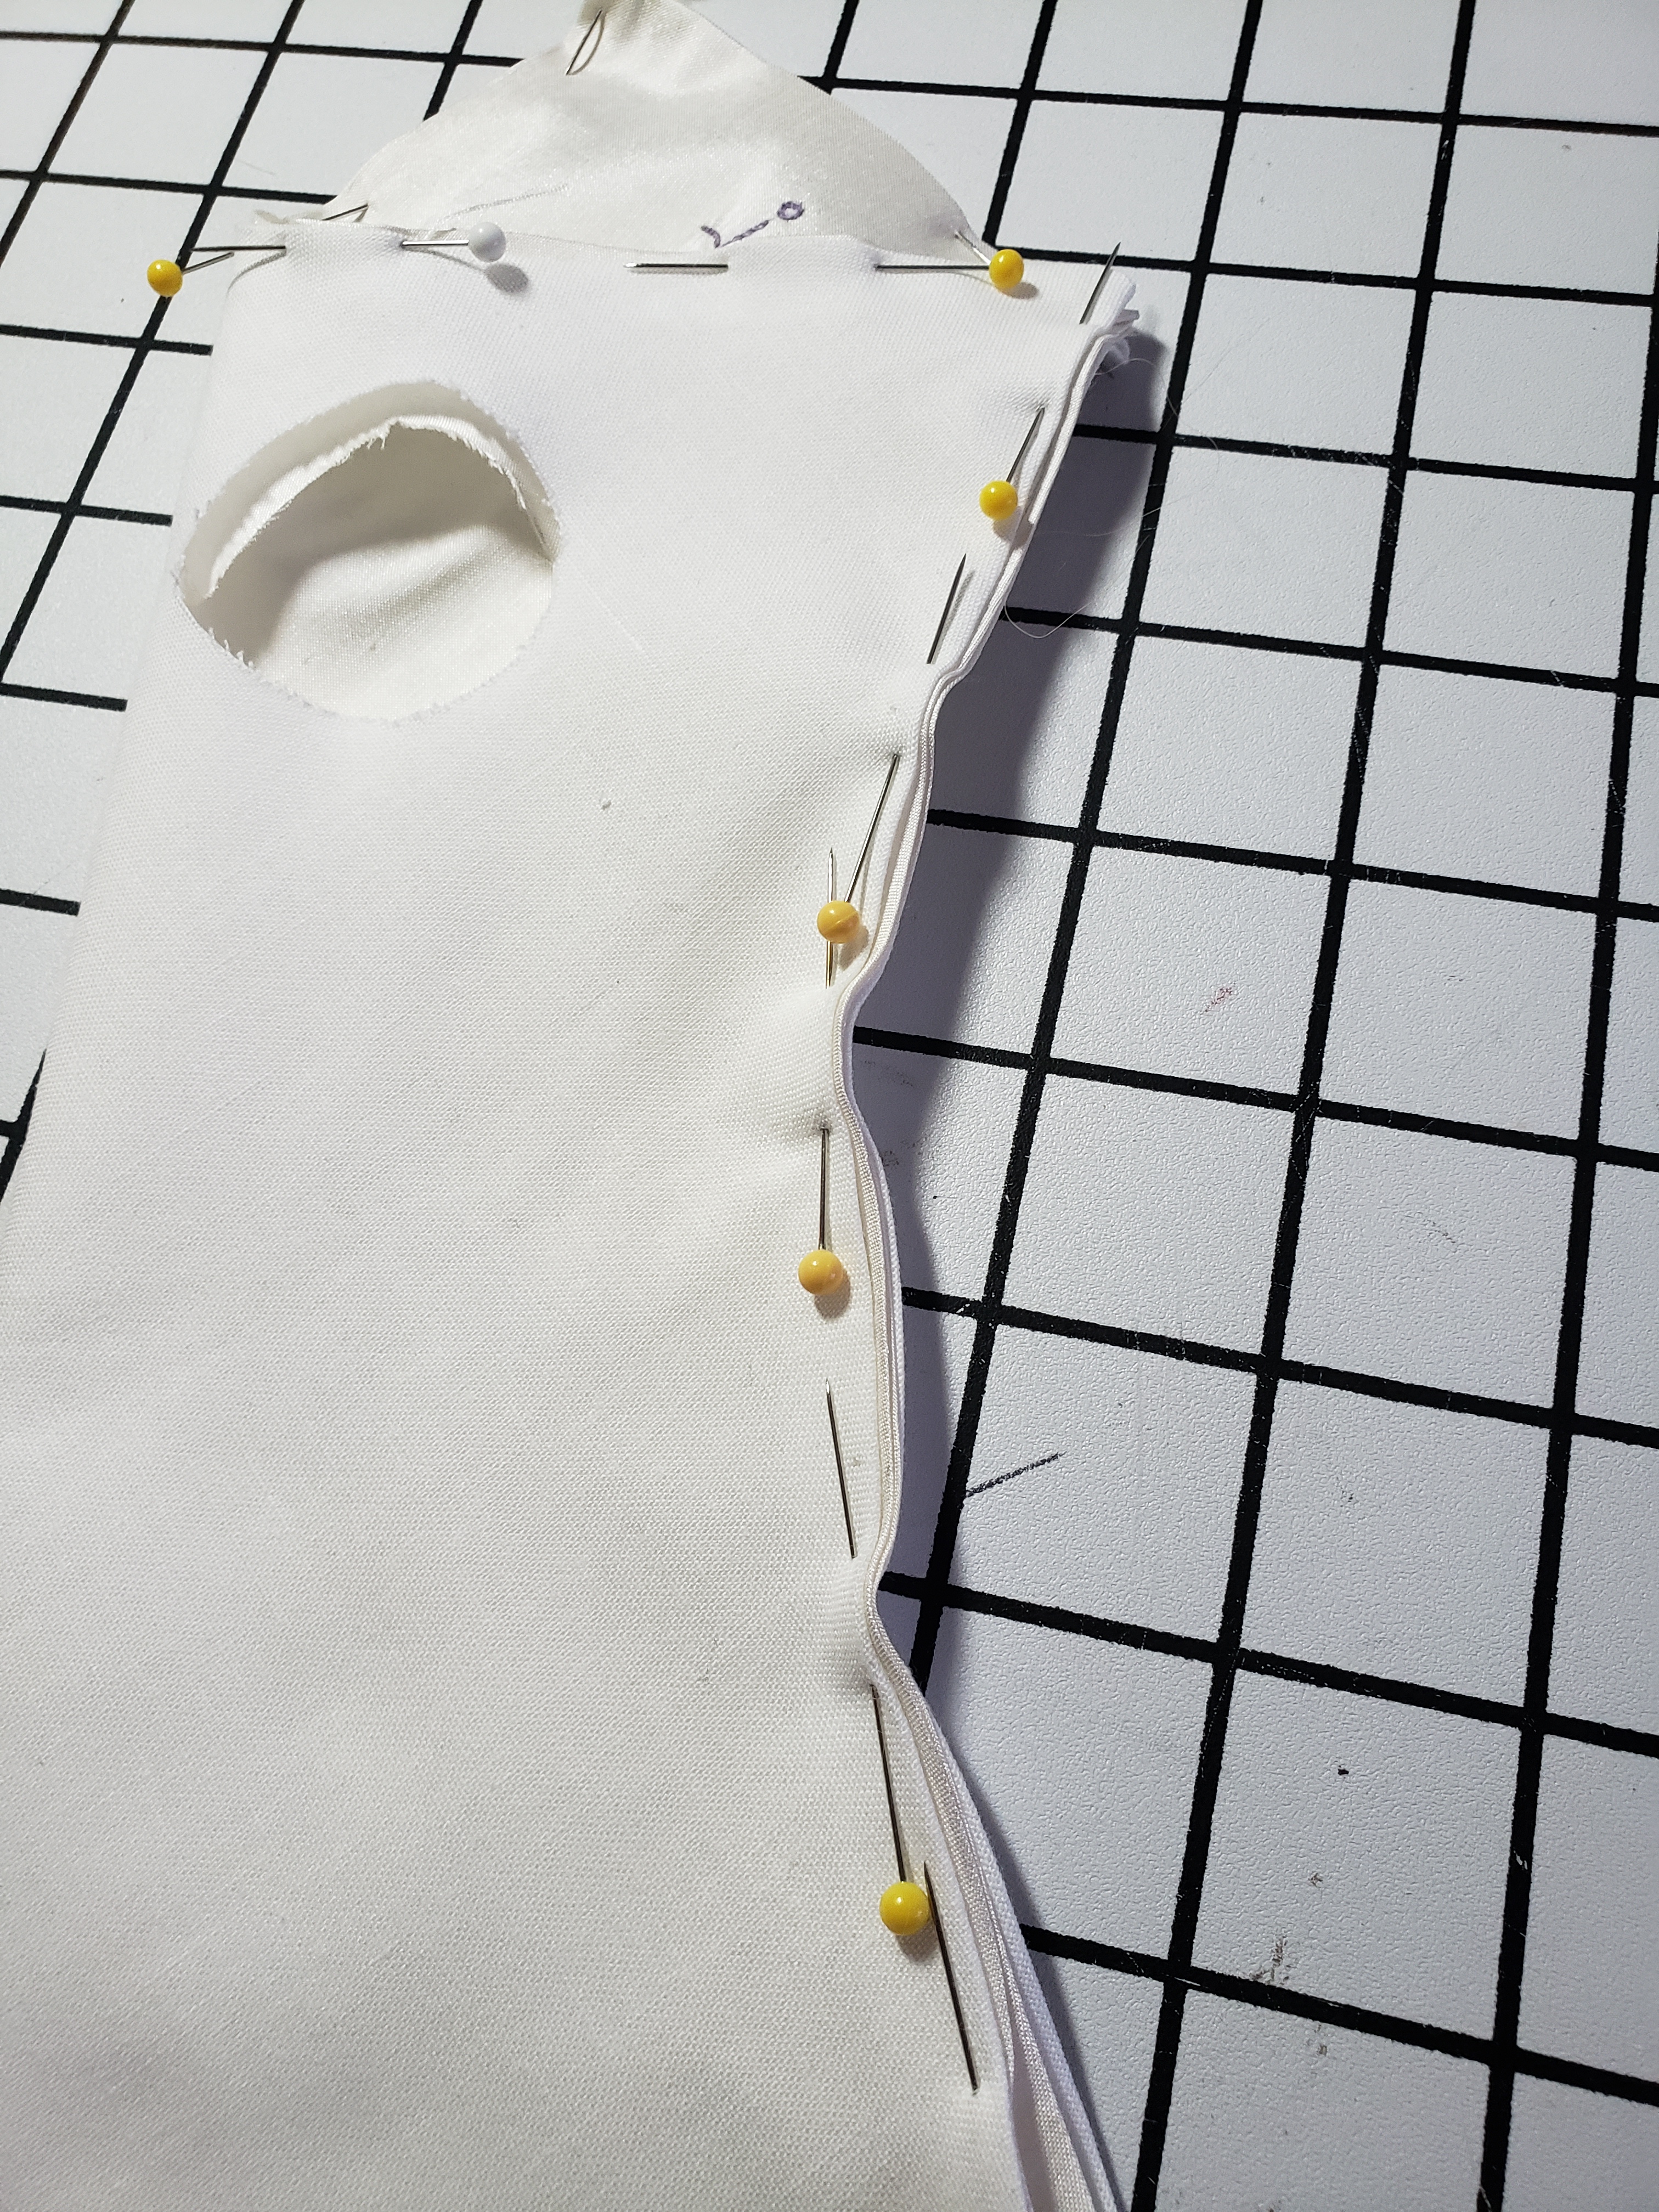
Now I could have put in a patch at the top to make up the difference and bring my bustle all the way up, but this was a 1 hour upgrade so I went withsewing the waistband to the sides and across the span and just leaving a hole…Who will ever know..other than the 7 people who read my blog and you won’t tell on me…right?

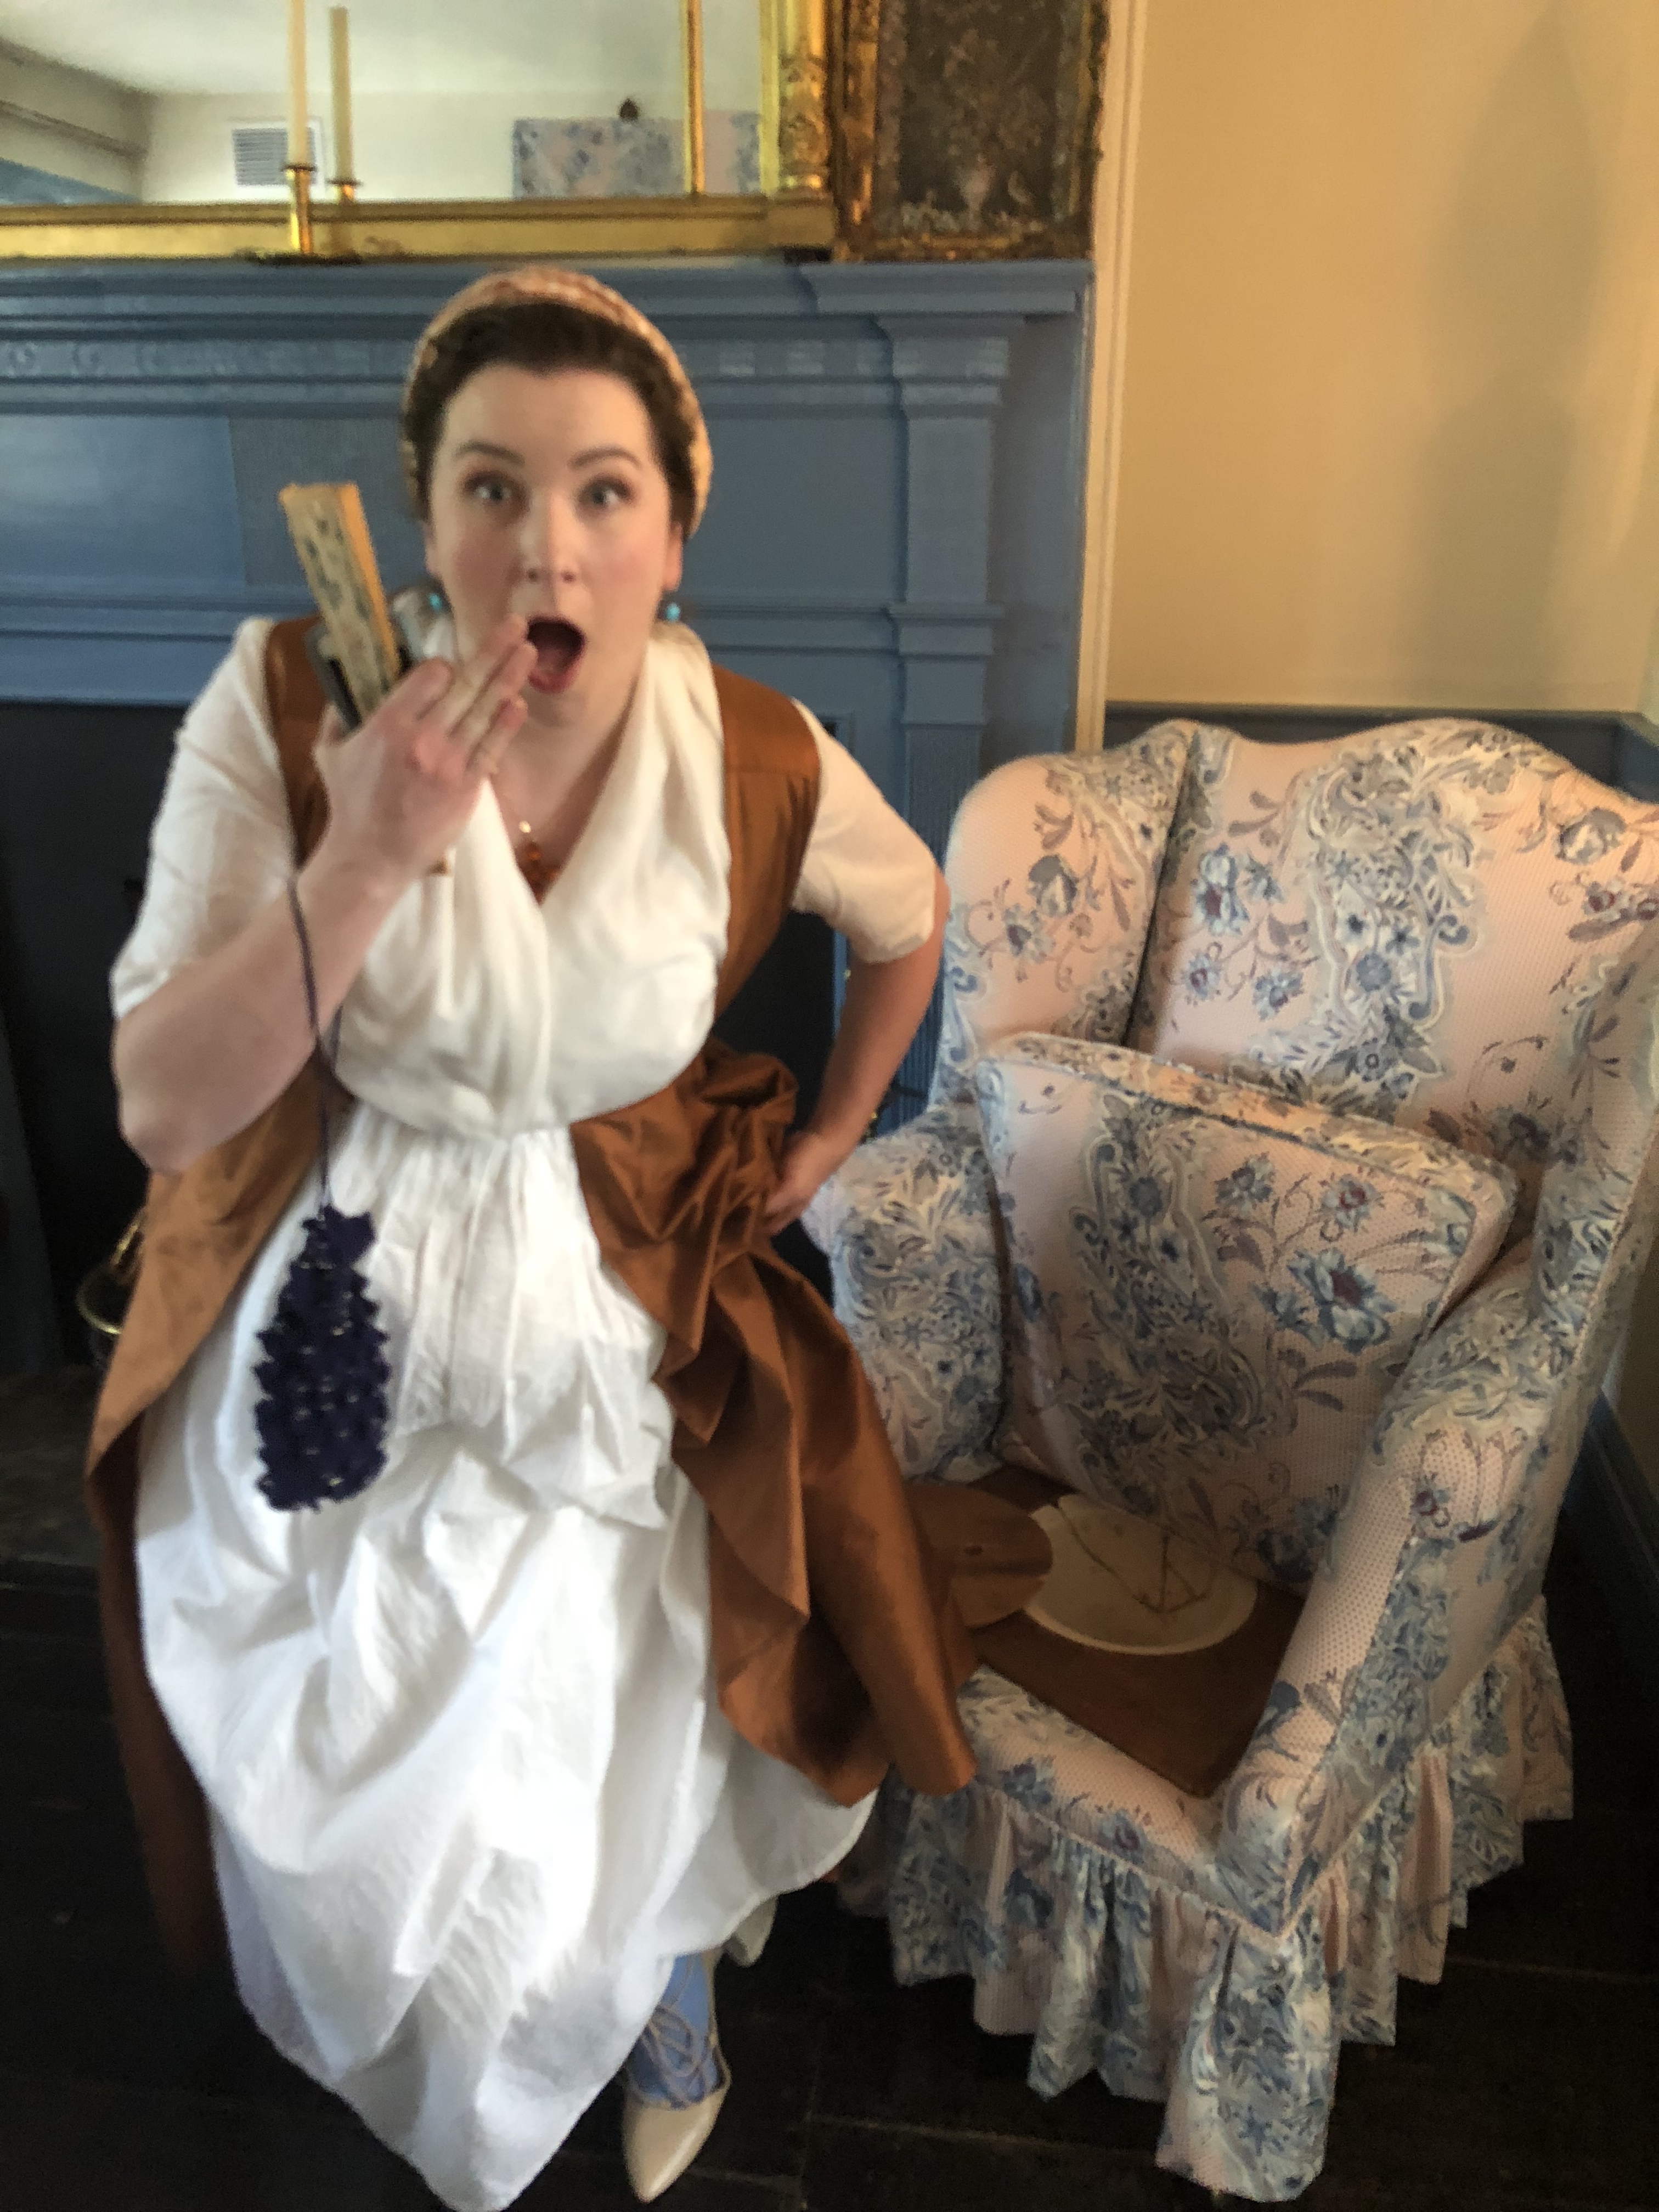
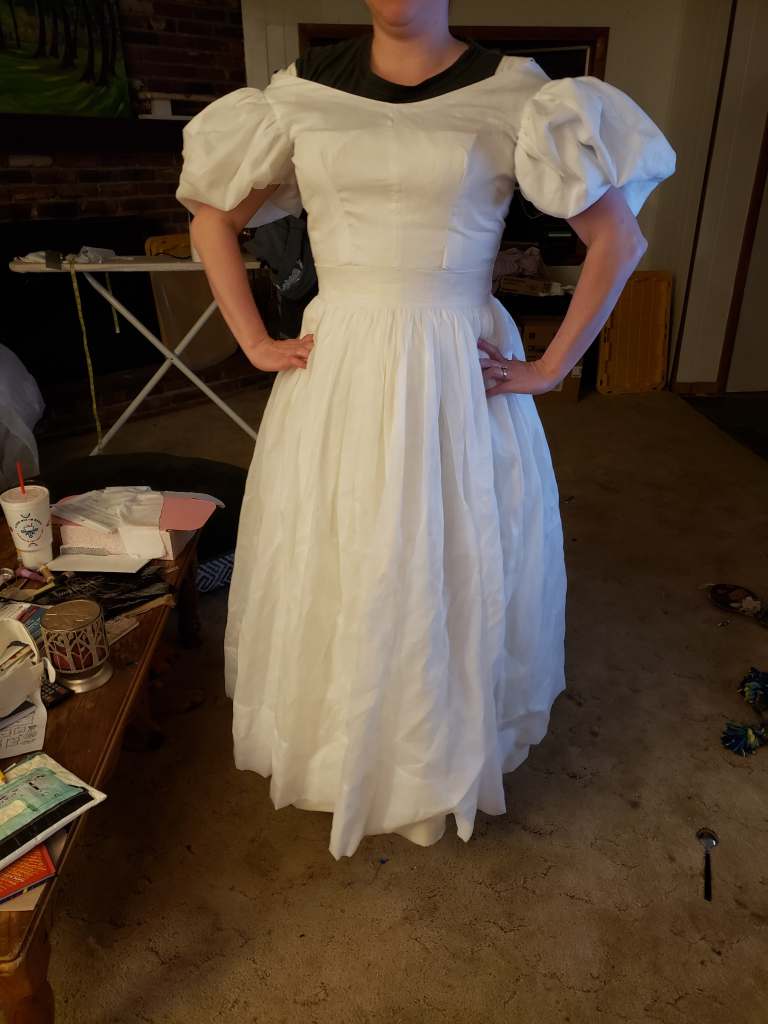
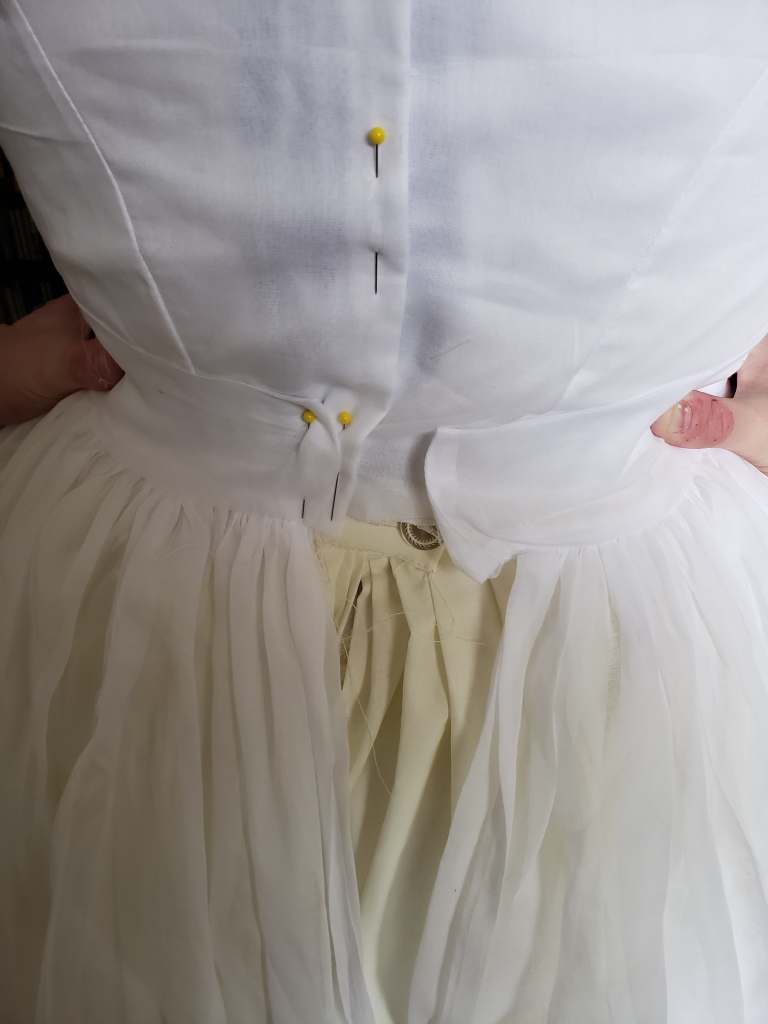
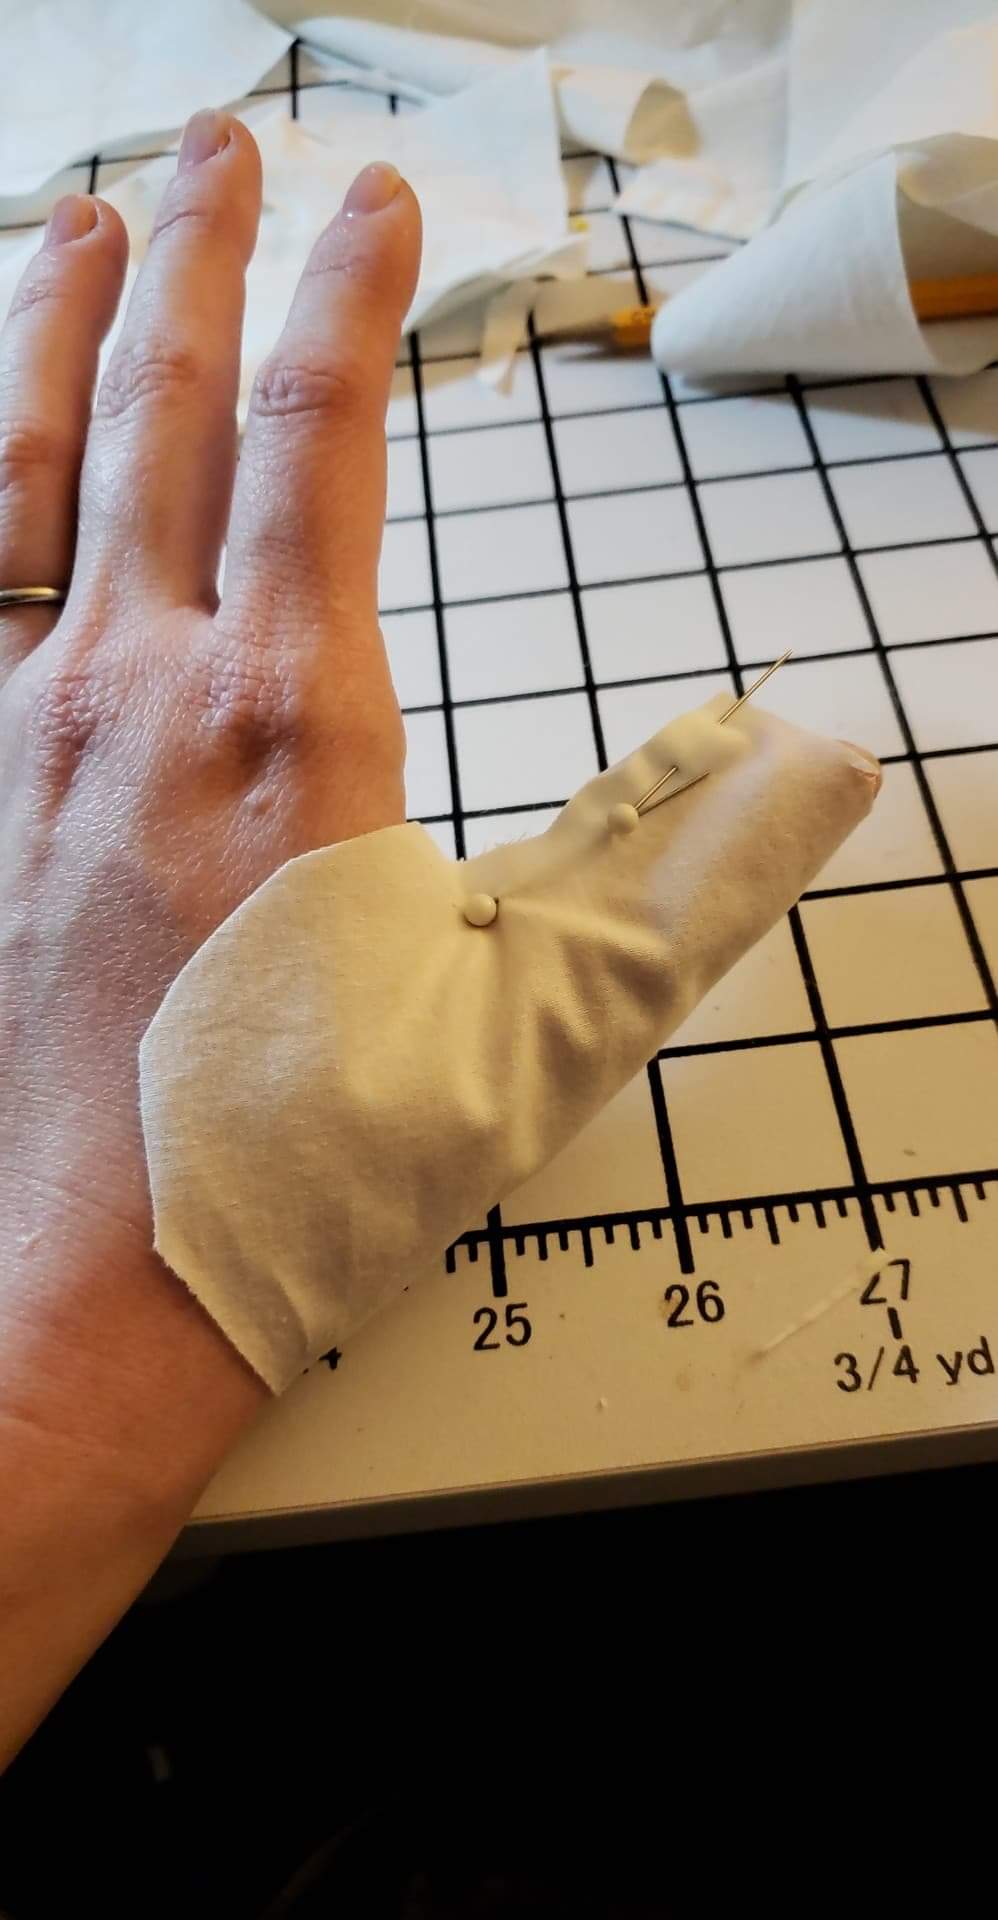
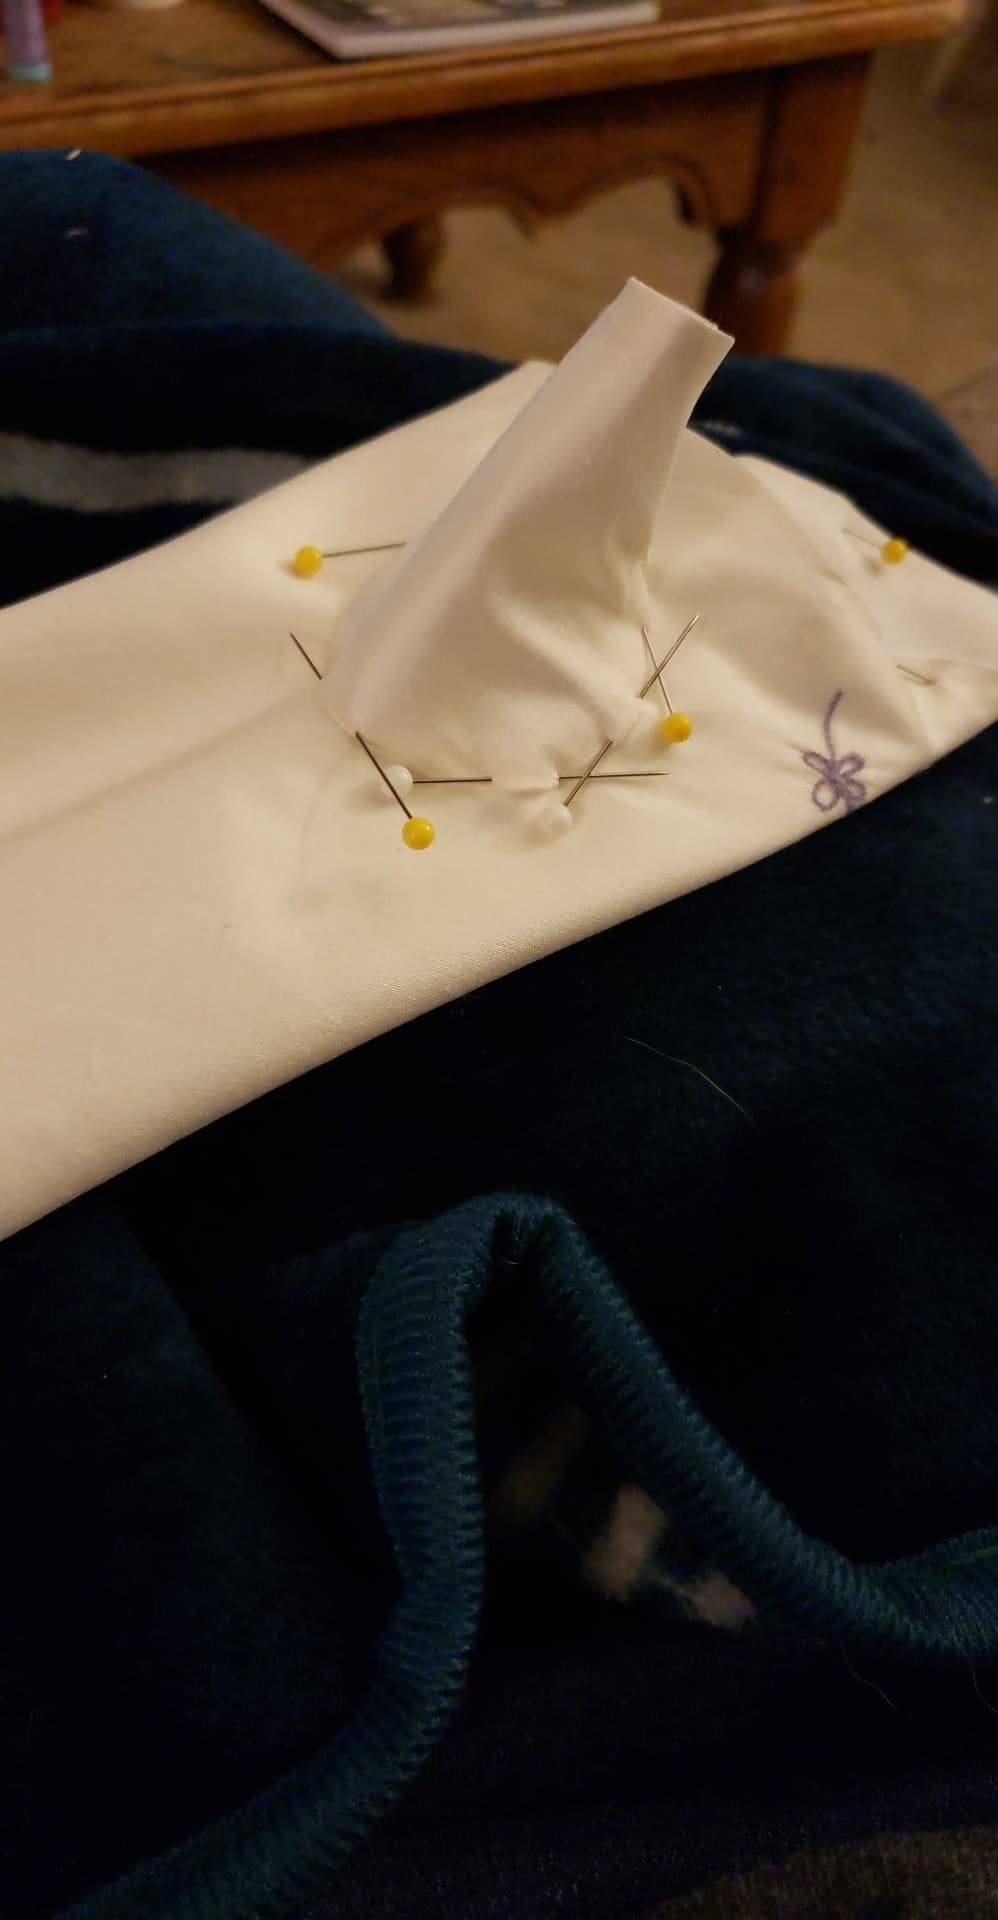
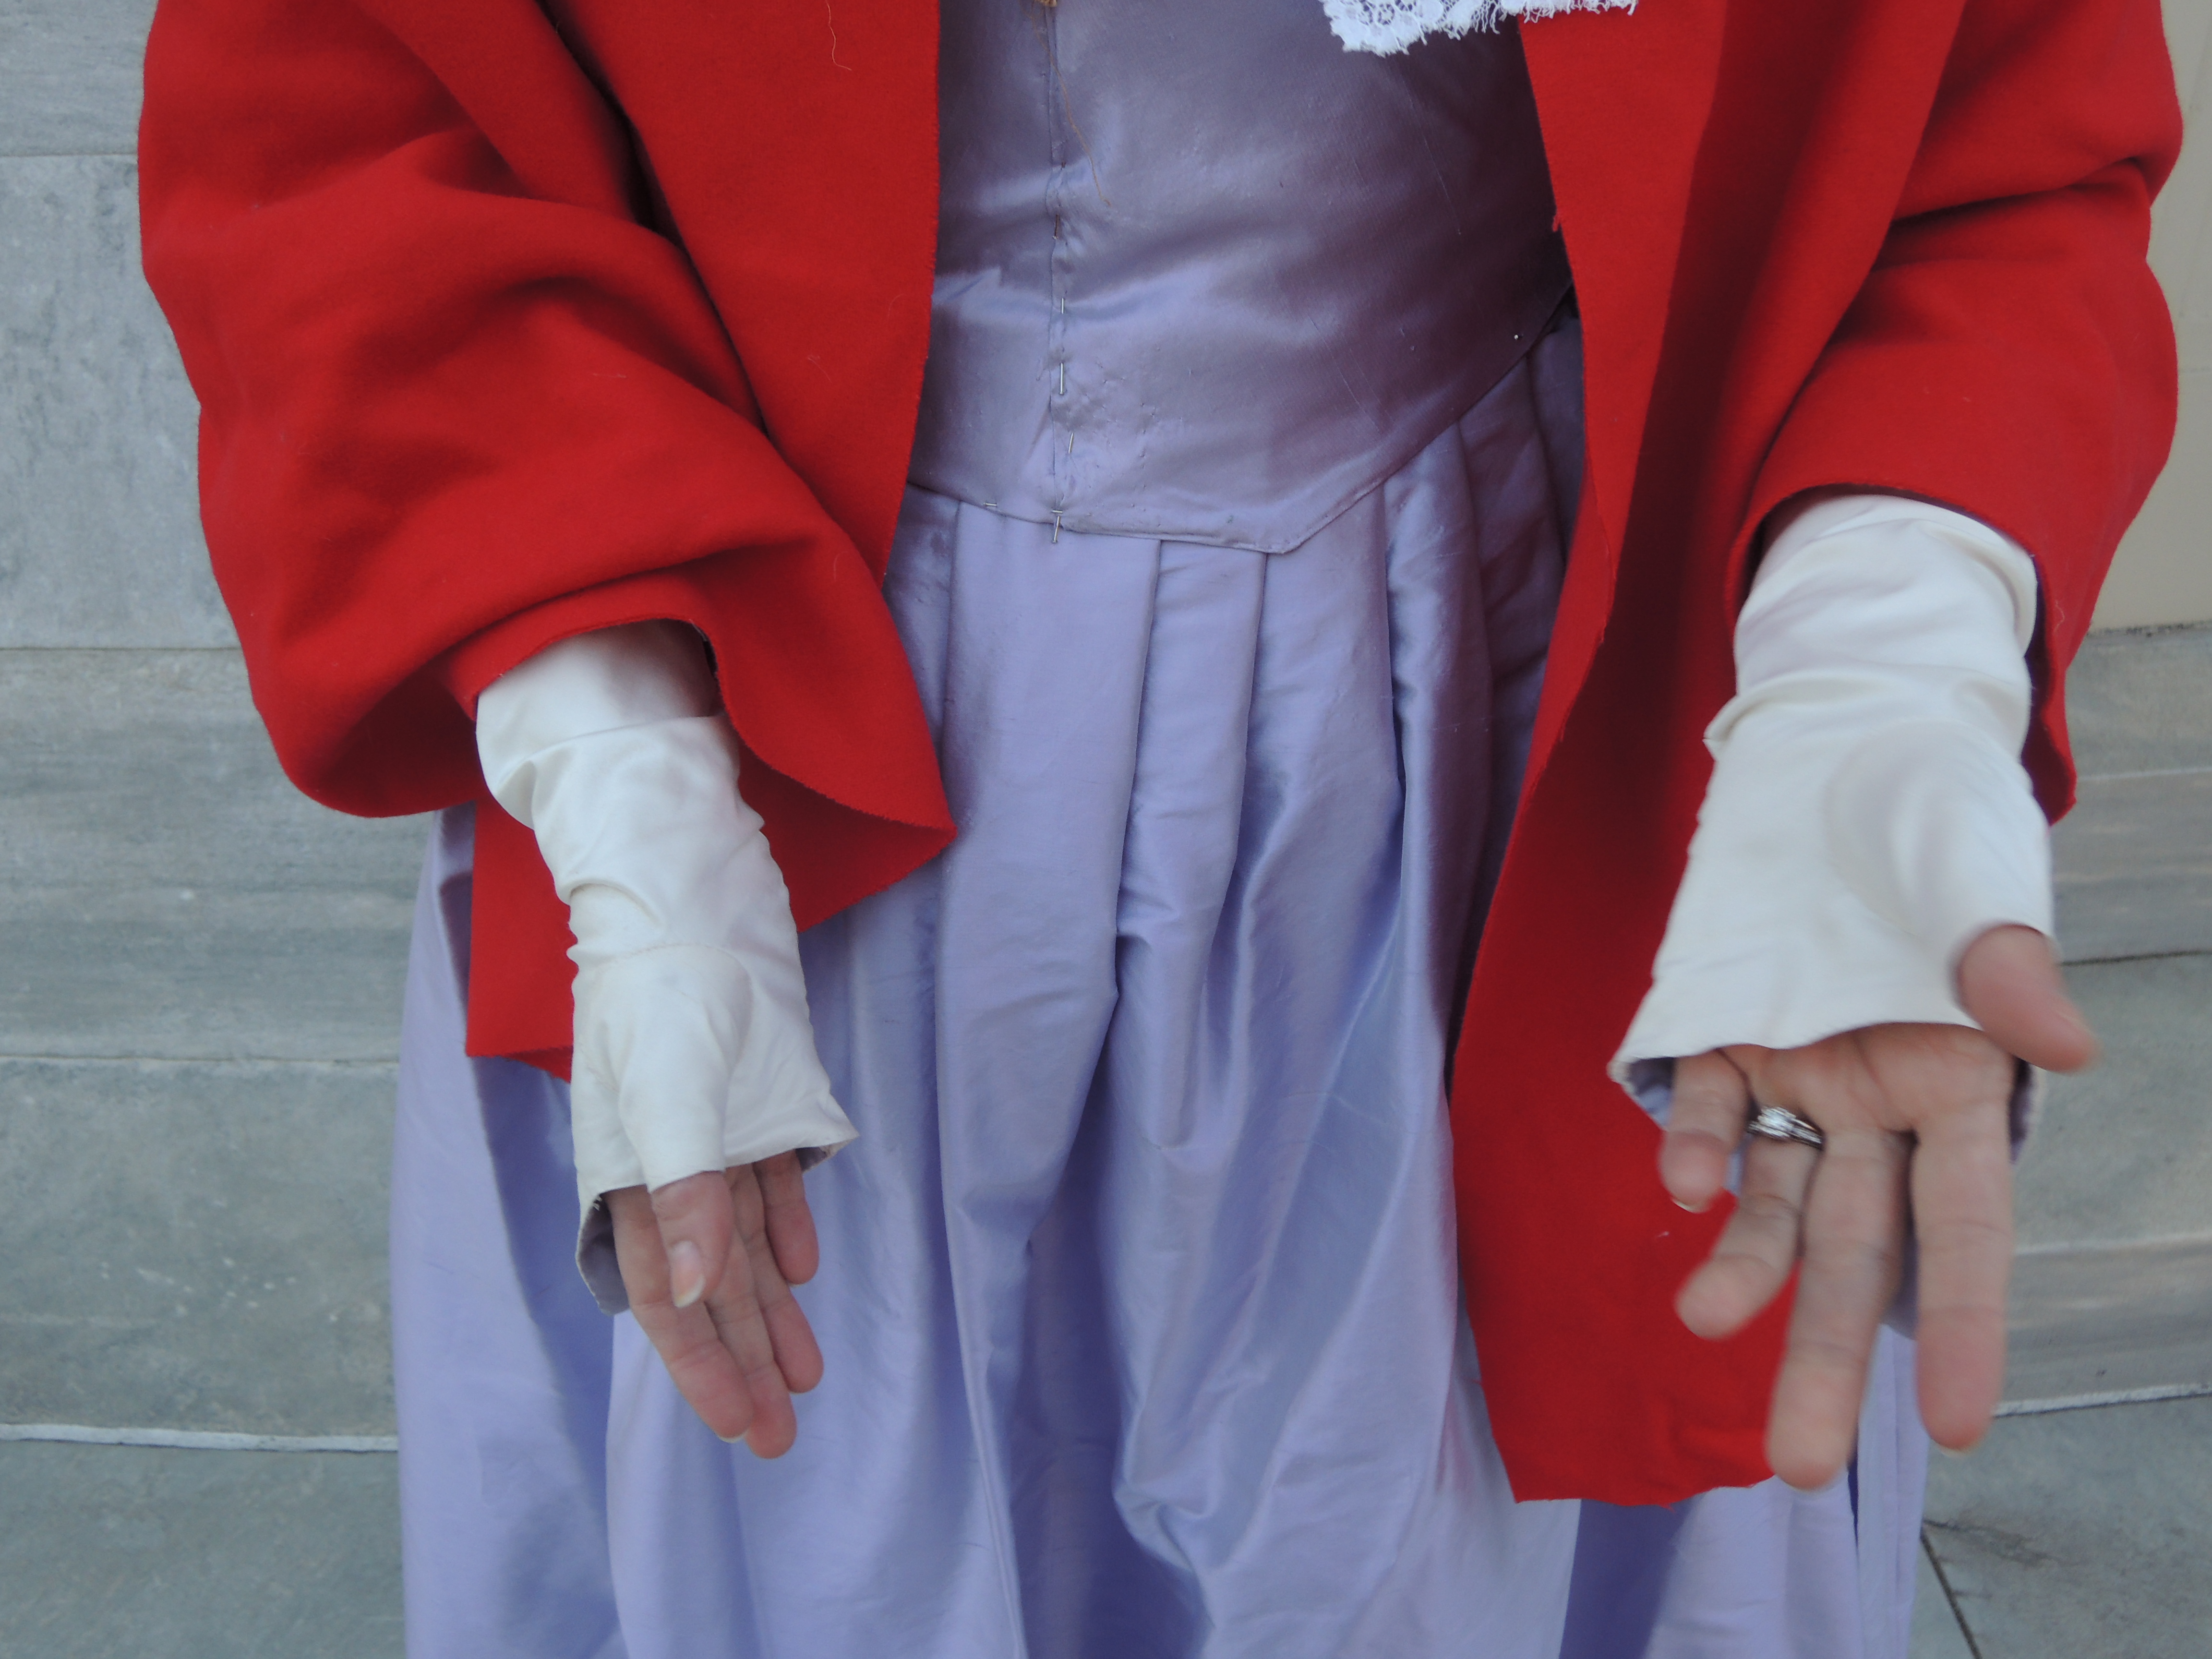
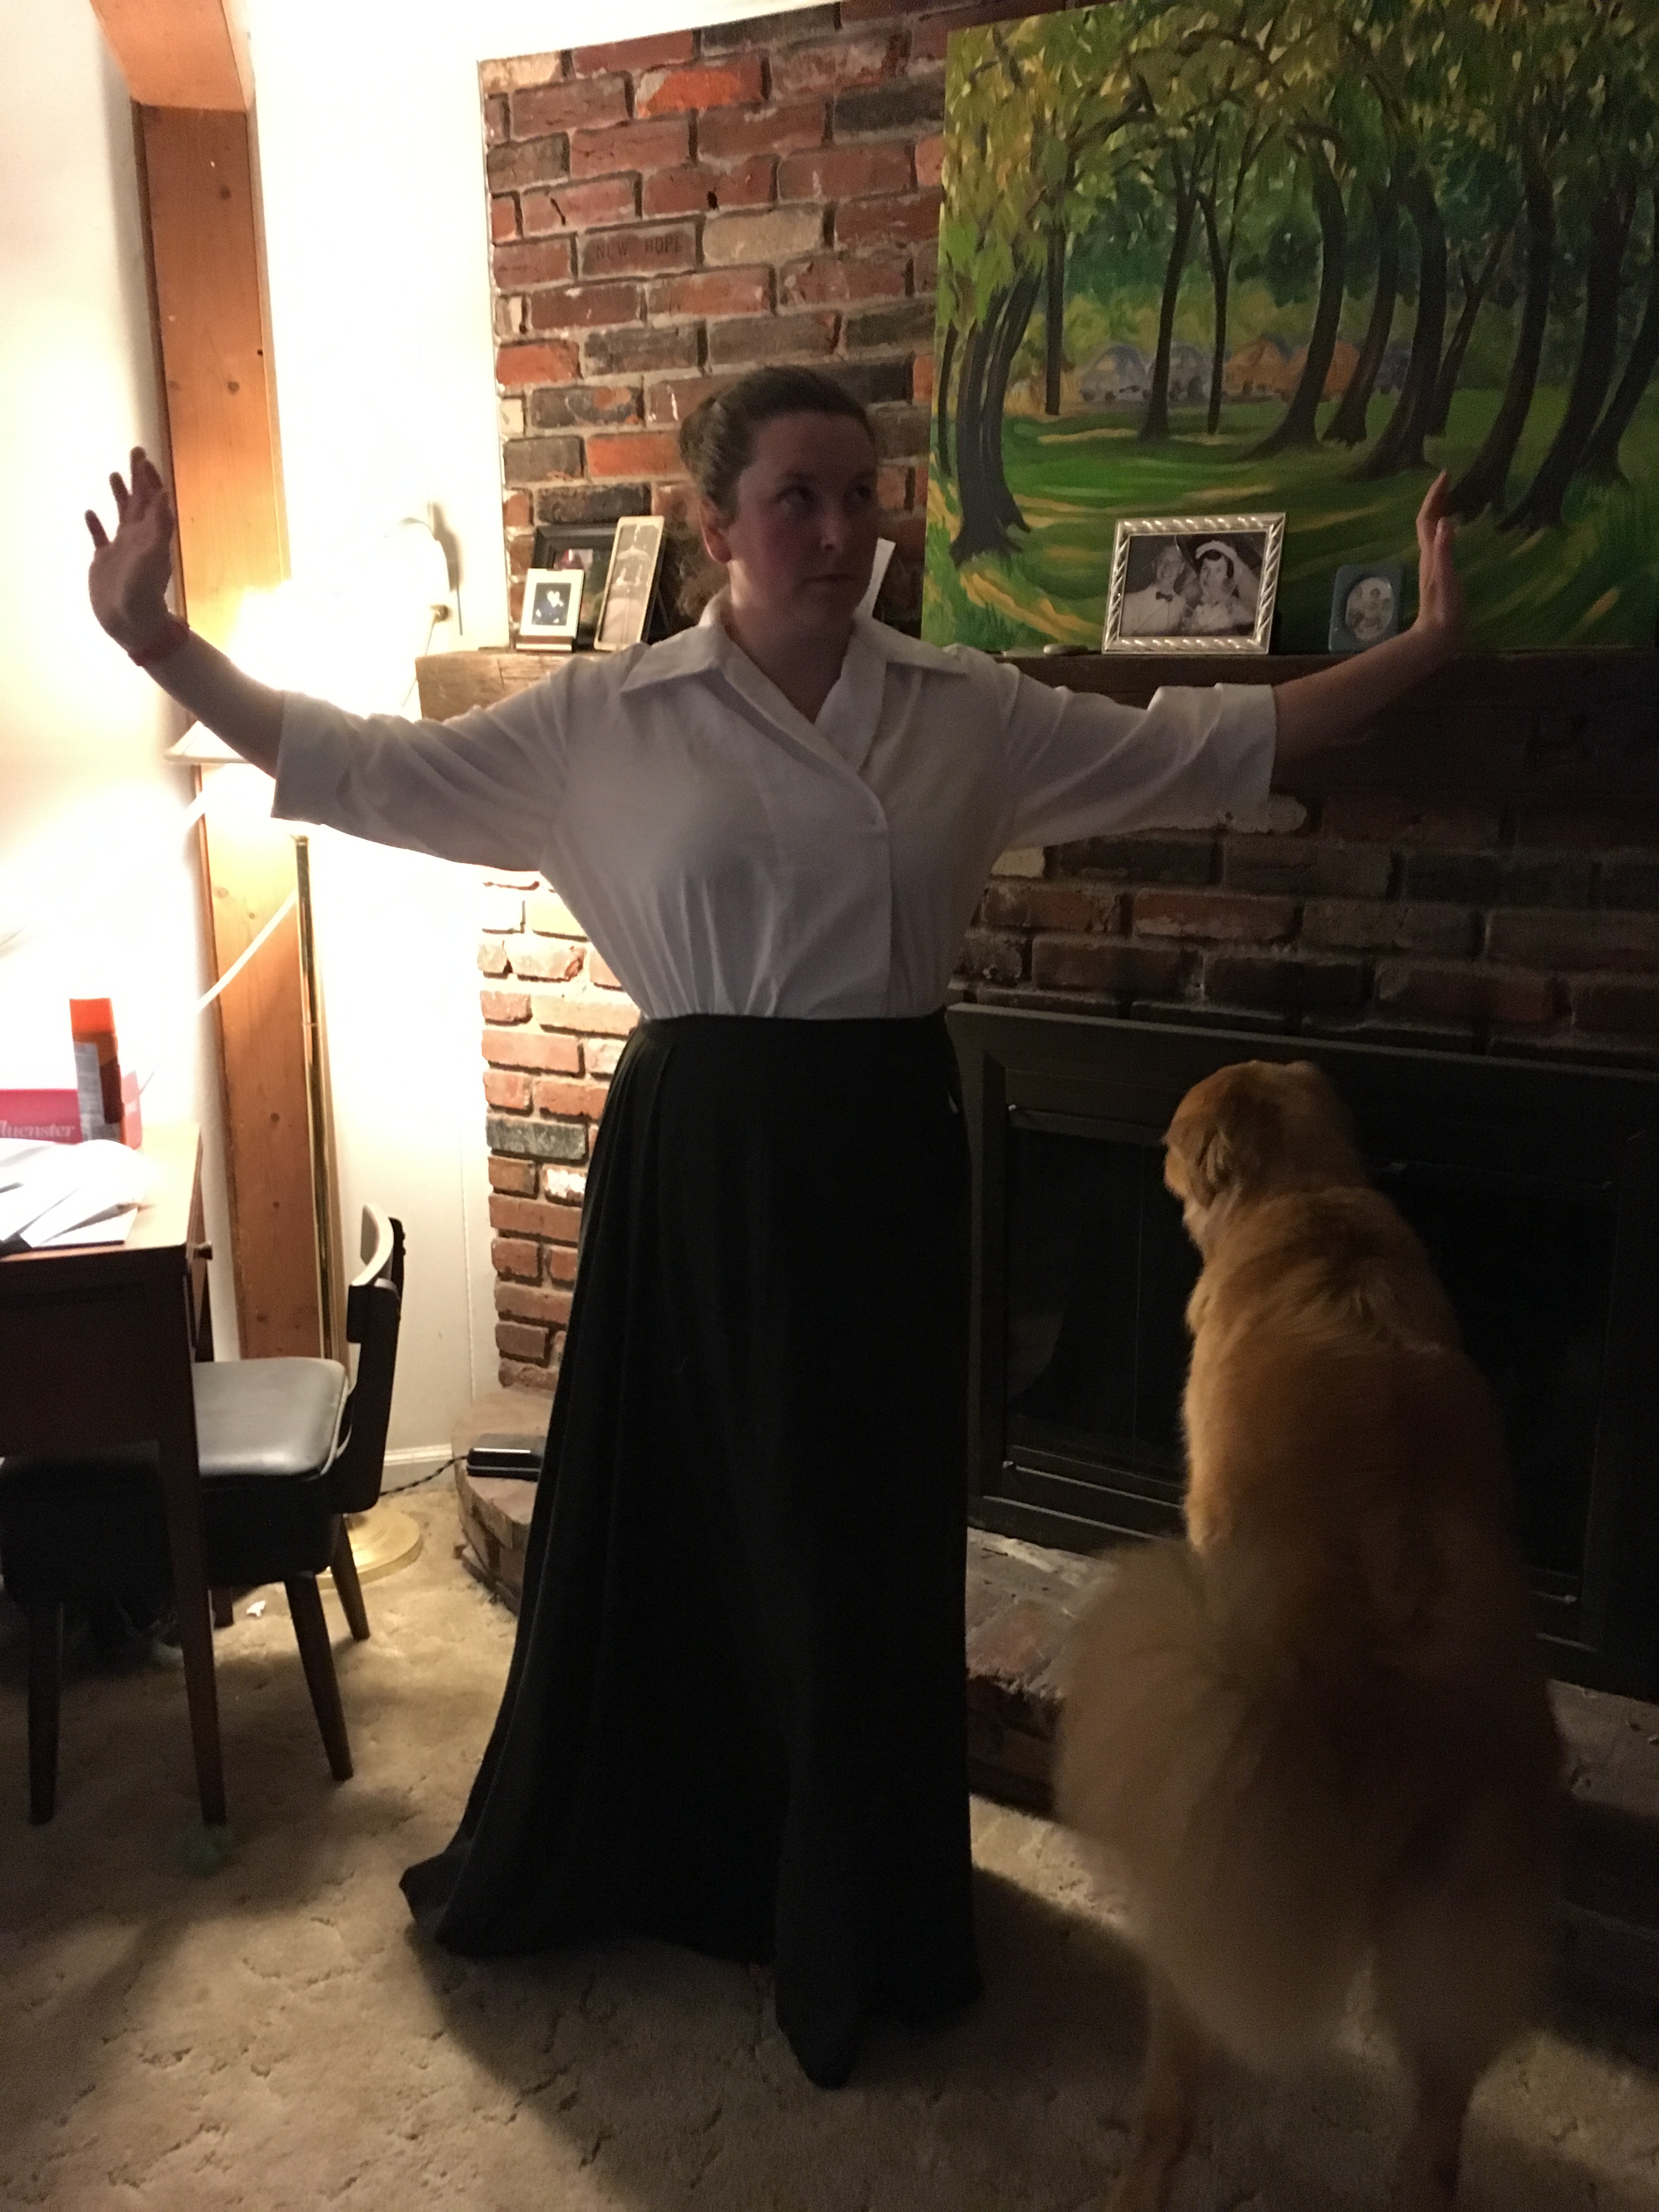
I attached a roughly 1″ waistband to the bustle, I say roughly as I eyeballed it. It closes with two button holes that I intend to run ribbon through and tie. This will catch in a hook on my corset and the downward pull also helps keep the bustle flush in the back. But as I haven’t yet found a hook for my corset please allow Amanda to demonstrate.
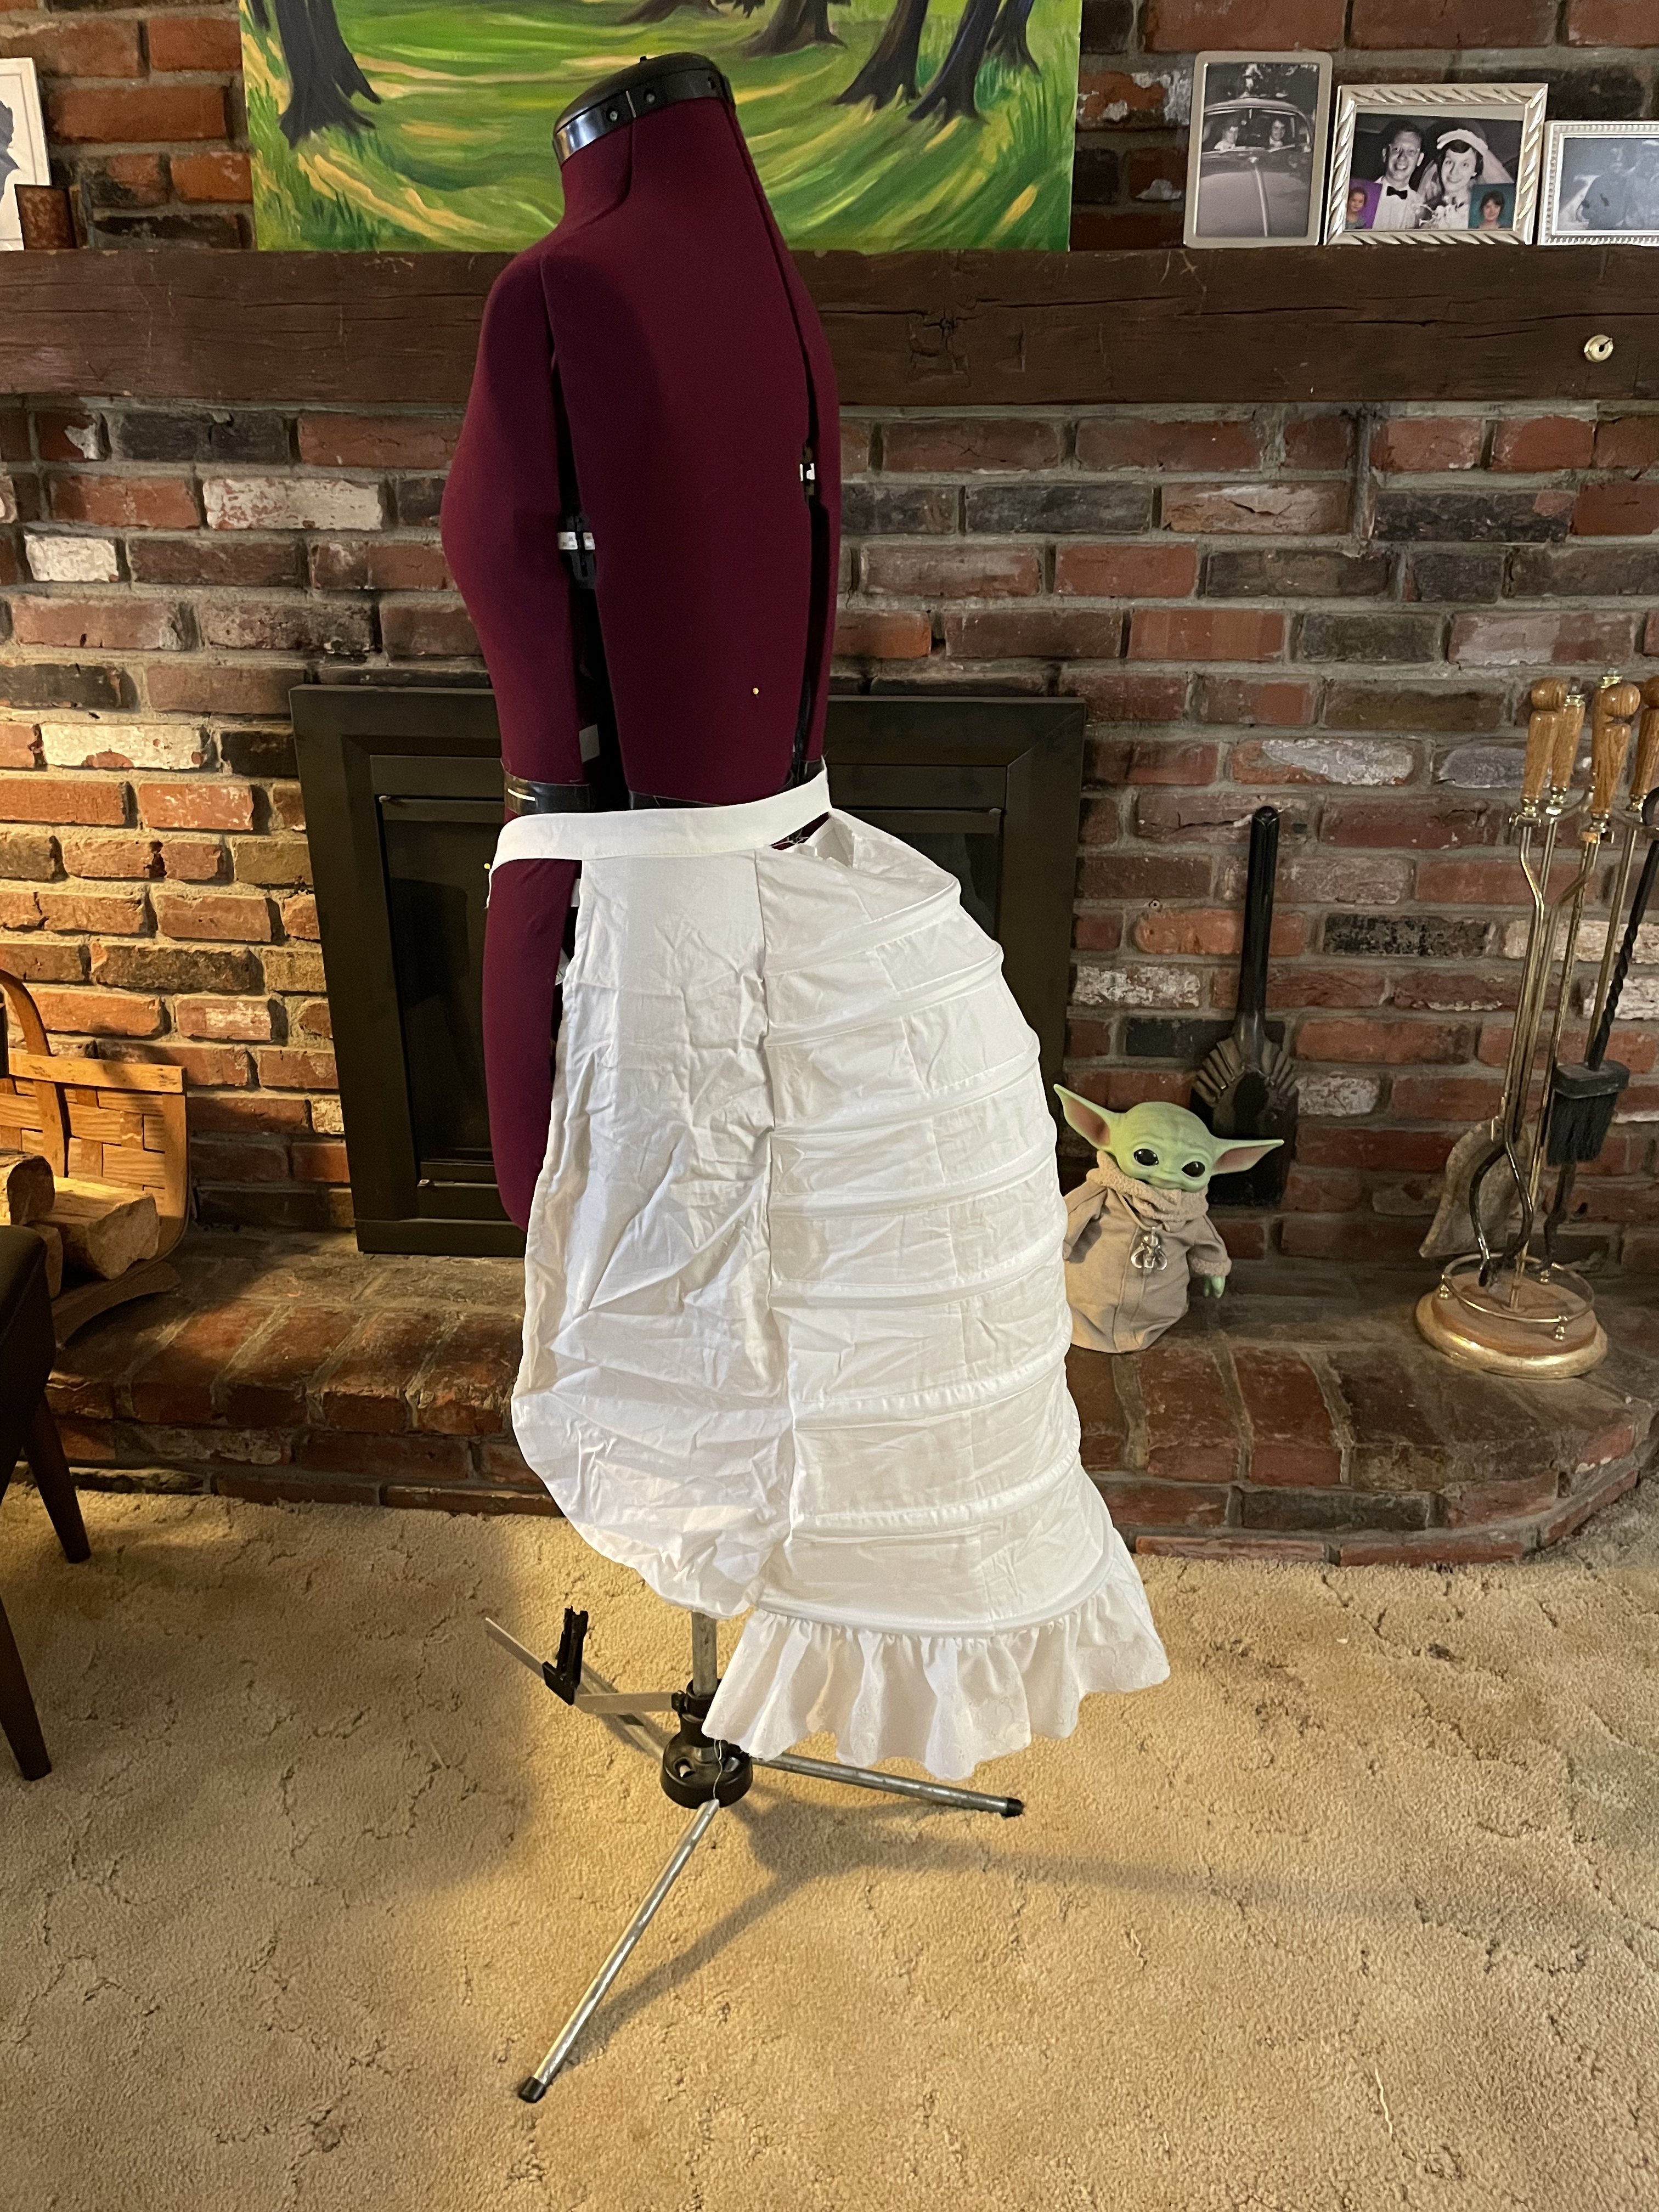
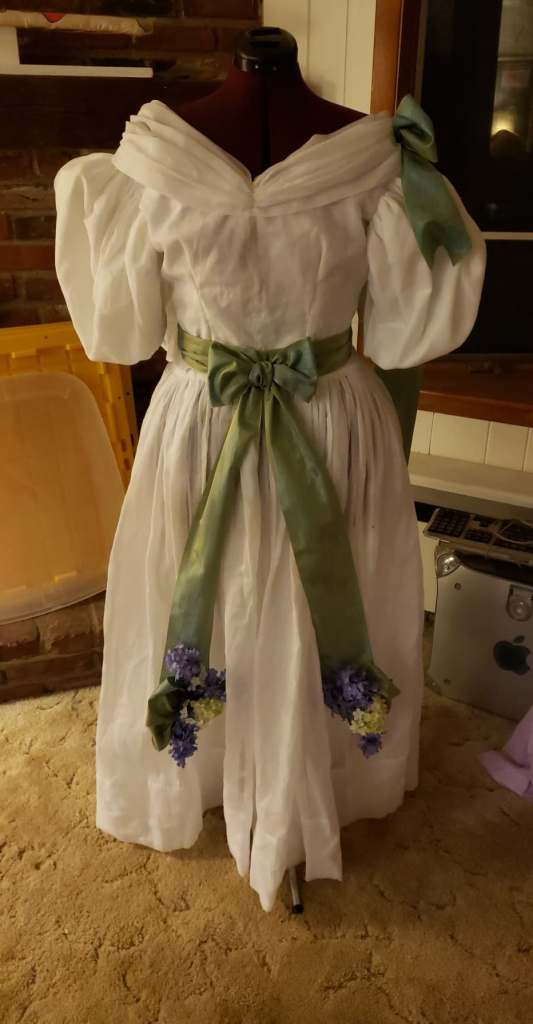
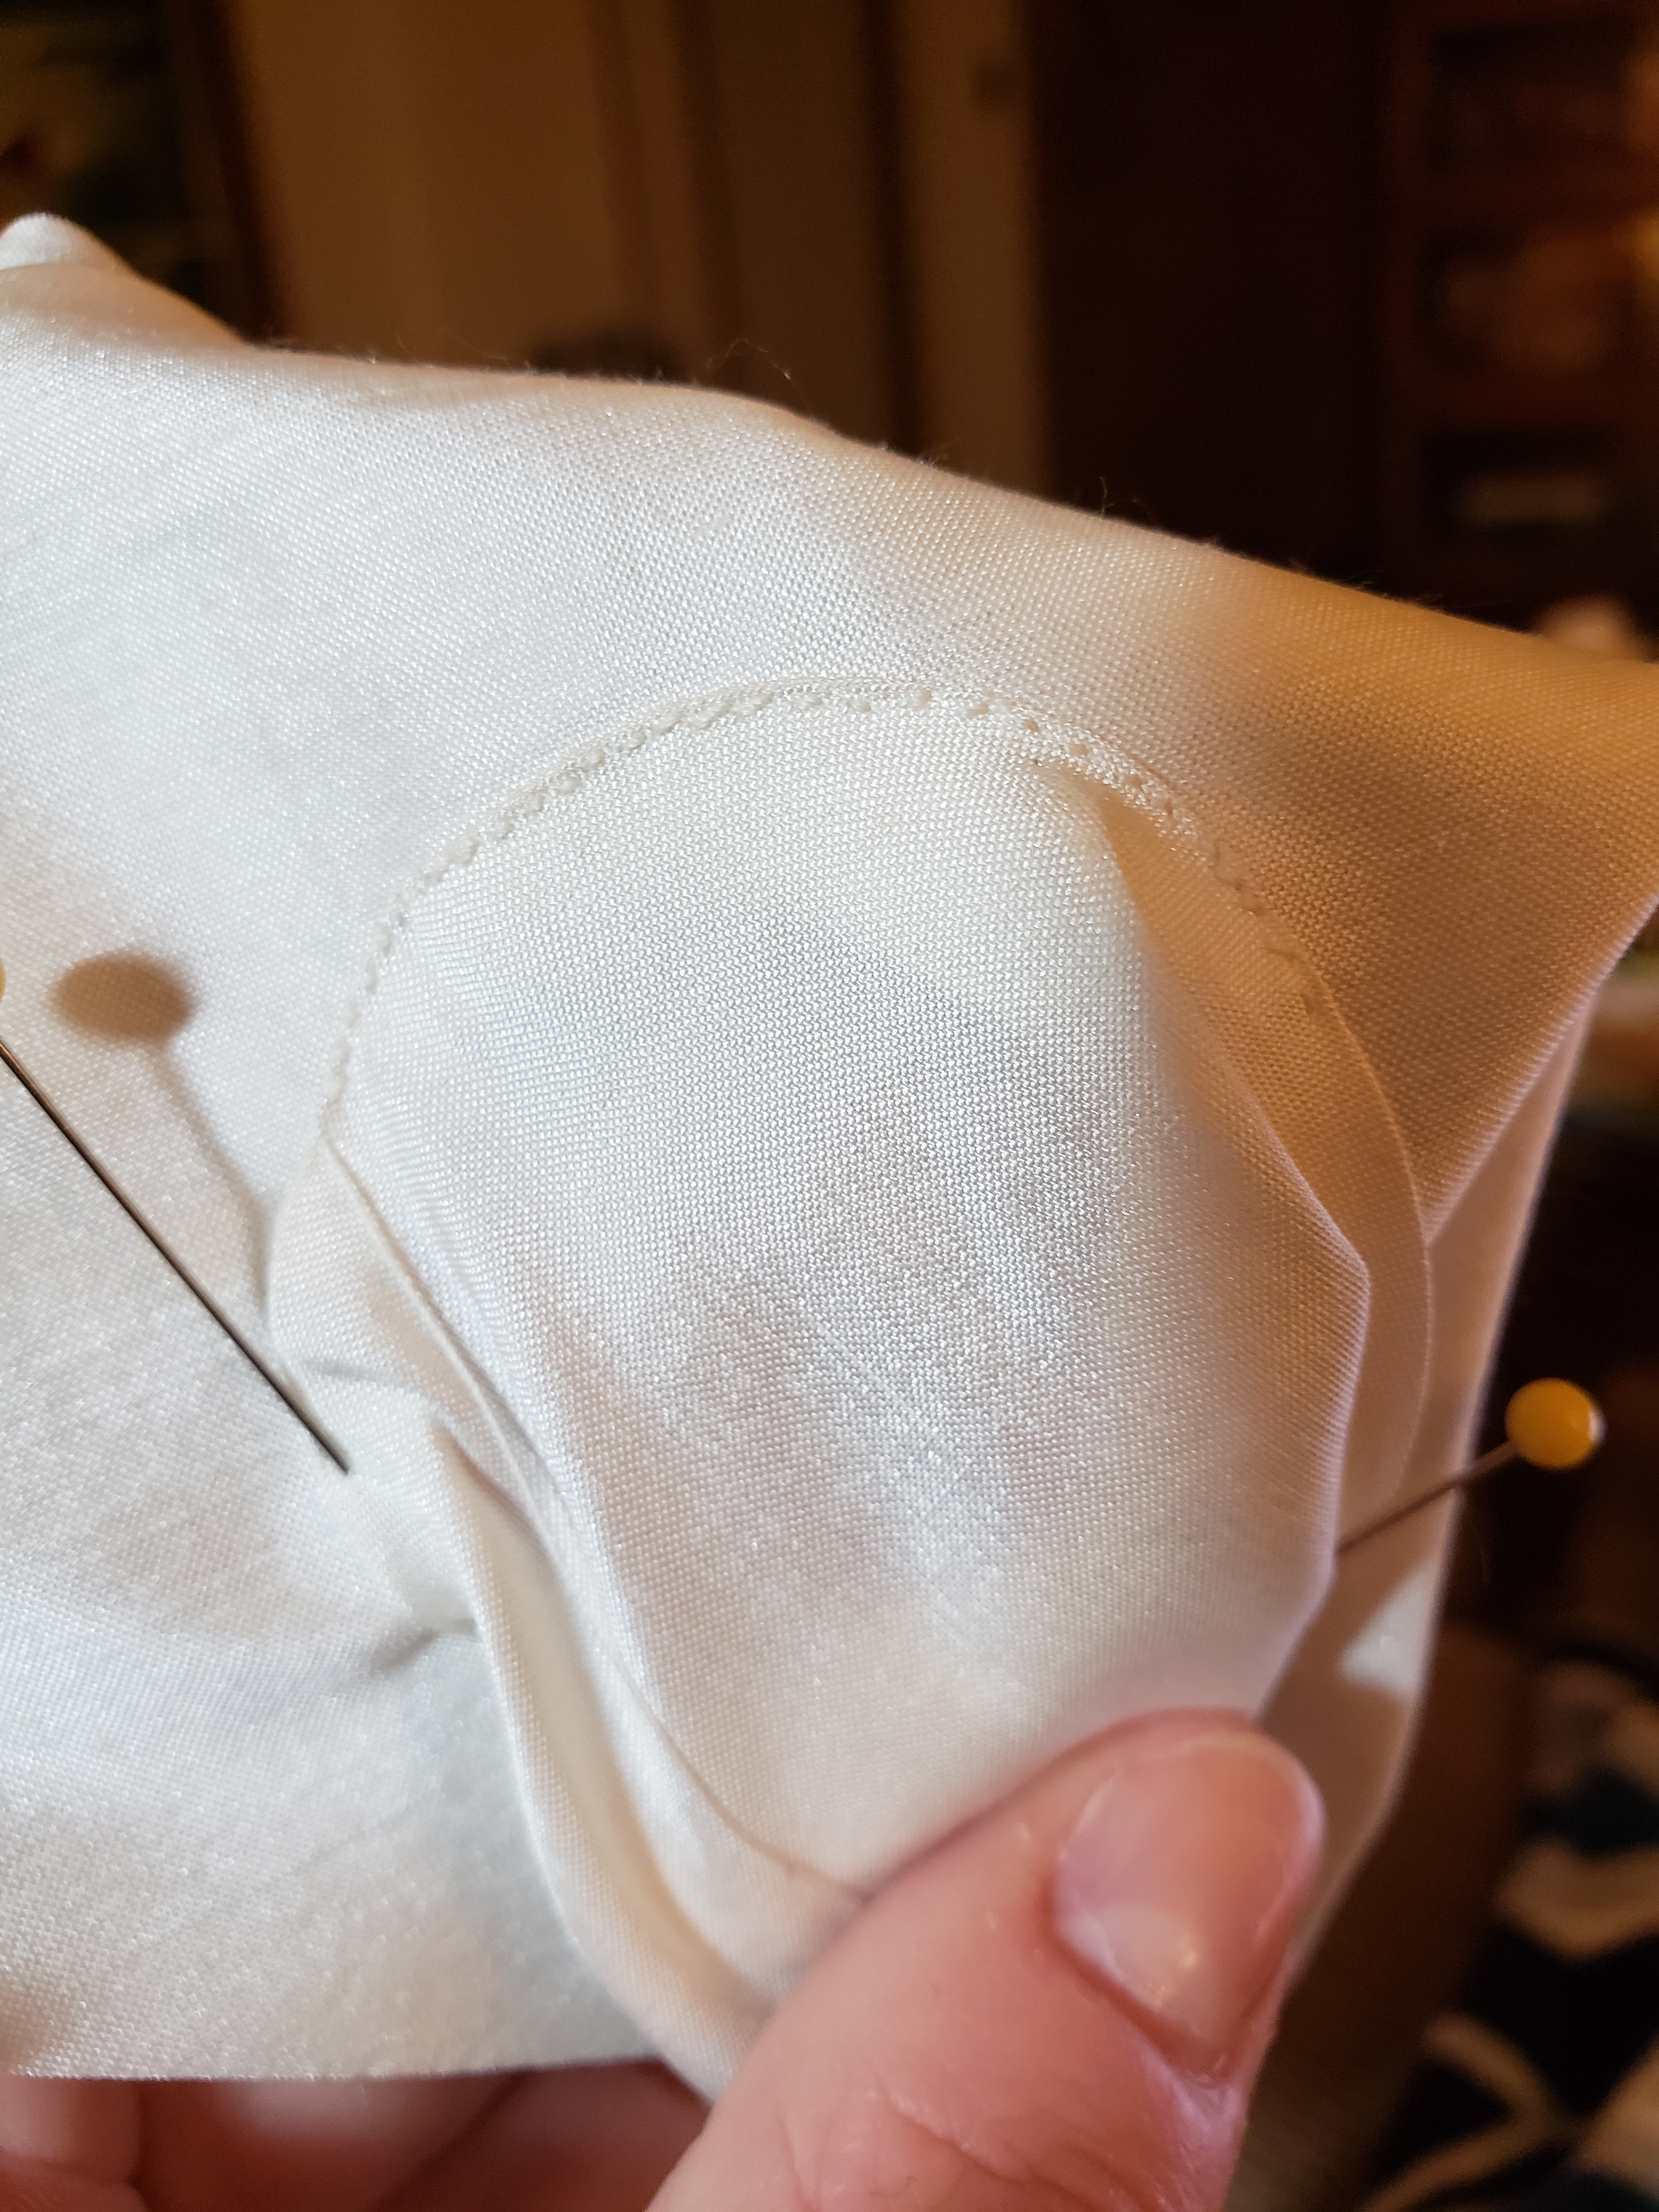
The last thing I added to my now much better shaped bustle was a bit of gathered lace at the bottom, it’s nothing special watever I found in the stash, but it helps soften the line at the bottom. I gathered the lace and sewed it to the bottom hem right sides together, flipped it over and she done! An easy 1 hour upgrade to a $30 amazon bustle. Not bad right? Now I just need to make the dress…

My next project might involve a similar upgrade to this Bustle Petticoat, would anyone want a post about that?
So, you know, those Amazon links? Yeah, they’re like VIP tickets to the coolest show in town. And when you snag something through them, you’re basically giving my content a high-five. Thanks for being awesome!
![]()


 cage and require extra breezes.