Category Archives: 18th Century Costumes

A round gown for spring

Standard
A round gown for spring

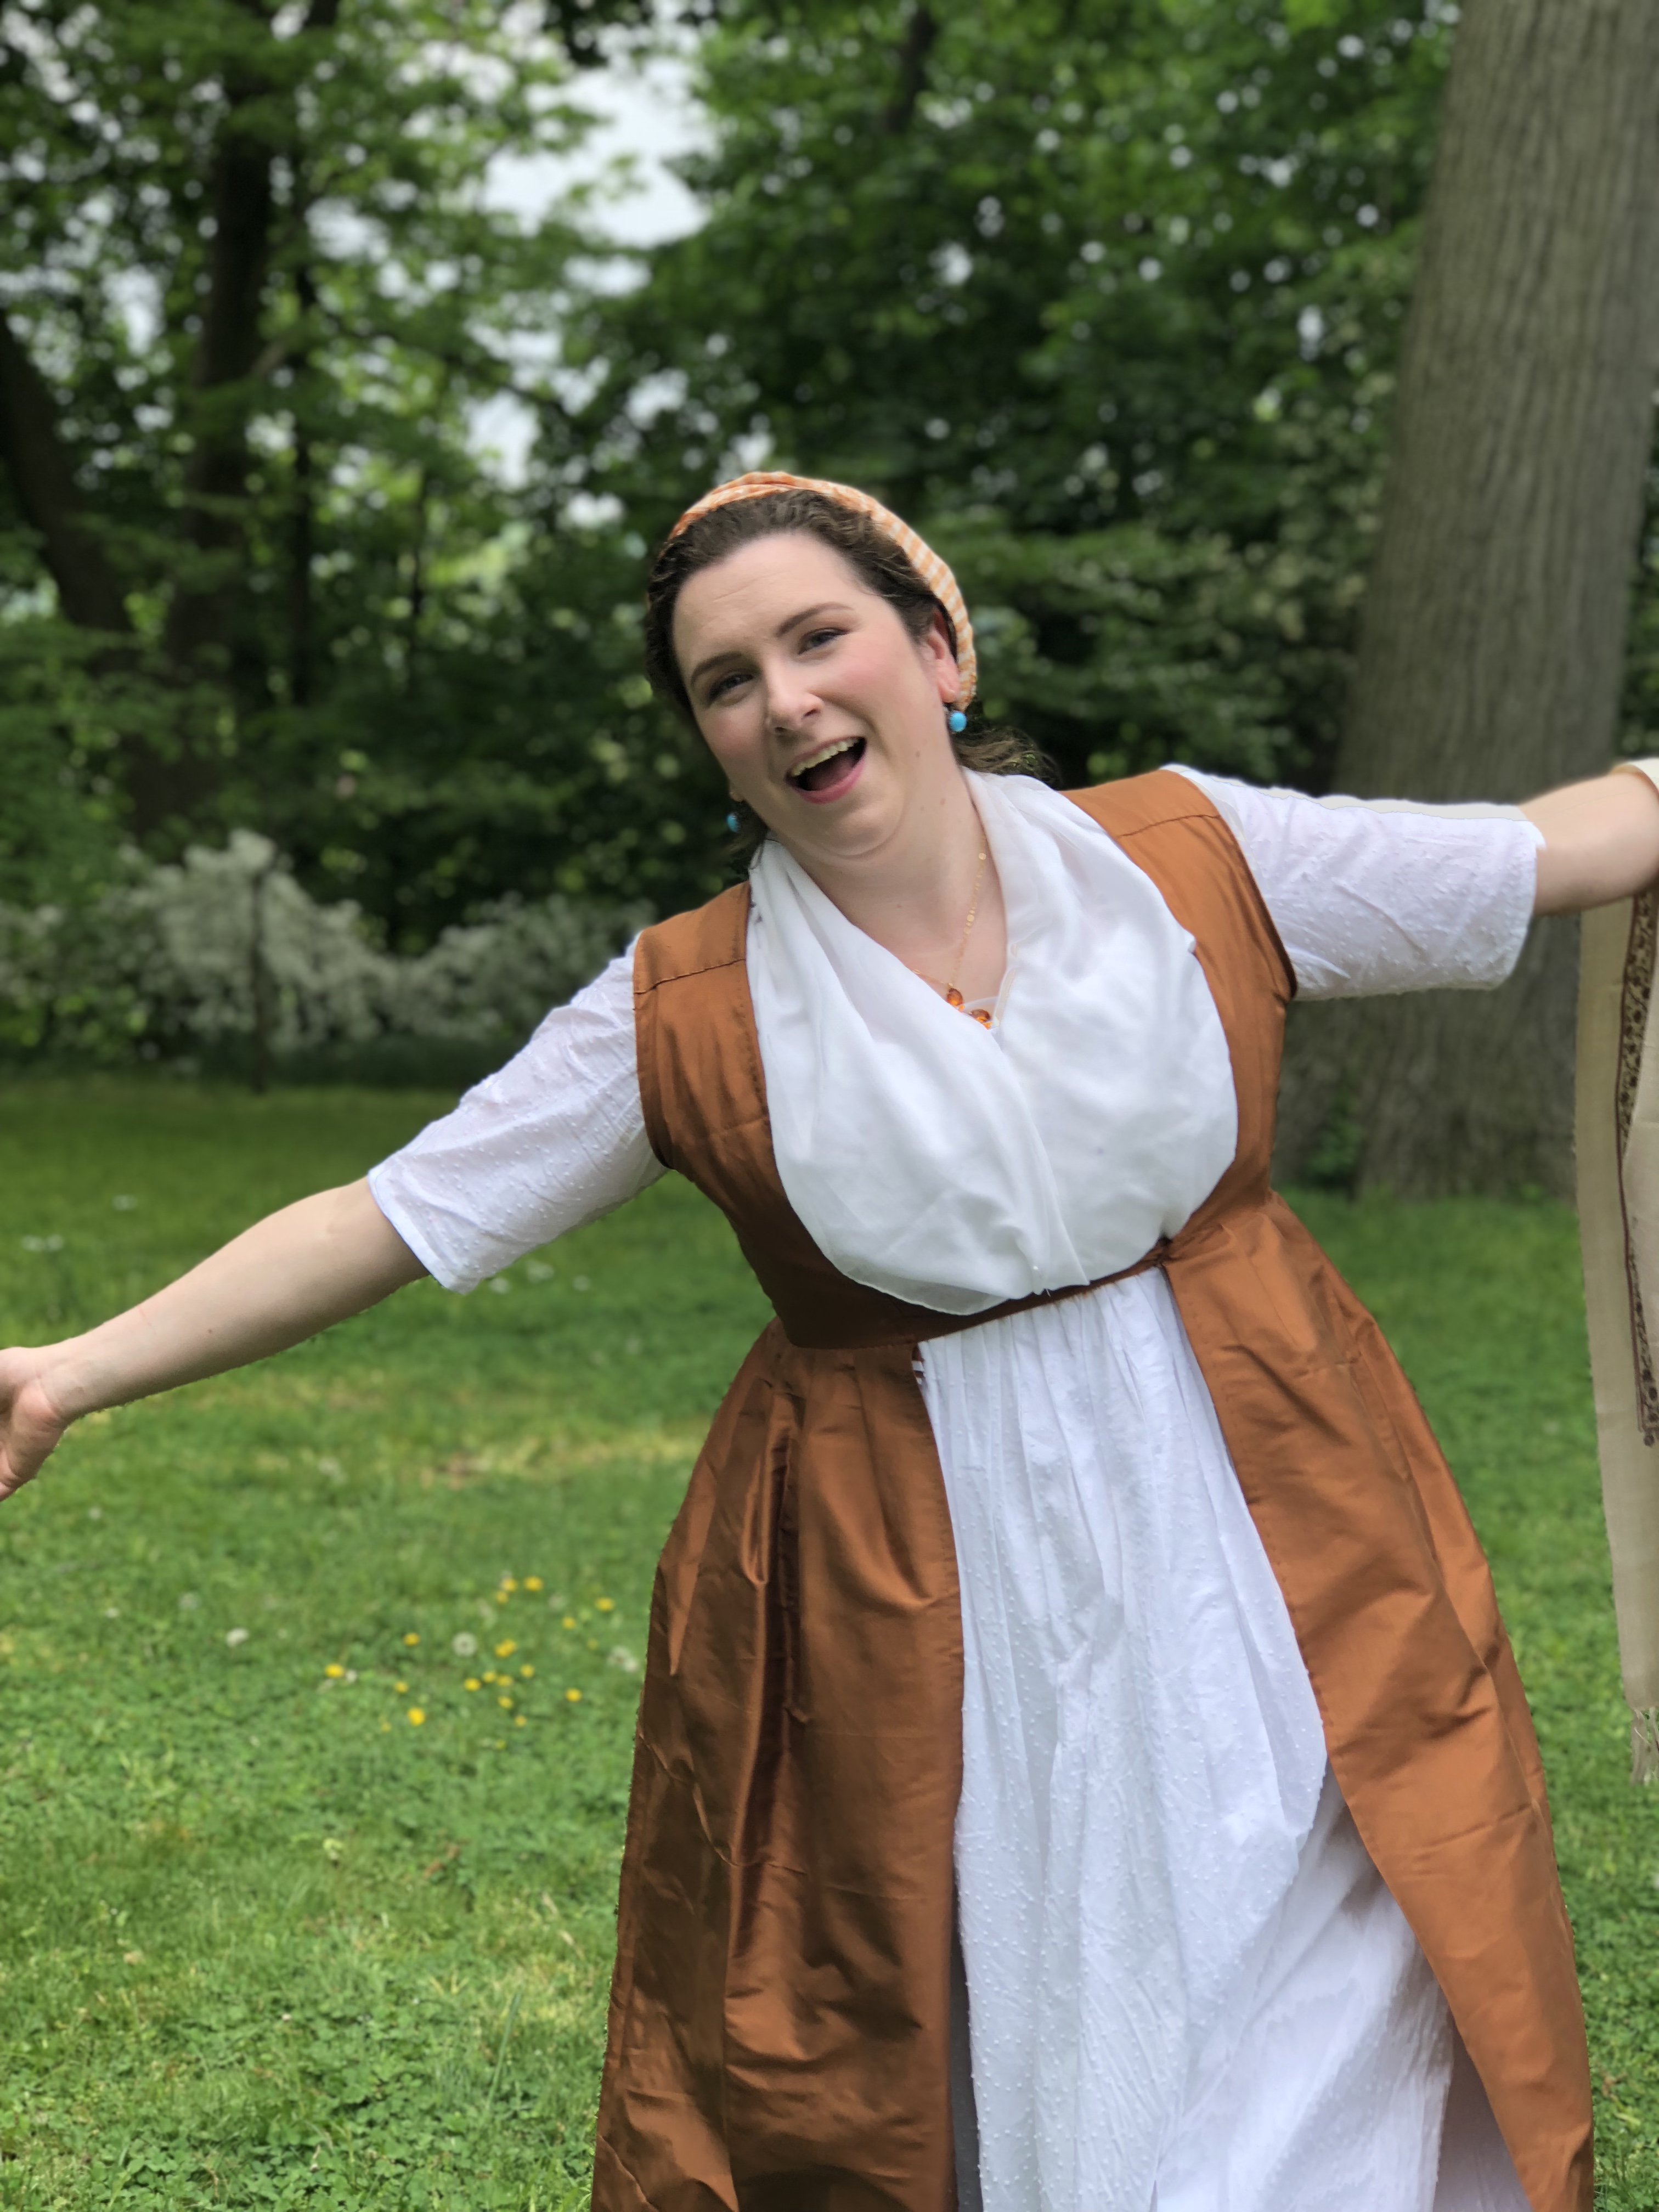
Yesterday was our second annual Georgian stroll/picnic at Winterhur in Delware (two years in a row counts as a tradition right?), and it being spring I wanted a light fluffy spring-y dress to wear. Did I have a closet full of things I could have worn? Absolutely. Did I only give myself a week to make it? most definitely. Should I perhaps be getting wiser with age? clearly not. But in my defence, work’s been a beast and this is my distraction.

Firstly Fabric

Can’t make a dress with out some fabric now can we. I wanted something light, breezy, and springy. Last year at Ft. Fred I had been petting a bunch of Virgil’s Fine Goods fabrics and kept thinking about them, I bought an Eliza variation. Although if someone wanted to tell Rob that the Annette stripes is a traditional 13th wedding anniversary gift…ahem, anyway.

Please admire the selvage, this shall be relevant later

This lovely fabric is a lawn? voile? cotton? *this just in* it’s a shirting. I’m not good at this game. We’ll just call it a light weight cotton with a delightful drape. I need to pause here a moment to sing it’s praises, it took a press PERFECTLY, didn’t creep or walk when I pinned or sewed it and was just an all around JOY to work with. I highly recommend some for your next floaty dream. 11/10. Will be buying again. Did I mention it’s a reproduction of…something? Virgil’s fabrics are all meticulously documentable. But honestly if it had flamingos on it I might buy it again as it was so nice to work with. (now I want a regency dress with Flamingos).

What kind of dress?

Okay fabric sorted. Now what’re we going to make with it? The brief for the picnic was “Georgian” which sets a VERY wide variety of choices. But I read Pride and Prejudice every spring, so when I think of the romance of a sunny, breezy *foreshadowing* picnic, I want something regency! Plus I think Michele Quigley‘s amazing photo series has 1790s on my brain. So I started to look at cotton print dresses from around the turn of the 18th-19th century. I tend towards a less posh aestetic in general.
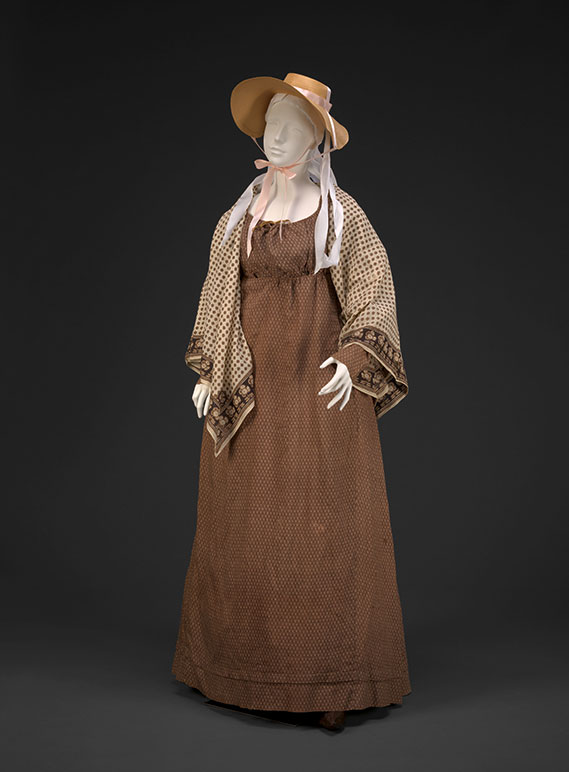
Dress, 2004.2.1, Friends of the Museum Purchase; cotton block printed shawl, about 1790-1810, 78.50, DAR Museum; straw hat, 1790s with modern ribbon, 2000.1, 
Chintz gown from Museum of London
From Museum of Fashion

How we make a dress

I pulled from two main places when making this dress. I started with the Black Snail Patterns pattern #0119. I have done a modified version of this dress before, and I knew it was easy to work with and fit nicely. I even managed to find the physical pattern I had printed last time. (for anyone who knows me, this more shocking than it should be)
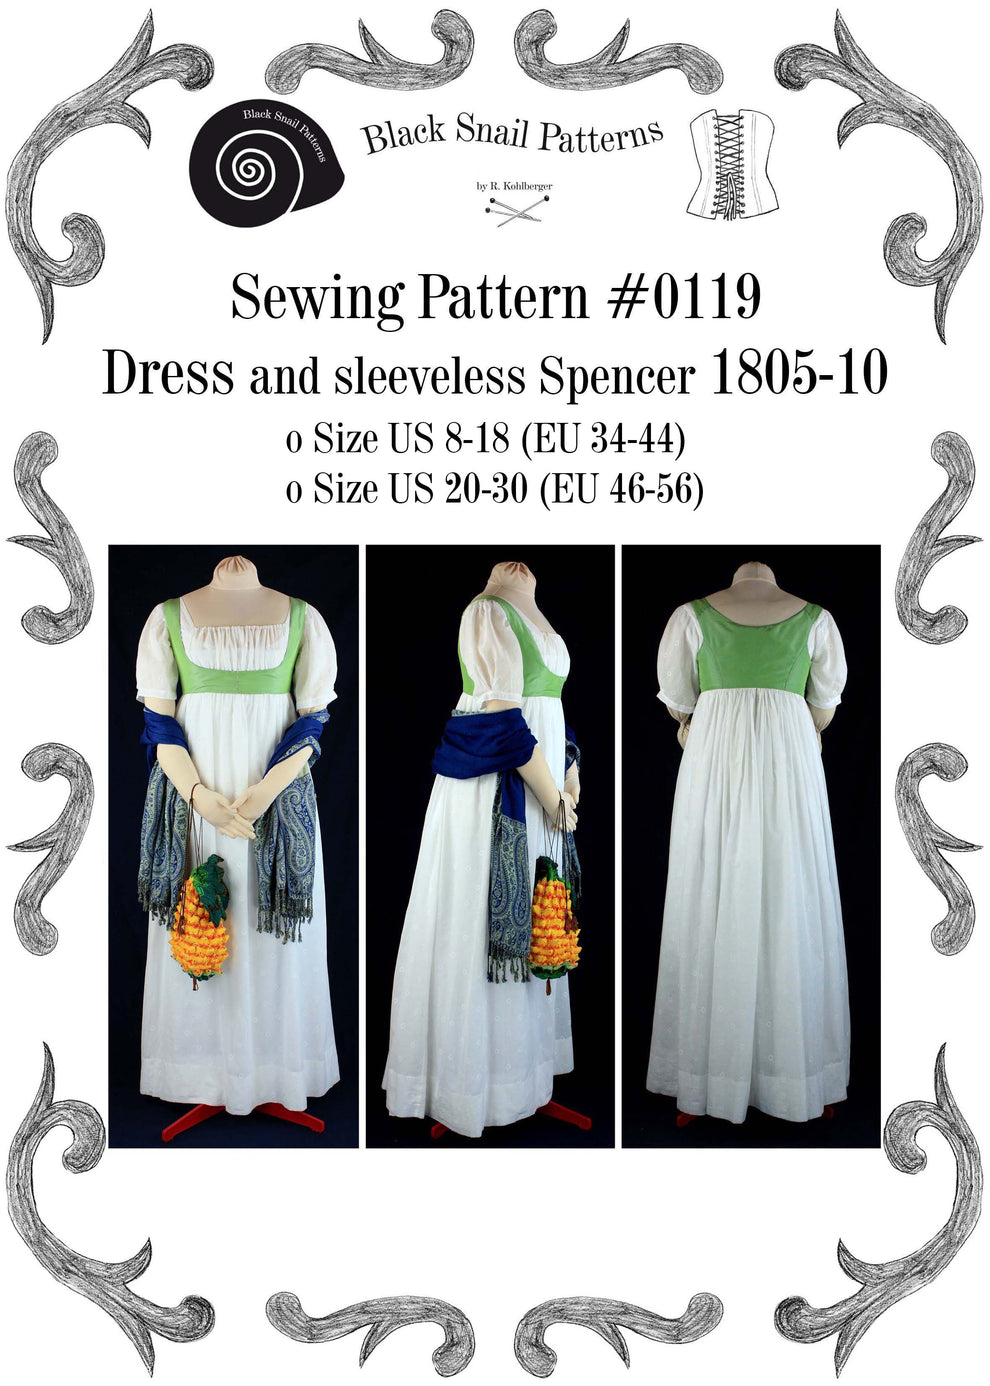
They get major points for styling with a pineapple

Now this pattern firstly has a center back closure, and I do not have a ladies maid. I do have one fairly well trained house husband, but he wasn’t going to be attending the picnic, and I don’t love finding random strangers in a parking lot to ask to button me. I mean I have but It’s not my favorite.

Did I cut the lining on the fold and add a seam to the fashion fabric just so I could chevron it? Wouldn’t you? It just looks so nice! But the lining is one piece.

For construction steps and advice I relied heavily on Carolyn’s book Stitching La Mode: Patterns and Dressmaking from Fashion Plates of 1785-1795 It’s possible I’m biased because I had the privelage of being a model but I found it to be a wonderful reference book for both techniques and pattern shapes. I was heavily inspired by year 1794.

I took the front bodice piece from the Black Snail pattern (Okay if we’re honest it was the front spencer peice as I lost the bodice piece) and extened it about 5″ longer in the CF so I had width. It has a fitted lining that over laps and the fashion fabric is a has a drawstring at the top and under the bust.

Admire my booble ruffle

I assembled the bodice most of the way then tried it on the tighten up the shoulder seams. I have increadibly slopey shoulders, and everything is always falling off them. I was contemplating racerback stays yesterday. Then I set the sleeves and tried it on again. Without the skirt to pull it down I got a lovely boobe ruffle.

This fabric is “rail roaded” meaning the pattern runs vertically between the selvages. So I just ripped off a strip from the top and used the opposite selvage as my hem. (did I mention I had a week?). There’s only one skirt seam, straight down the CF.

Seam is hidden in the ruffles

I would also like props for the fact that probably for the first time in my adult costuming life I didn’t accidentally make my hem miles too long.

The wearing

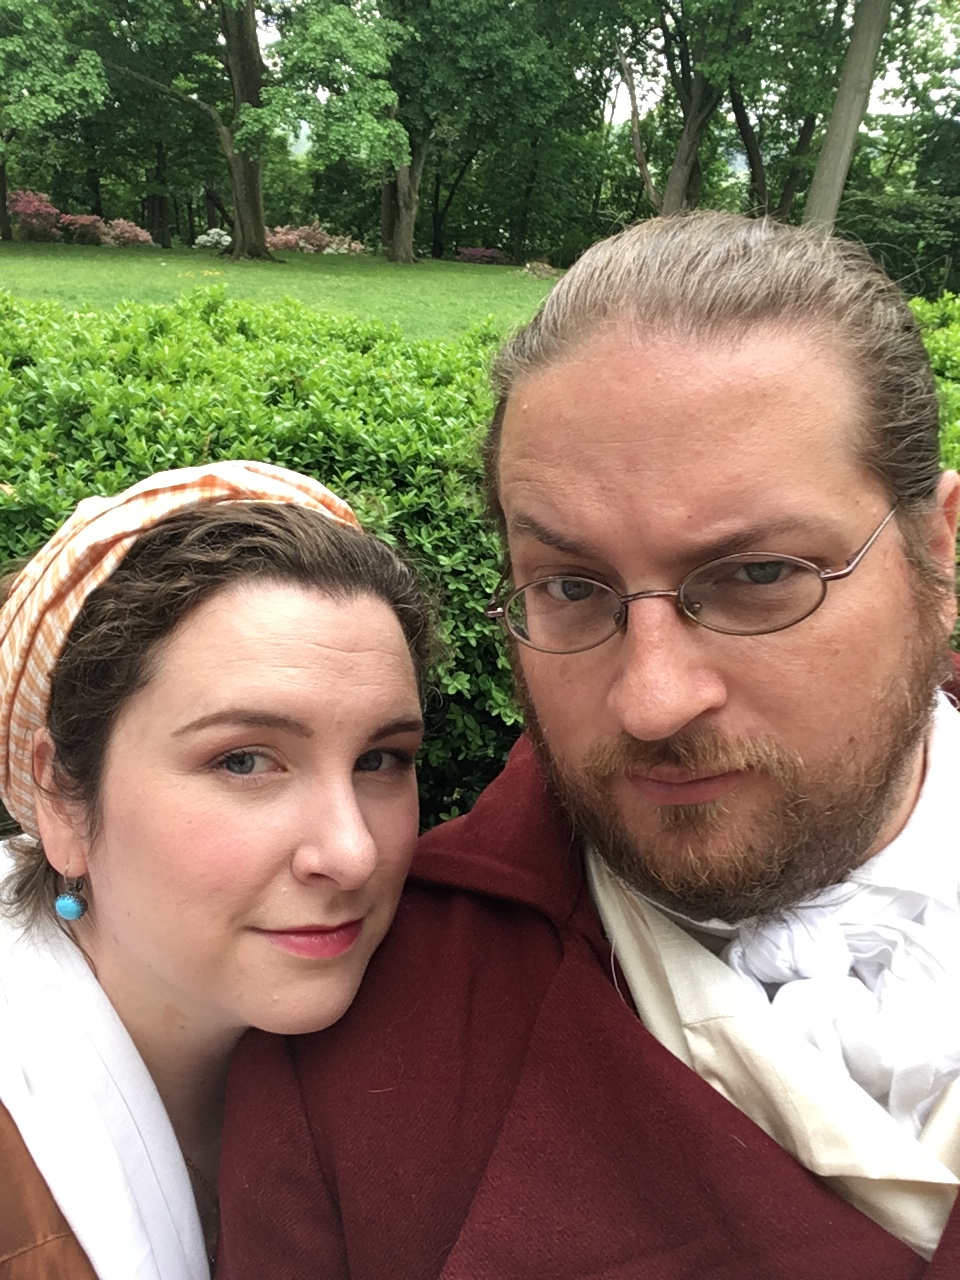
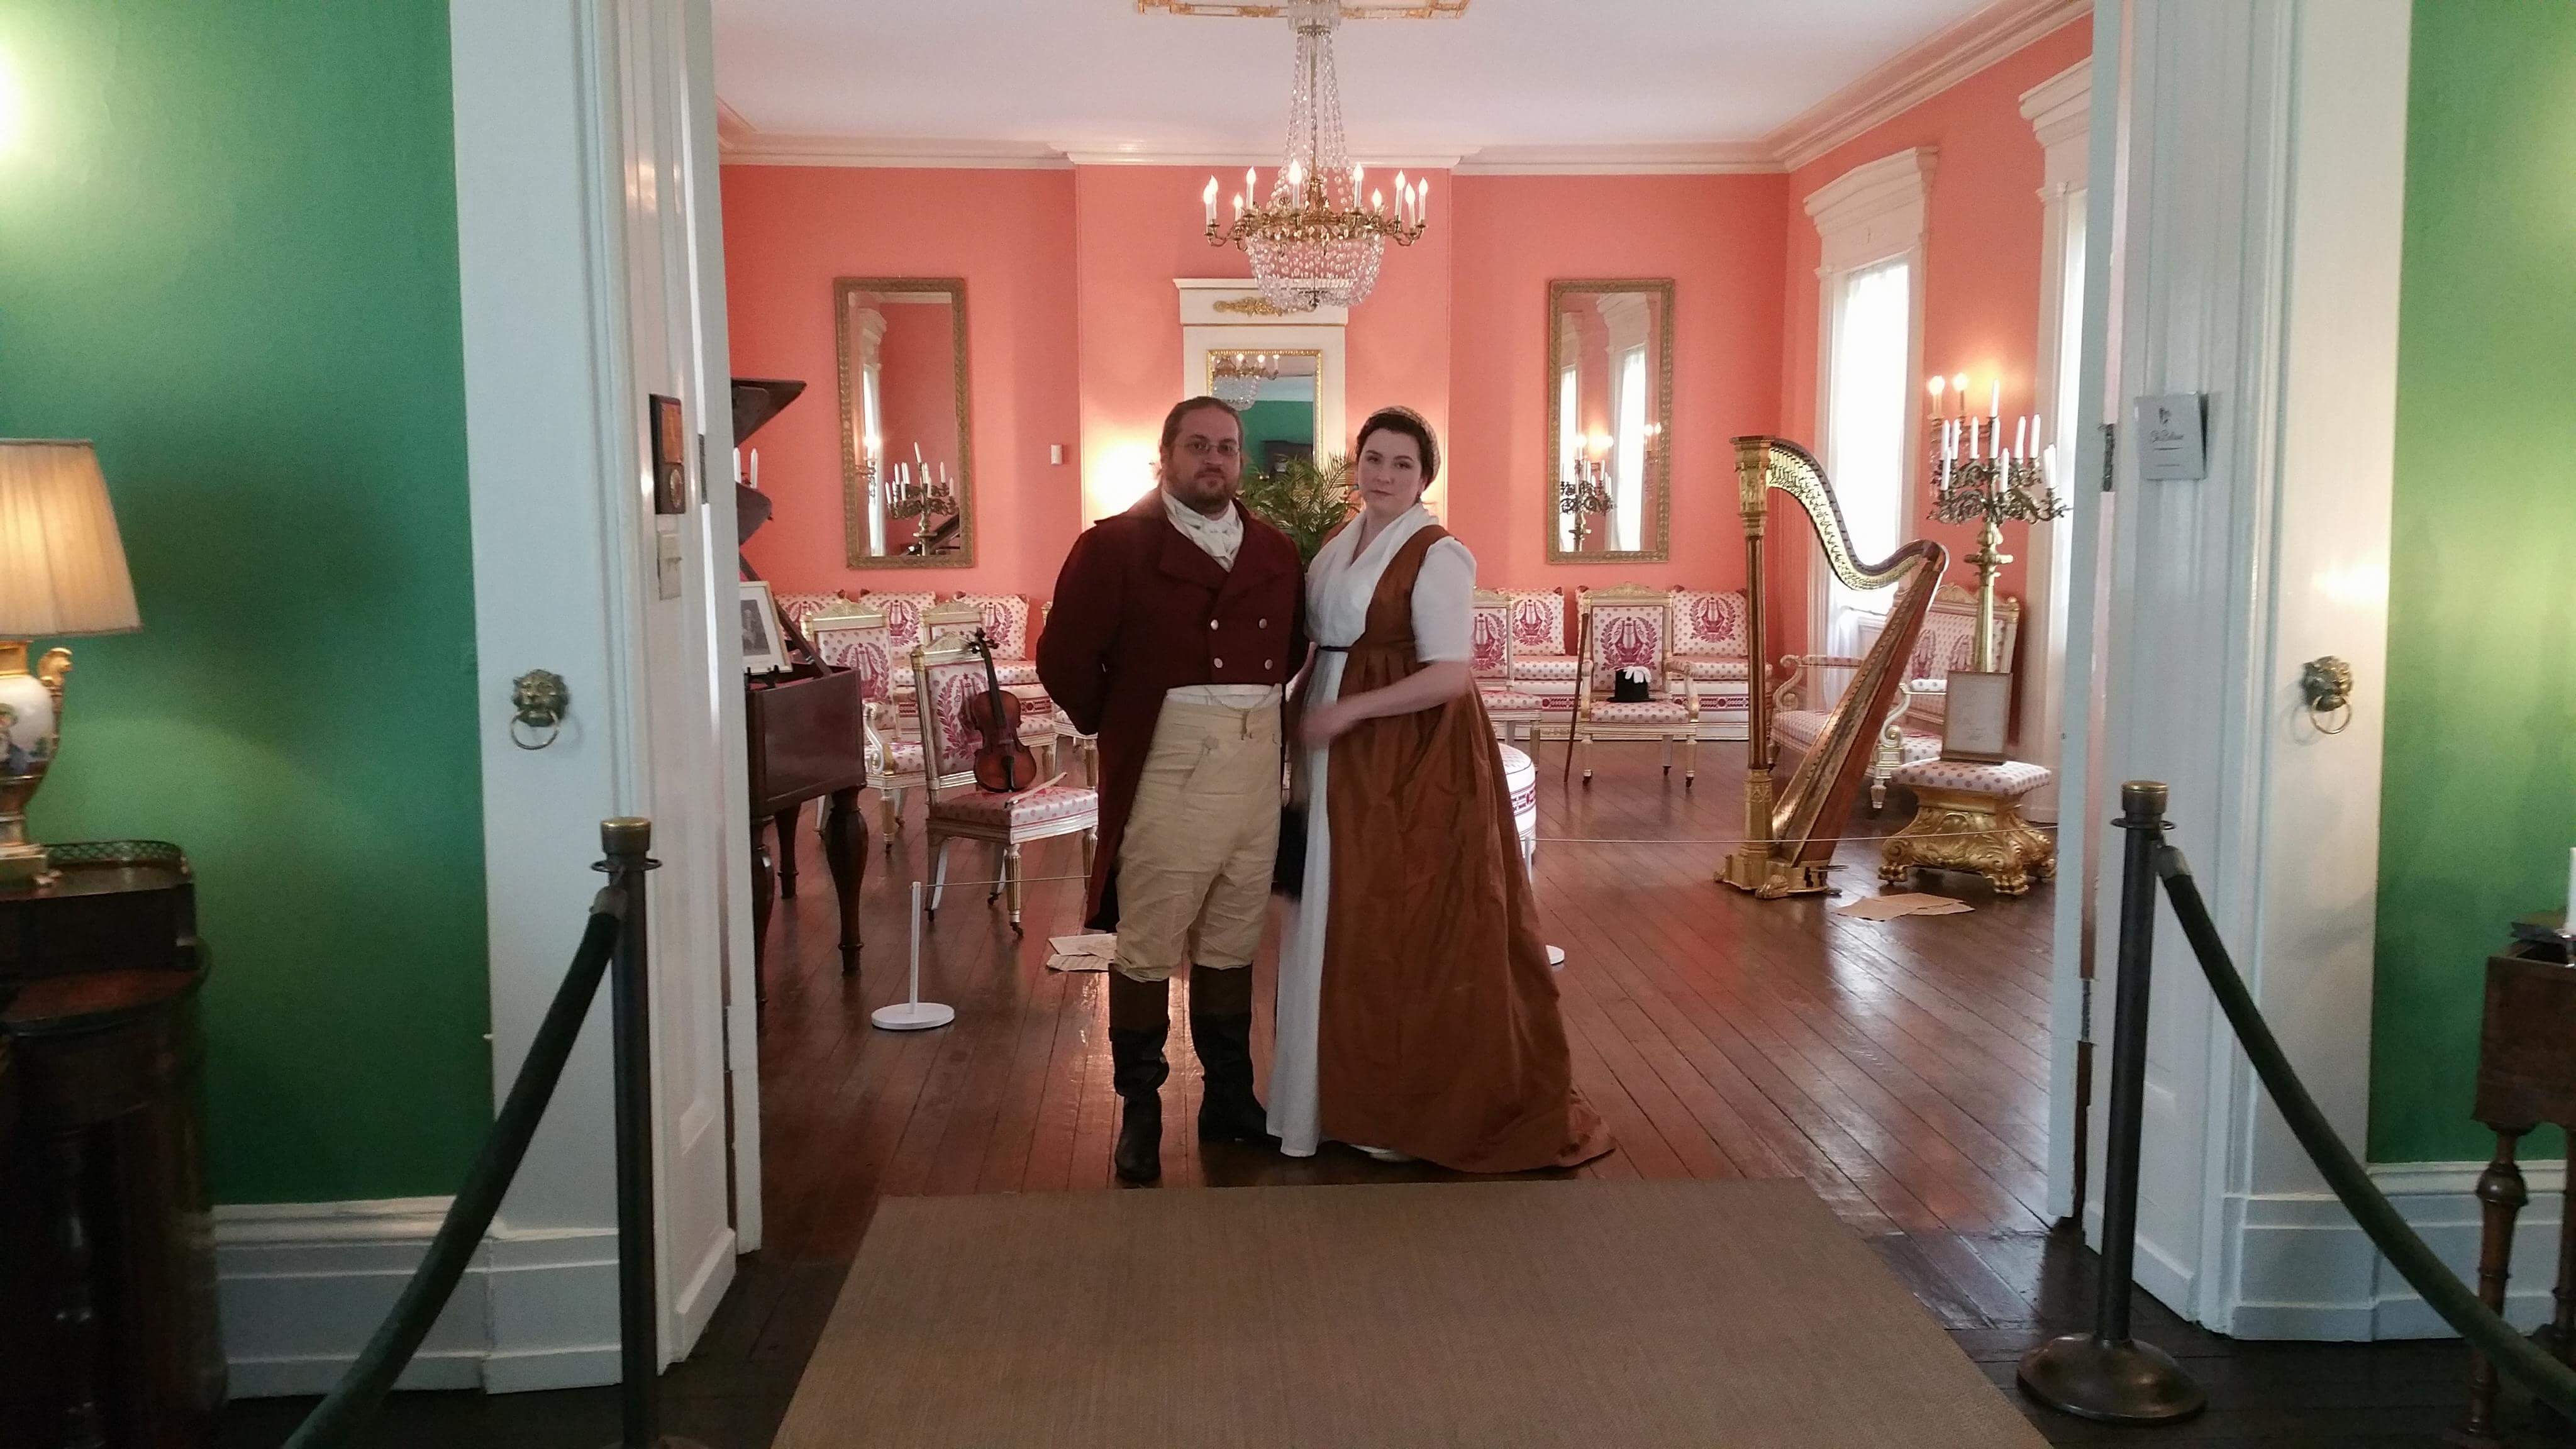
In the end we had a rather rainy day for a picnic, but we had fun seeing each other inside the cafe anyway! The azaleas were in peak bloom, and as a non-azelea super fan, I gotta say they were pretty damn breathtaking.

Walking up from the Peony Gardens

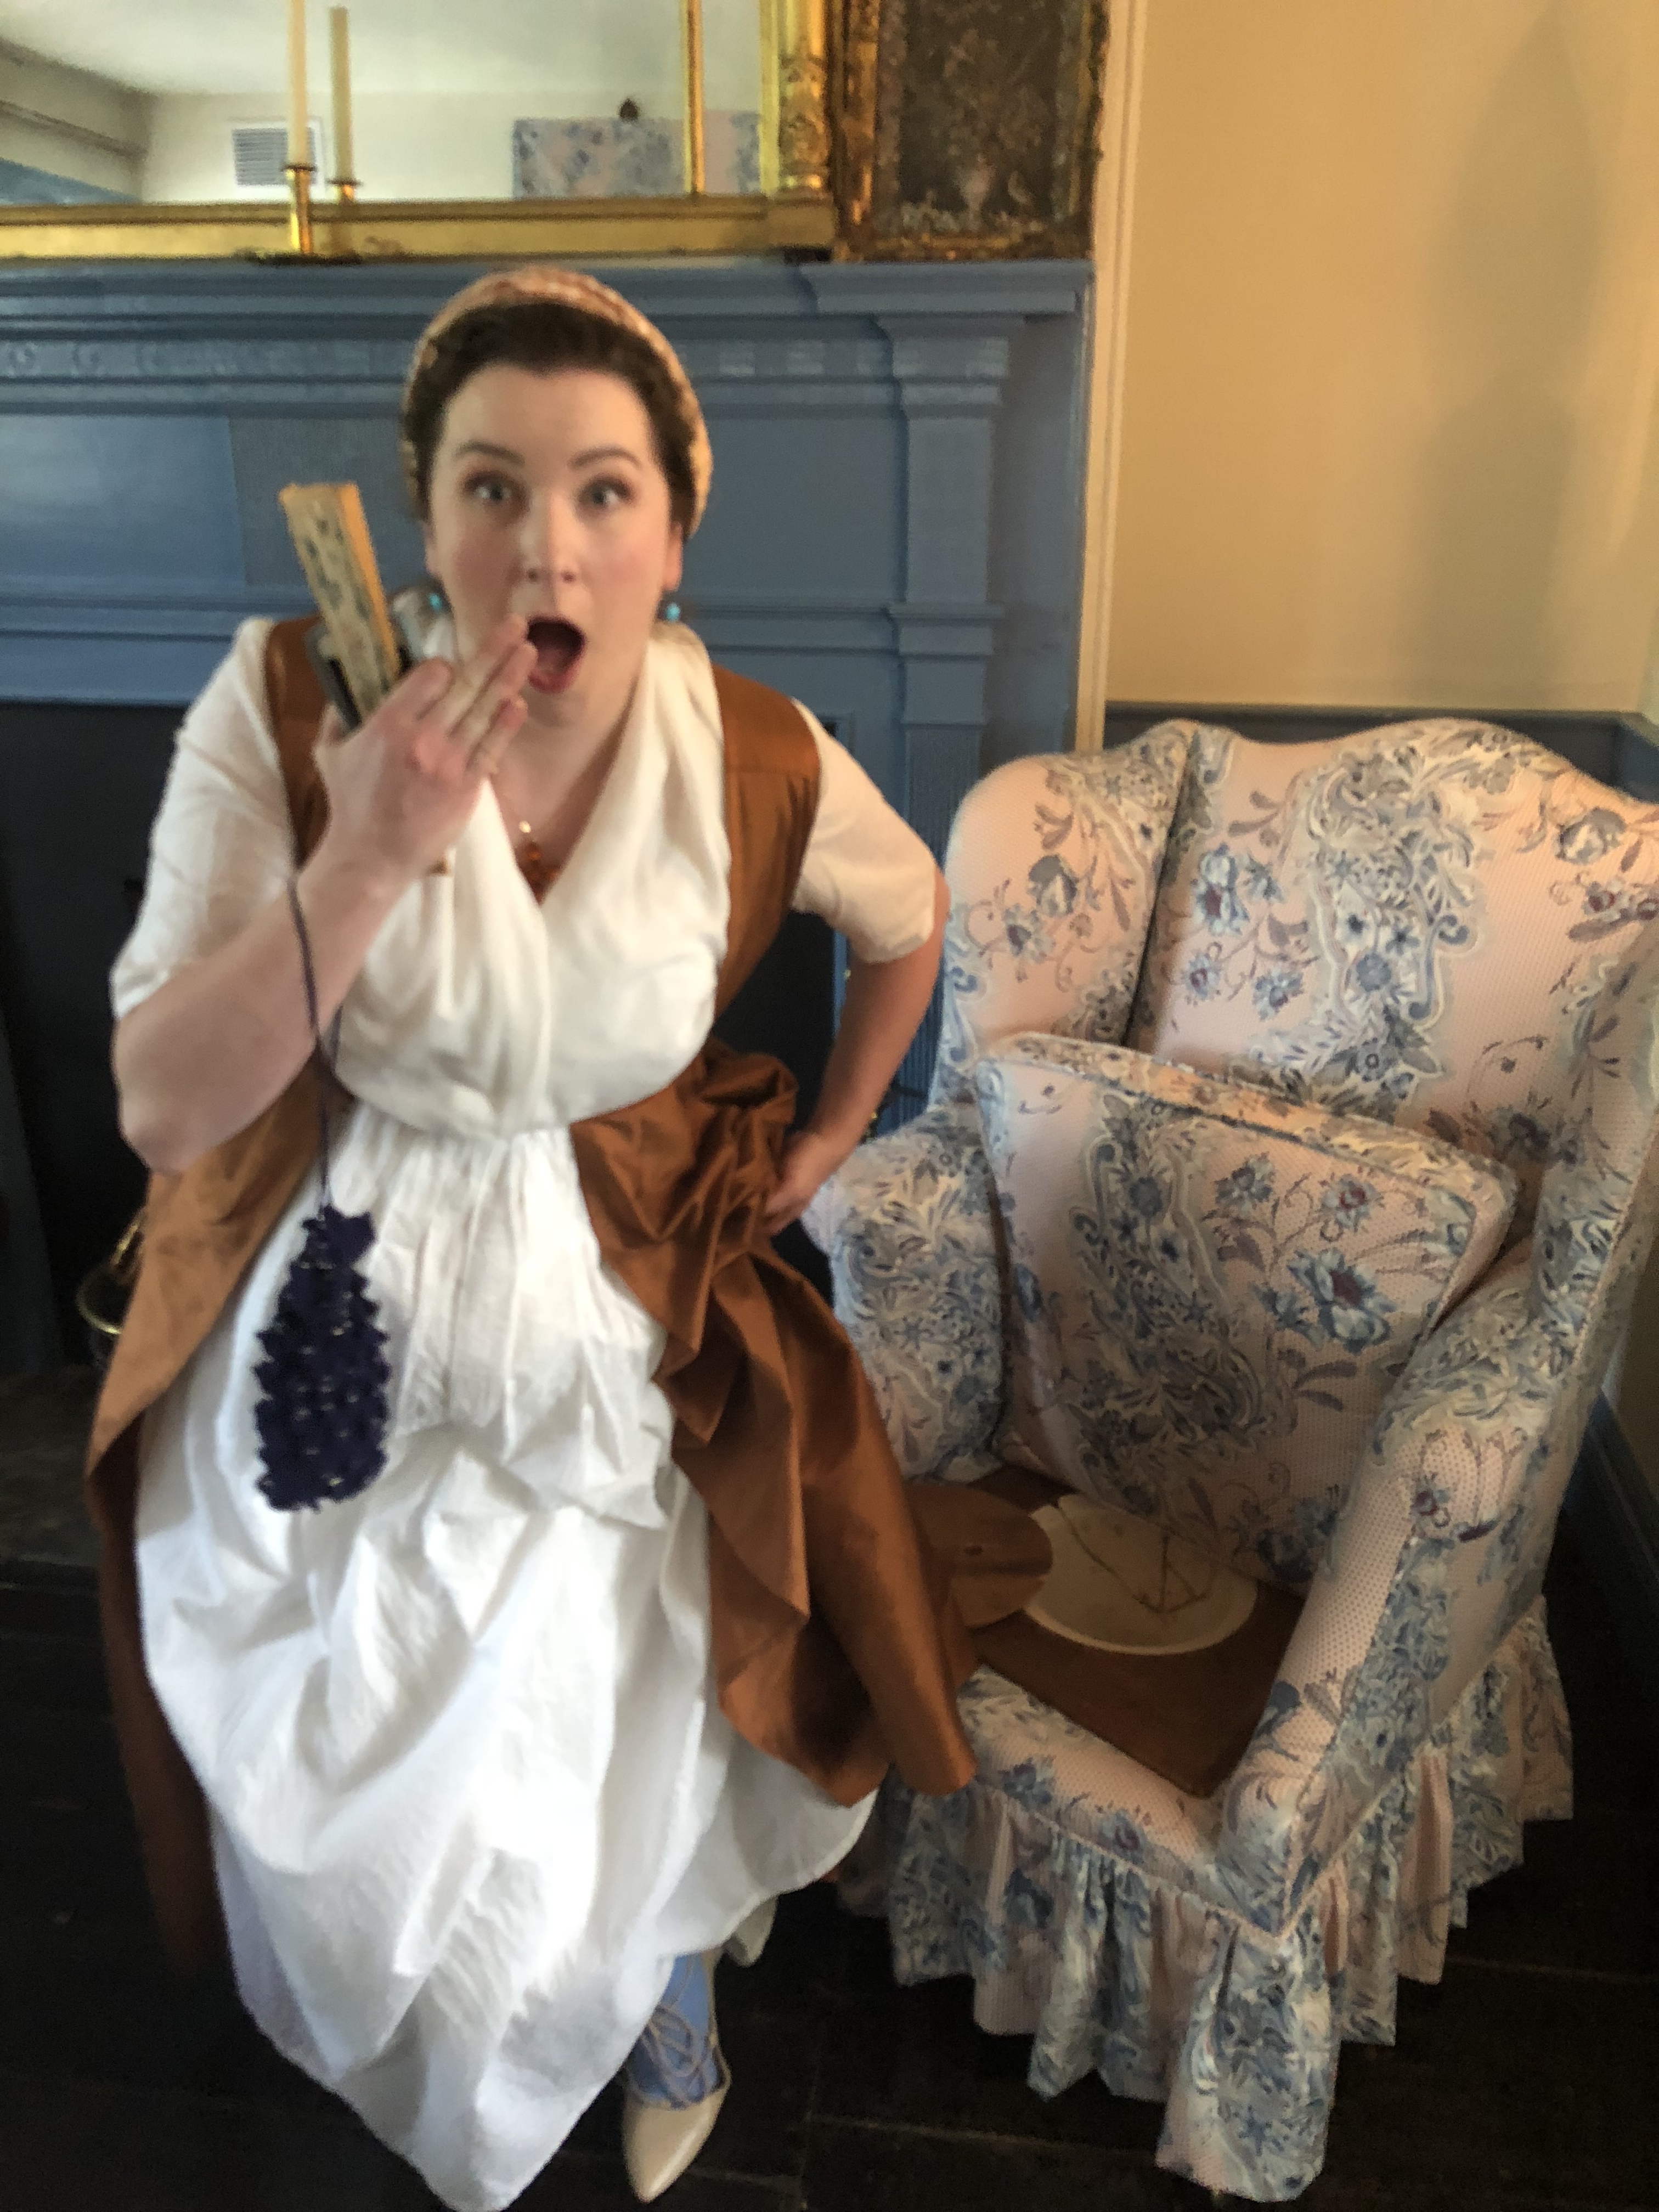
I was very happy with how this dress turned out! I’m absoultely in love with the fabric, and the pattern from Black Snail makes for a super comfy dress on me with no changes other than those I made. I do love a drawstring for adjustability.

I wore the dress over my Redthreaded Regency stays, a shift from Willoughby and Rose, and an old 18th century cotton petticoat. My shawl is from Bohemian Belle. My earrings and coral necklace are from Dames a la Mode. I have a small hair cushion in from Jennylafleur.

Please admire the sash in may hair as it’s from my dress-up box and I distinctly remember wearing that actual old bridesmaid dress to my 10th birthday party.

Event photos:

Thank you so much for everyone who came out! I hope to organize a similar event next year as Winterthur continues to be SO welcoming of our shenanigans and the grounds are just stunning. Some year we’ll have a dry, ACTUAL picnic, and I shall bust out the graces and lawn blankets. If you are interested in joining us sometime feel free to follow my Facebook page as that’s where I organize things, or I would encourage you to join the Greater Philadelphia Area Historical Costuming & Events group!

A recipe for 18th Century Mitts

Standard
A recipe for 18th Century Mitts

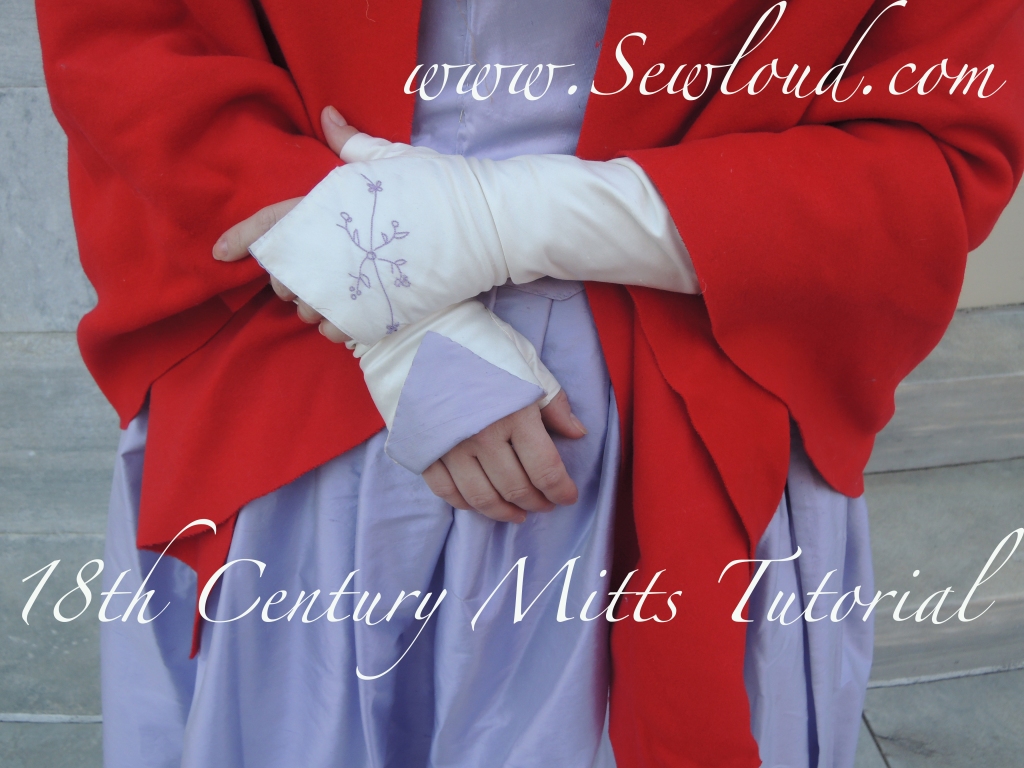
Last week the Usual Suspects and I went to the Museum of the American Revolution’s History After Dark event which promised dancing and embarrassing the Couture Courtesan into admitting she knows us (did a fantastic hand sewn polonaise gown for them for an Eliza Hamilton exhibit). It being winter in Pennsylvania the forecast was brisk and I deemed it time to get around to making the set of silk mitts I’ve been meaning to make for 25 or so years.

Patterning

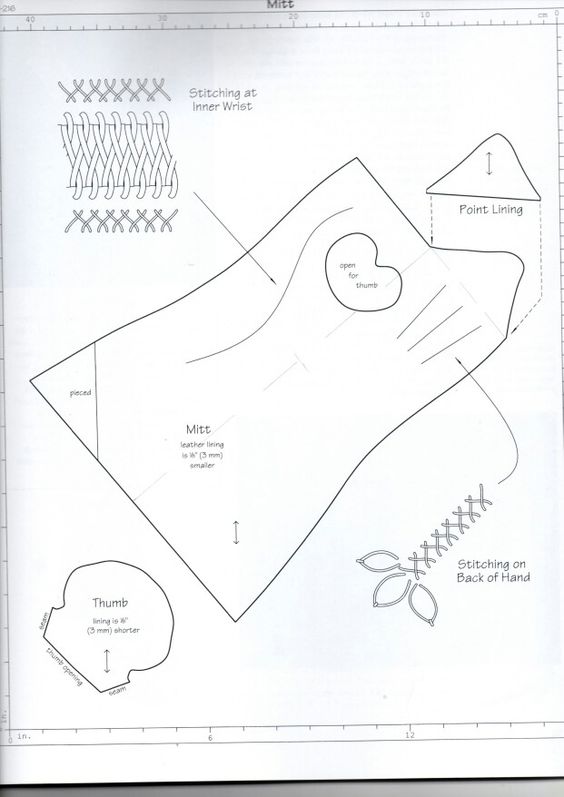
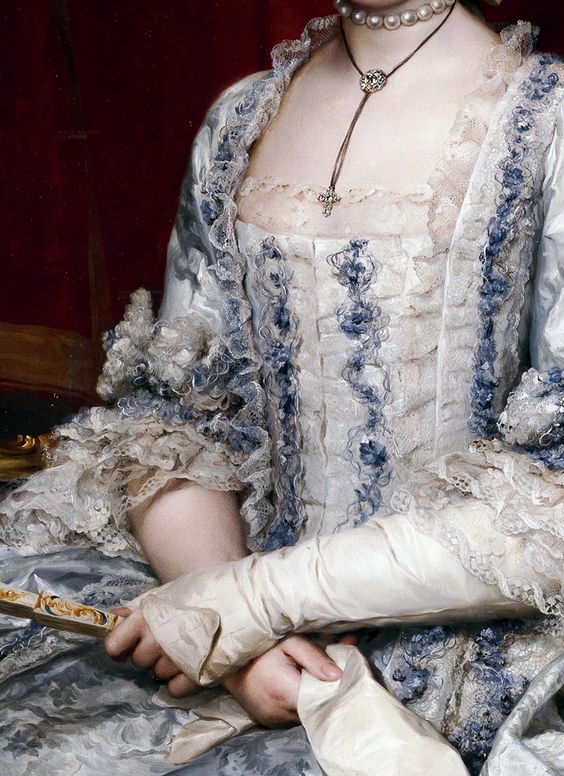
This is a pattern for a pair in costume close up. If you don’t have that book, get it.

I thought I might make this a sort-of tutorial, okay more like an old school dress diary for how I made them. I’ll even leave in my mistakes!
Step 1. You’ll need a few measurments

  1. Around the widest point of your hand
  2. Around your wrist
  3. Around your forearm
  4. The length you want them to be
  5. length from the base of your thumb to where you want your mitts to end

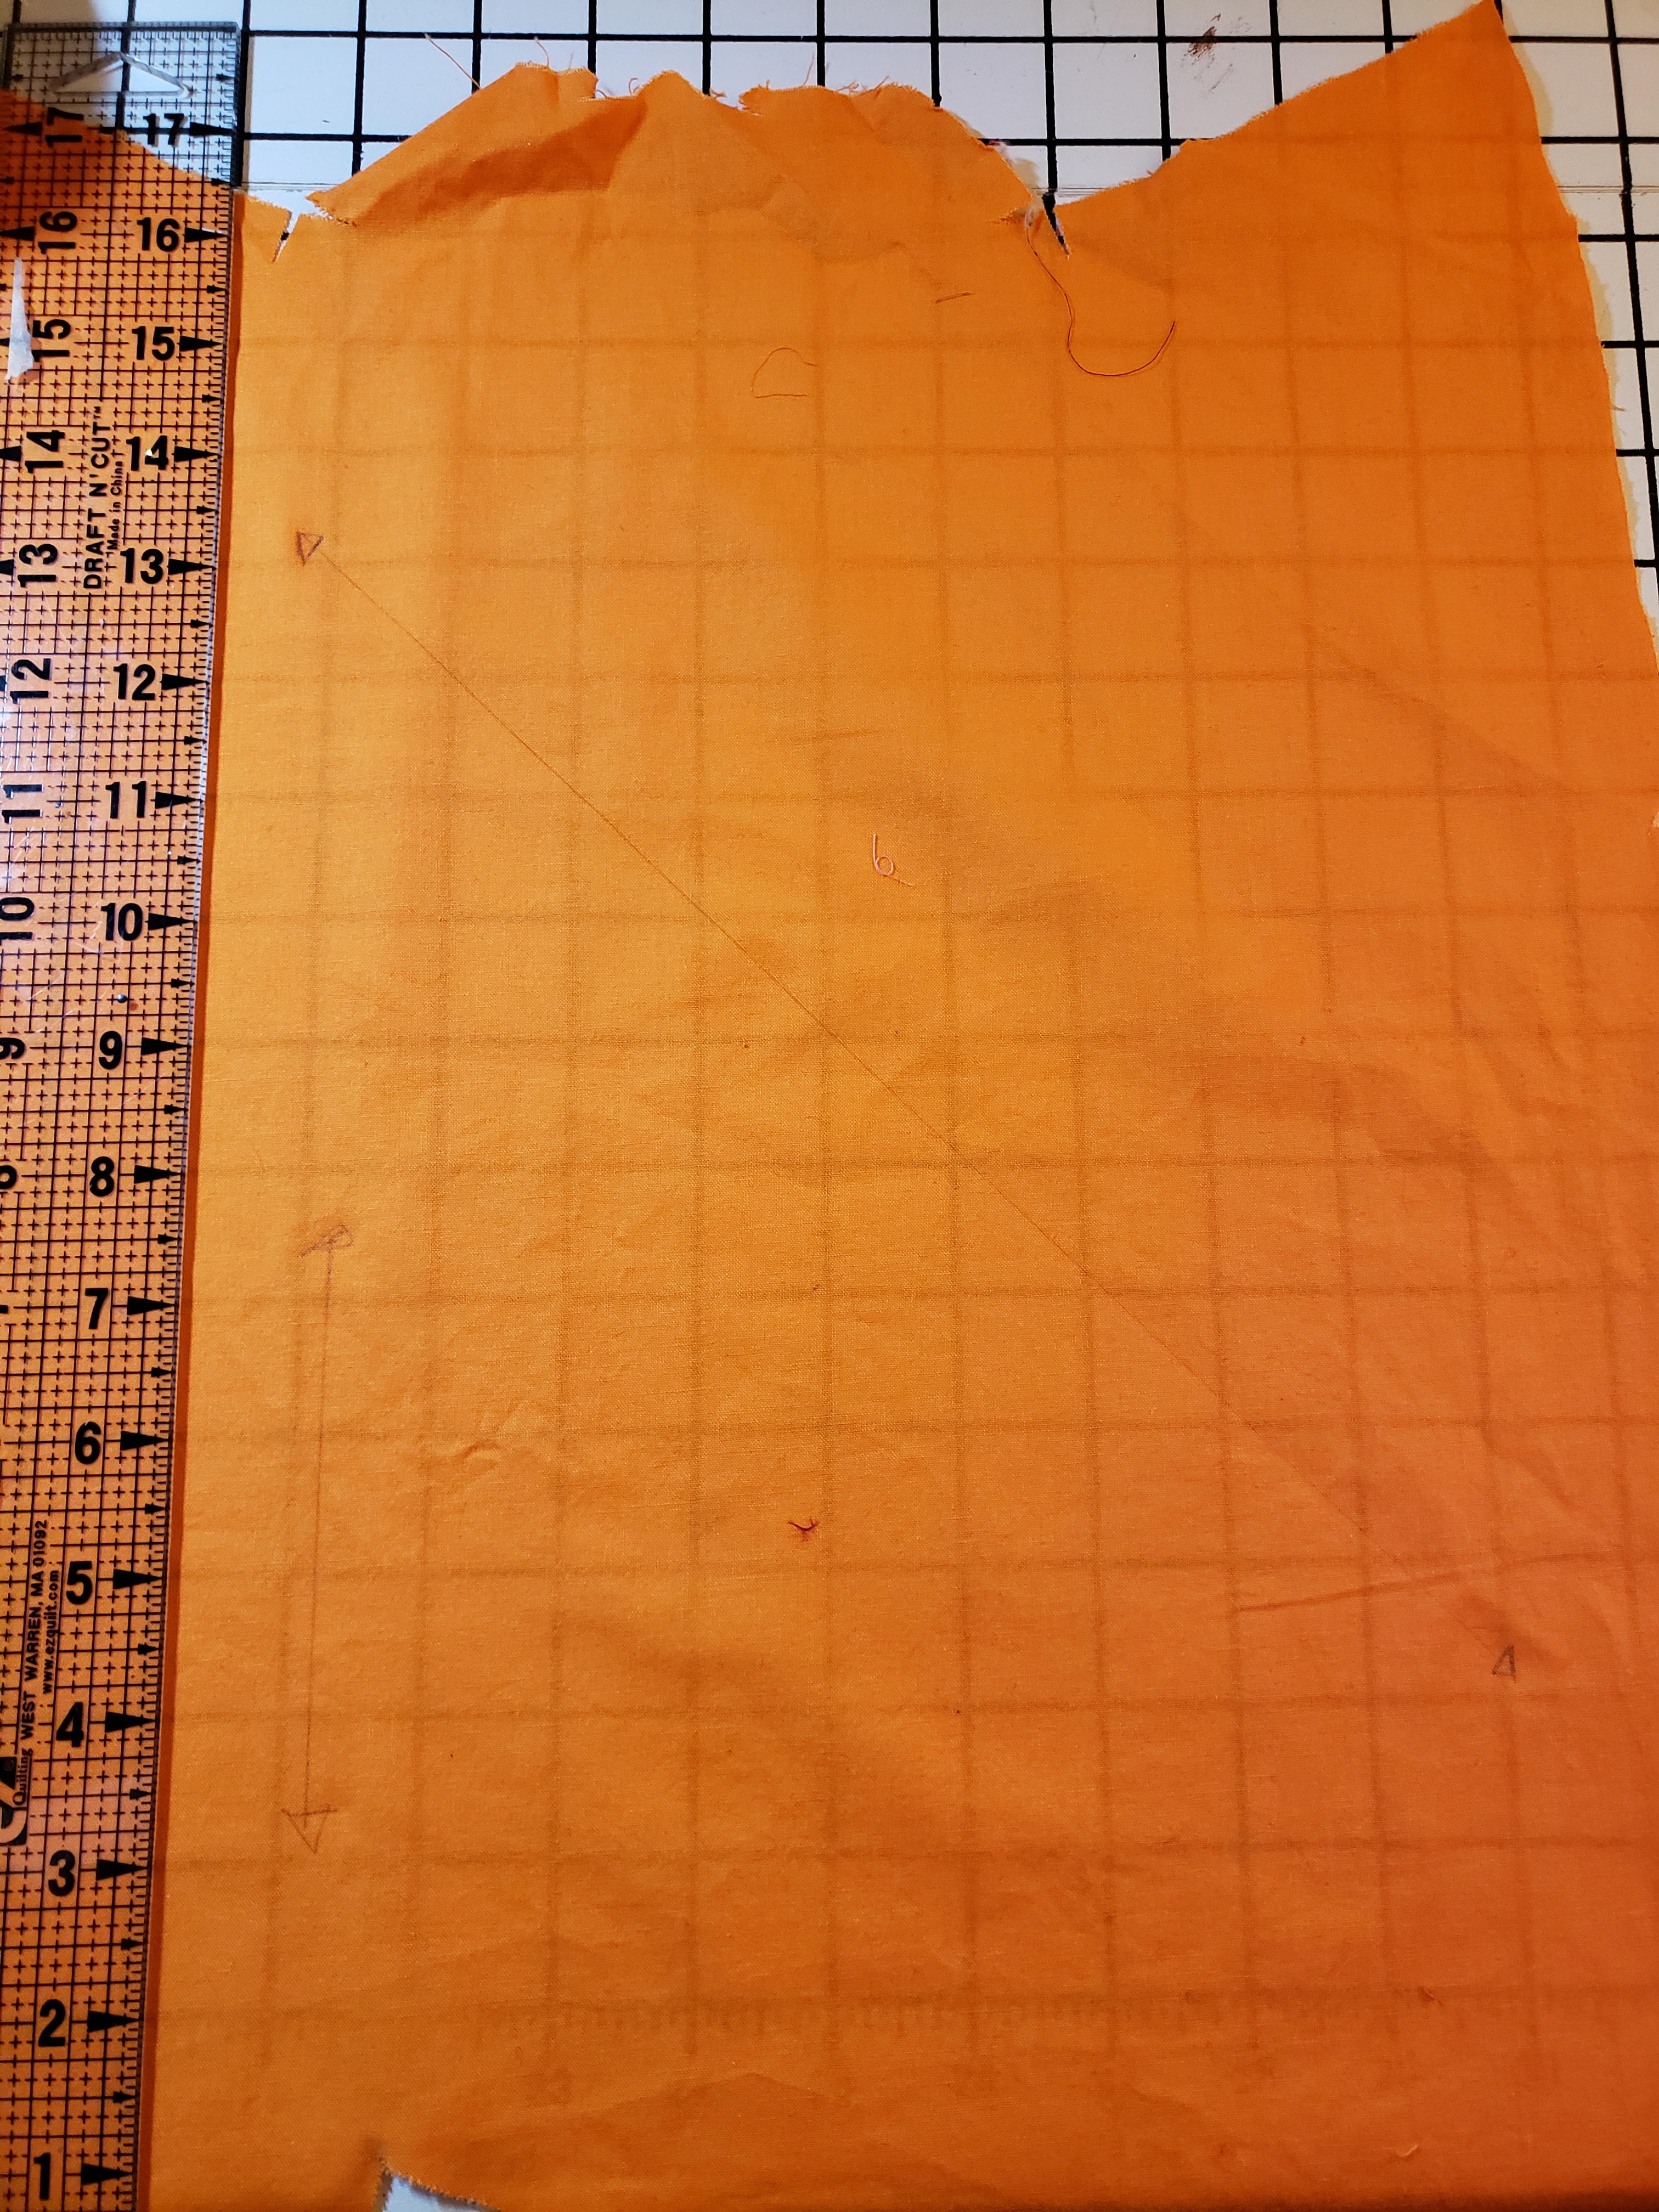
Step 2. Lets start badly patterning together! I began with scrap fabric and drew a straight line on the bias. Mitts are always cut on the bias because you need as much stretch as possible. This line will be come the point where you fold the mitts in half.

Why am I including a photo here…I’m sure you all know what this would look like

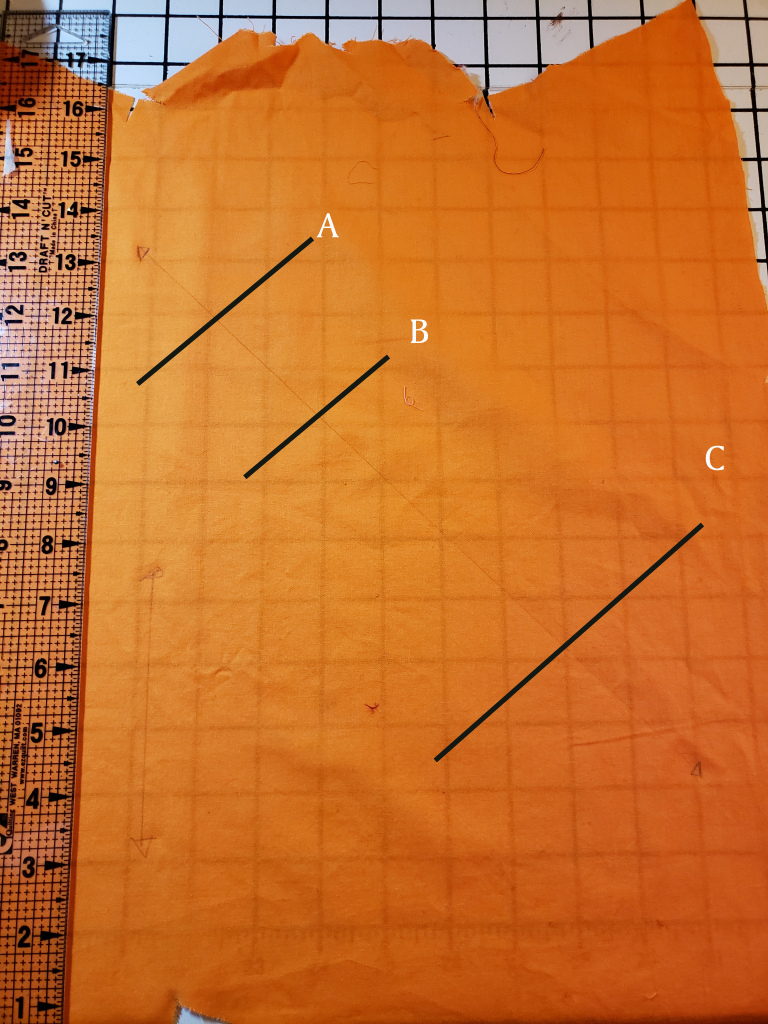
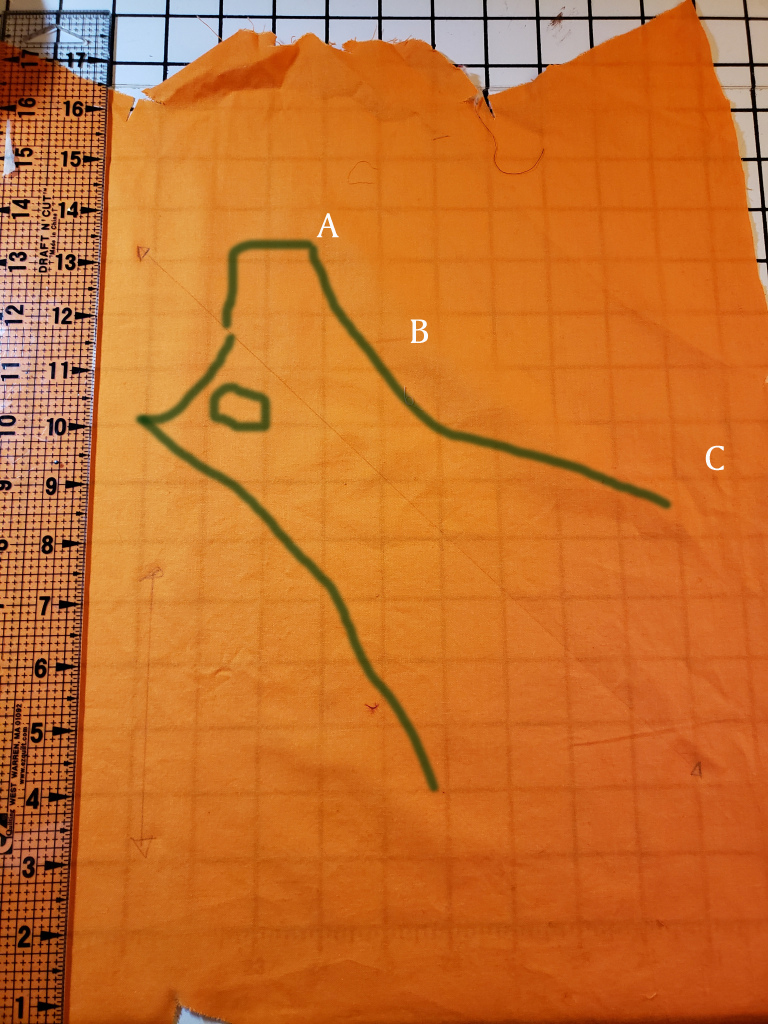
Step 3. (which is what I really SHOULD have taken a photo of) You’re going to take your earlier measurements and draw horizontal lines off your center line. You basically center your measurment on the line.

Divide your measurements by 2, use that number to center the amount on each side

Line A is the measurment around the widest part of your hand. Line B is the measurment around you wrist and Line C is around your forearm.

The length of your point is complete personal preference

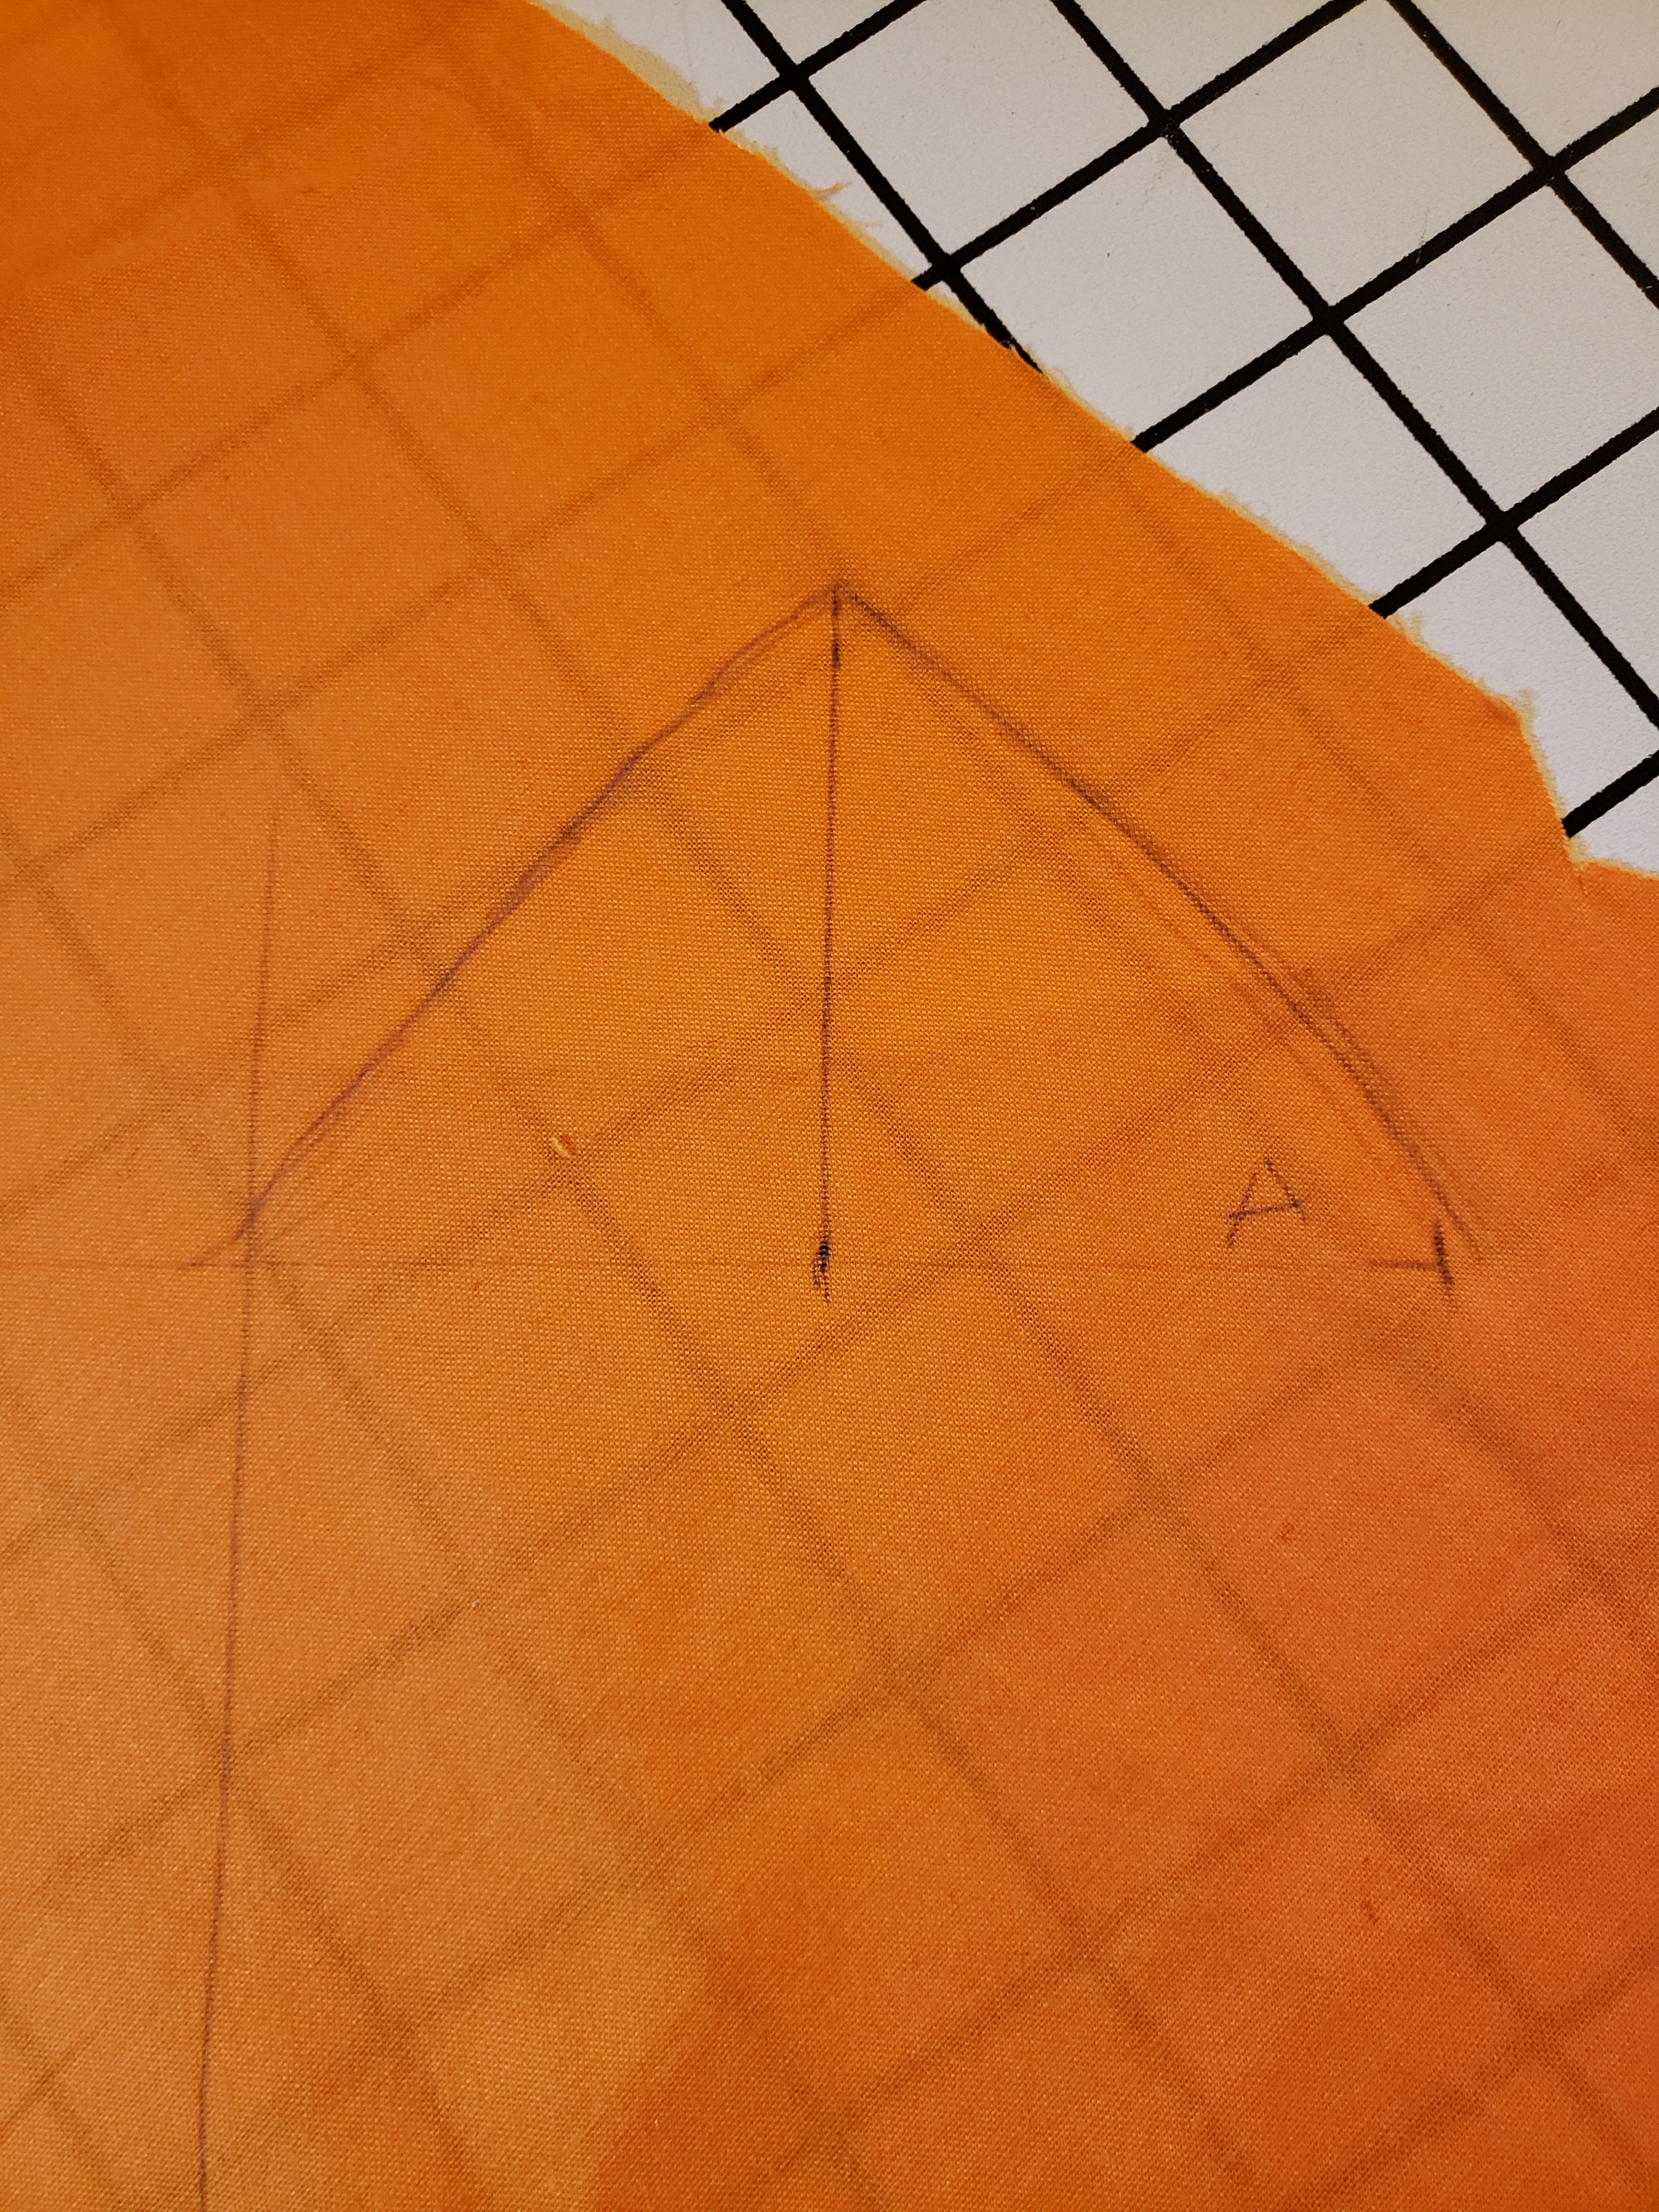
Step 4. pick one side to be the top of the mitt. I picked the right side. from the center line to the edge is the width over the top of your hand, draw on a point on that side if desired. There are examples without the point but I think it’s very elegant.

Please admire my terrible photoshop skills here

Step 5. Connect the dots for the outline. You’ll end up with an hour glass shape.

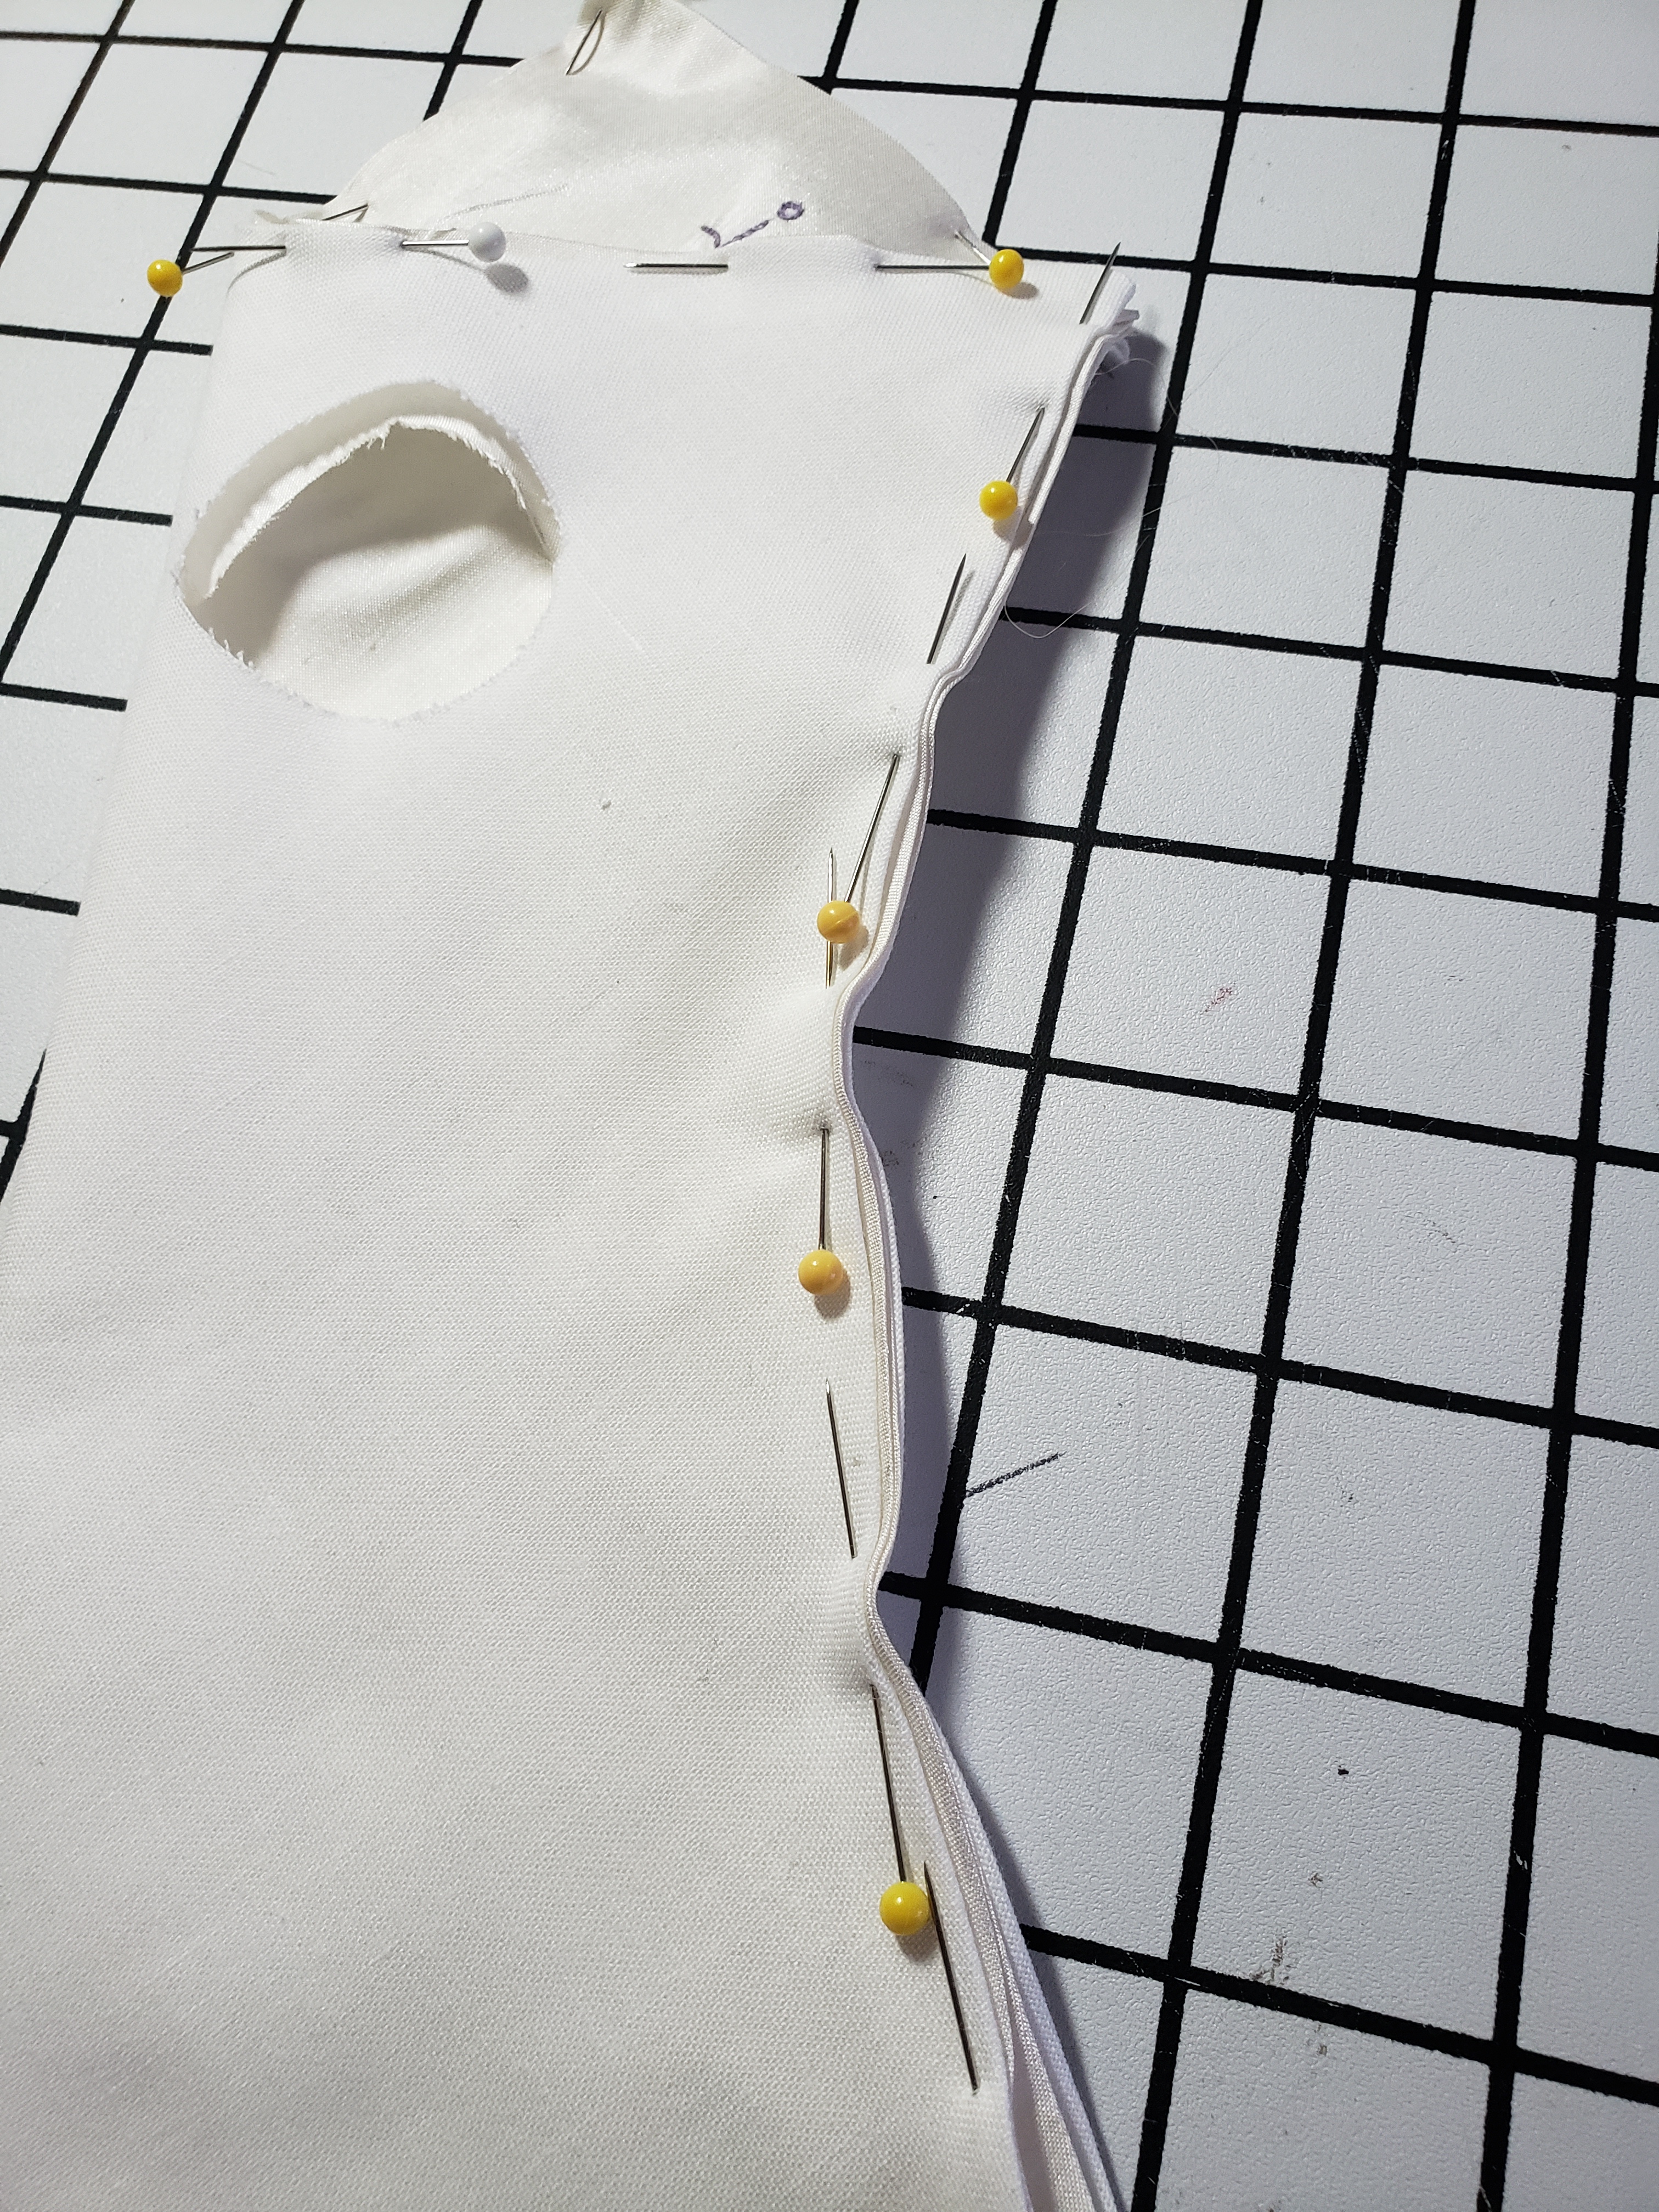
Step 6. add a thumb hole. Honestly start small and when you try them on you’ll tweak this. But a word of warning. My first mock up I centered the hole on the line. But thumbs aren’t centered on our hand. The beefy part of your thumb is more on the palm side.

Off center thumb adds extra wrinkles

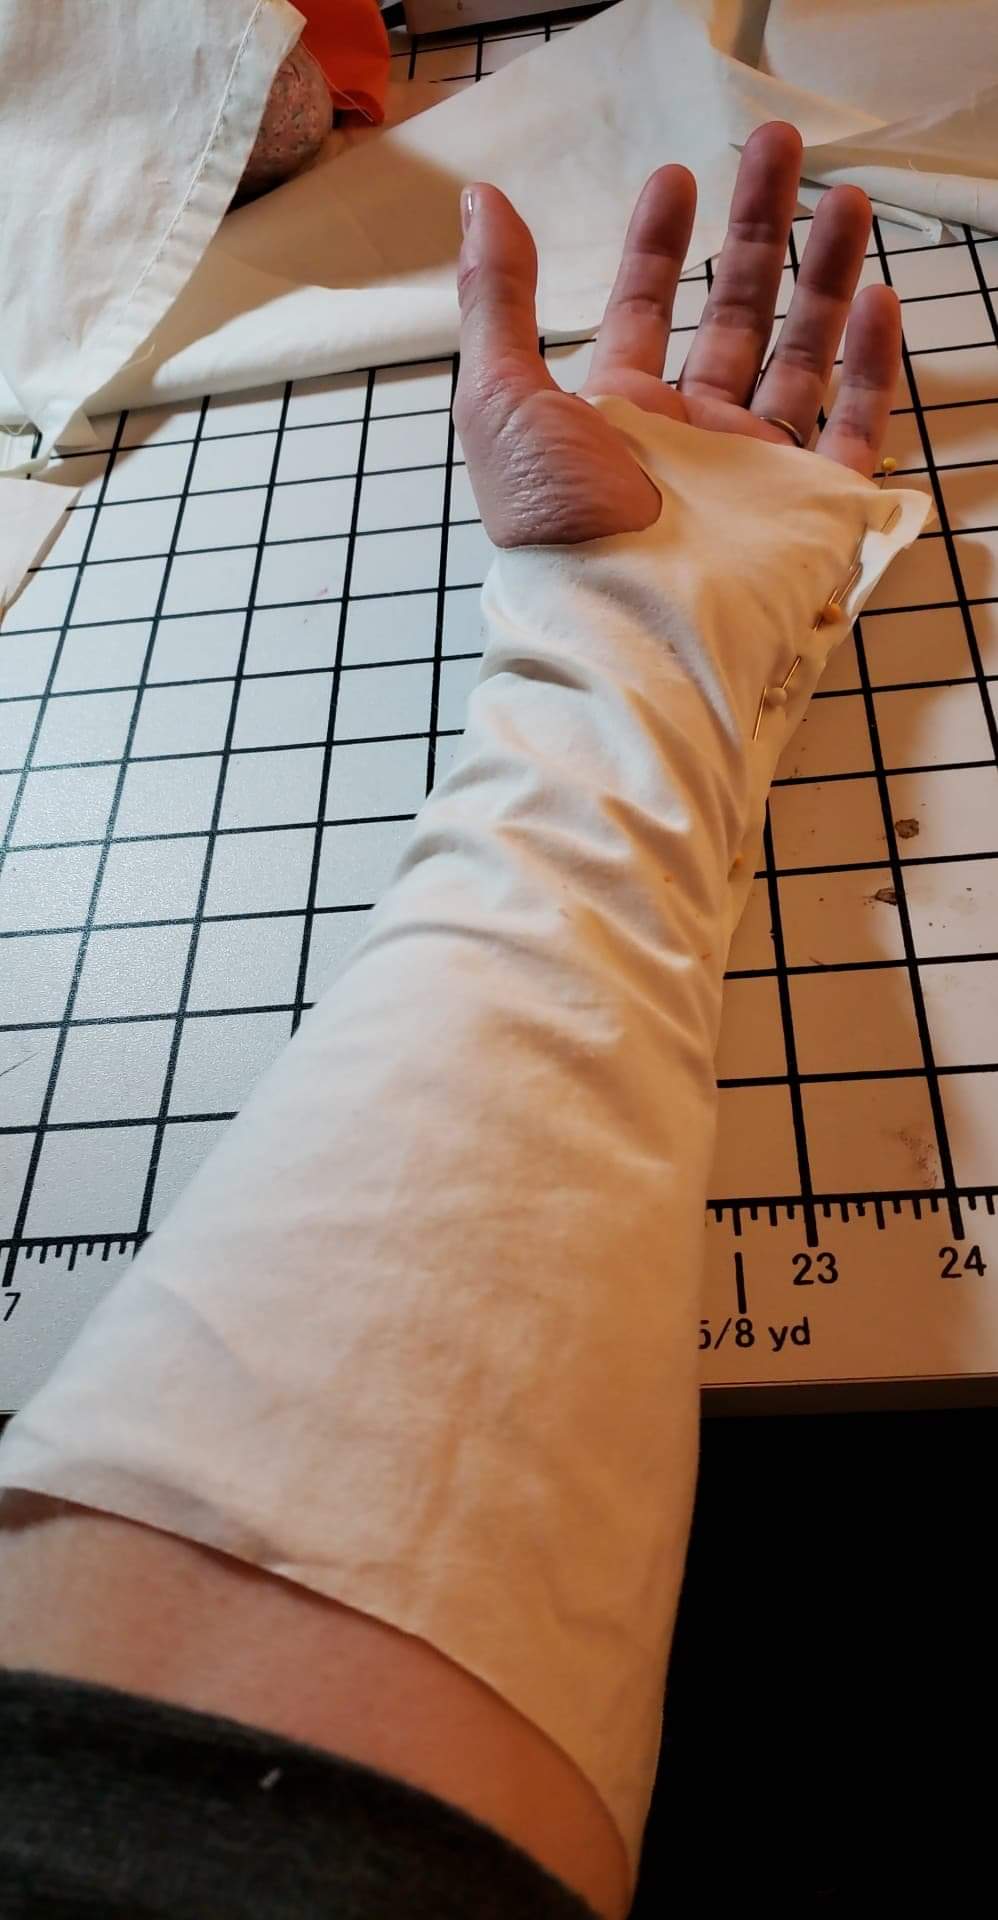
Step 7. Cut them out and pin up the side seam. Try them on. If you have a very large hand to wrist ratio you may need to add extra ease to the wrist measurment so you can get them on. But make them as tight as you can, I made mine super tight and by the time I wore them an hour they stretched so much I want to take them in.

mock up #2 with off center thumb, muuuuch better

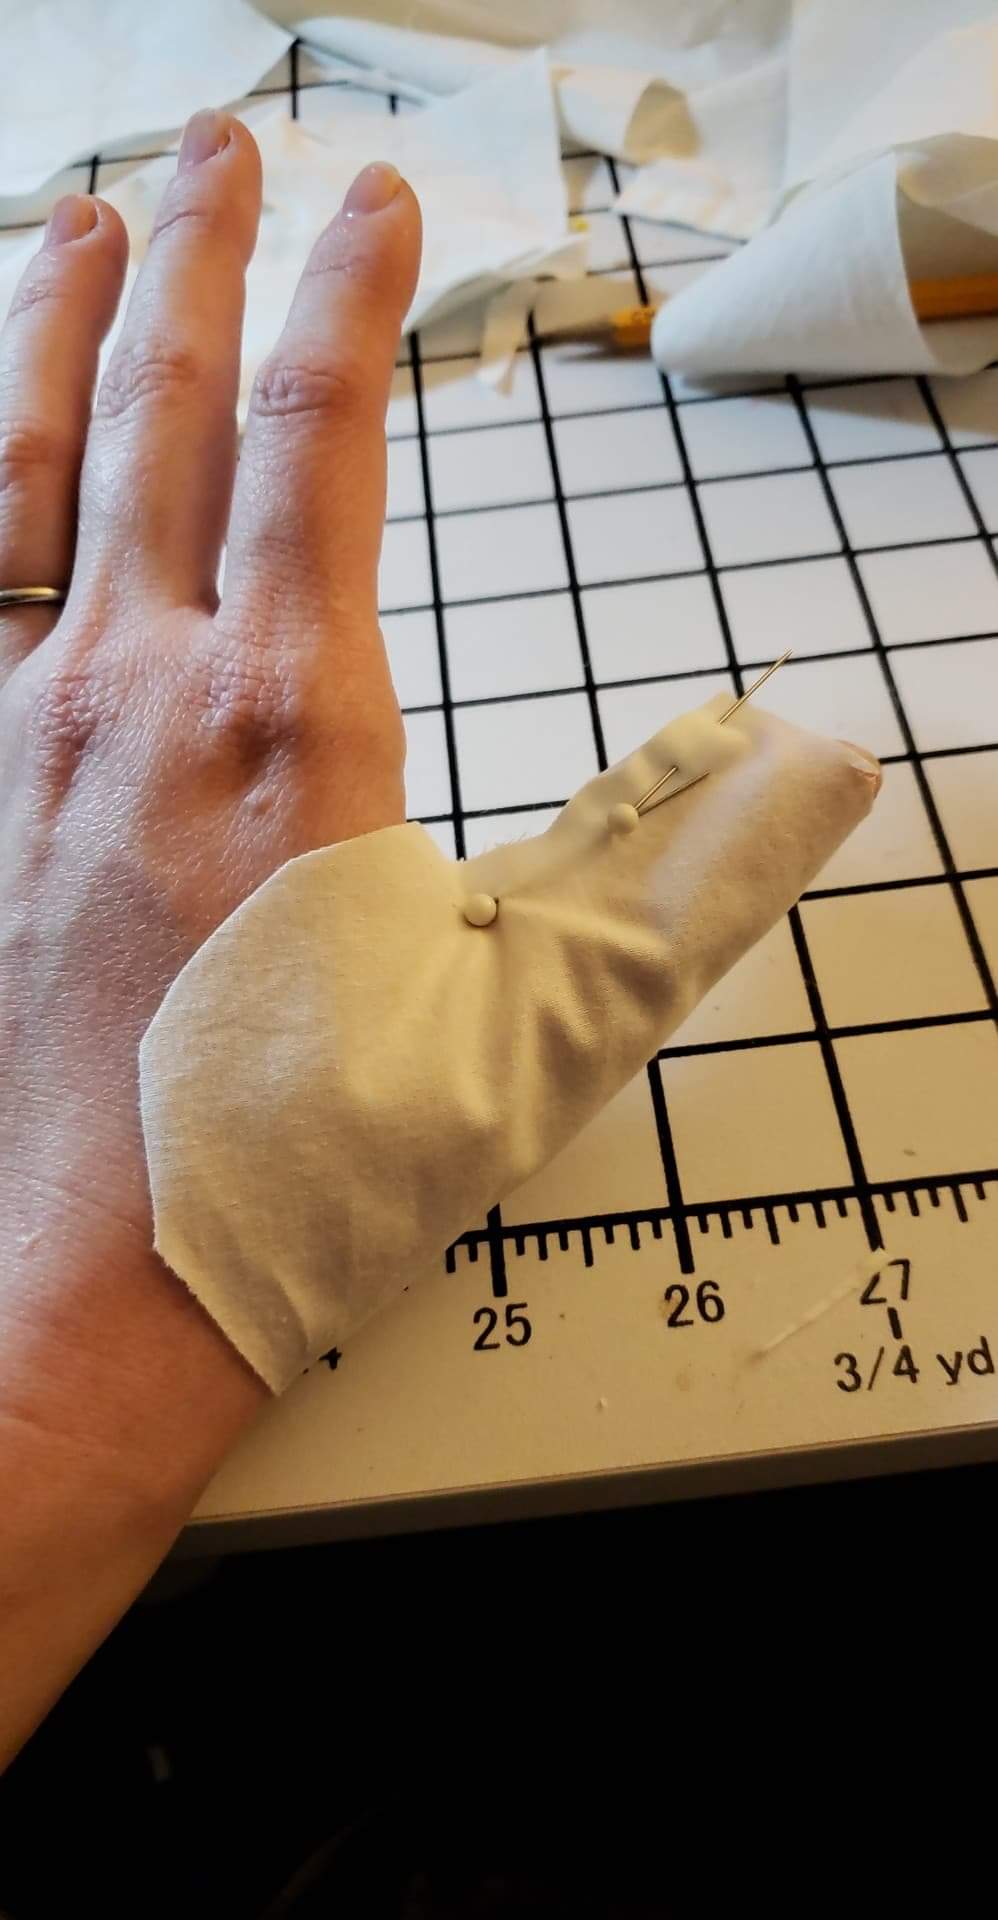
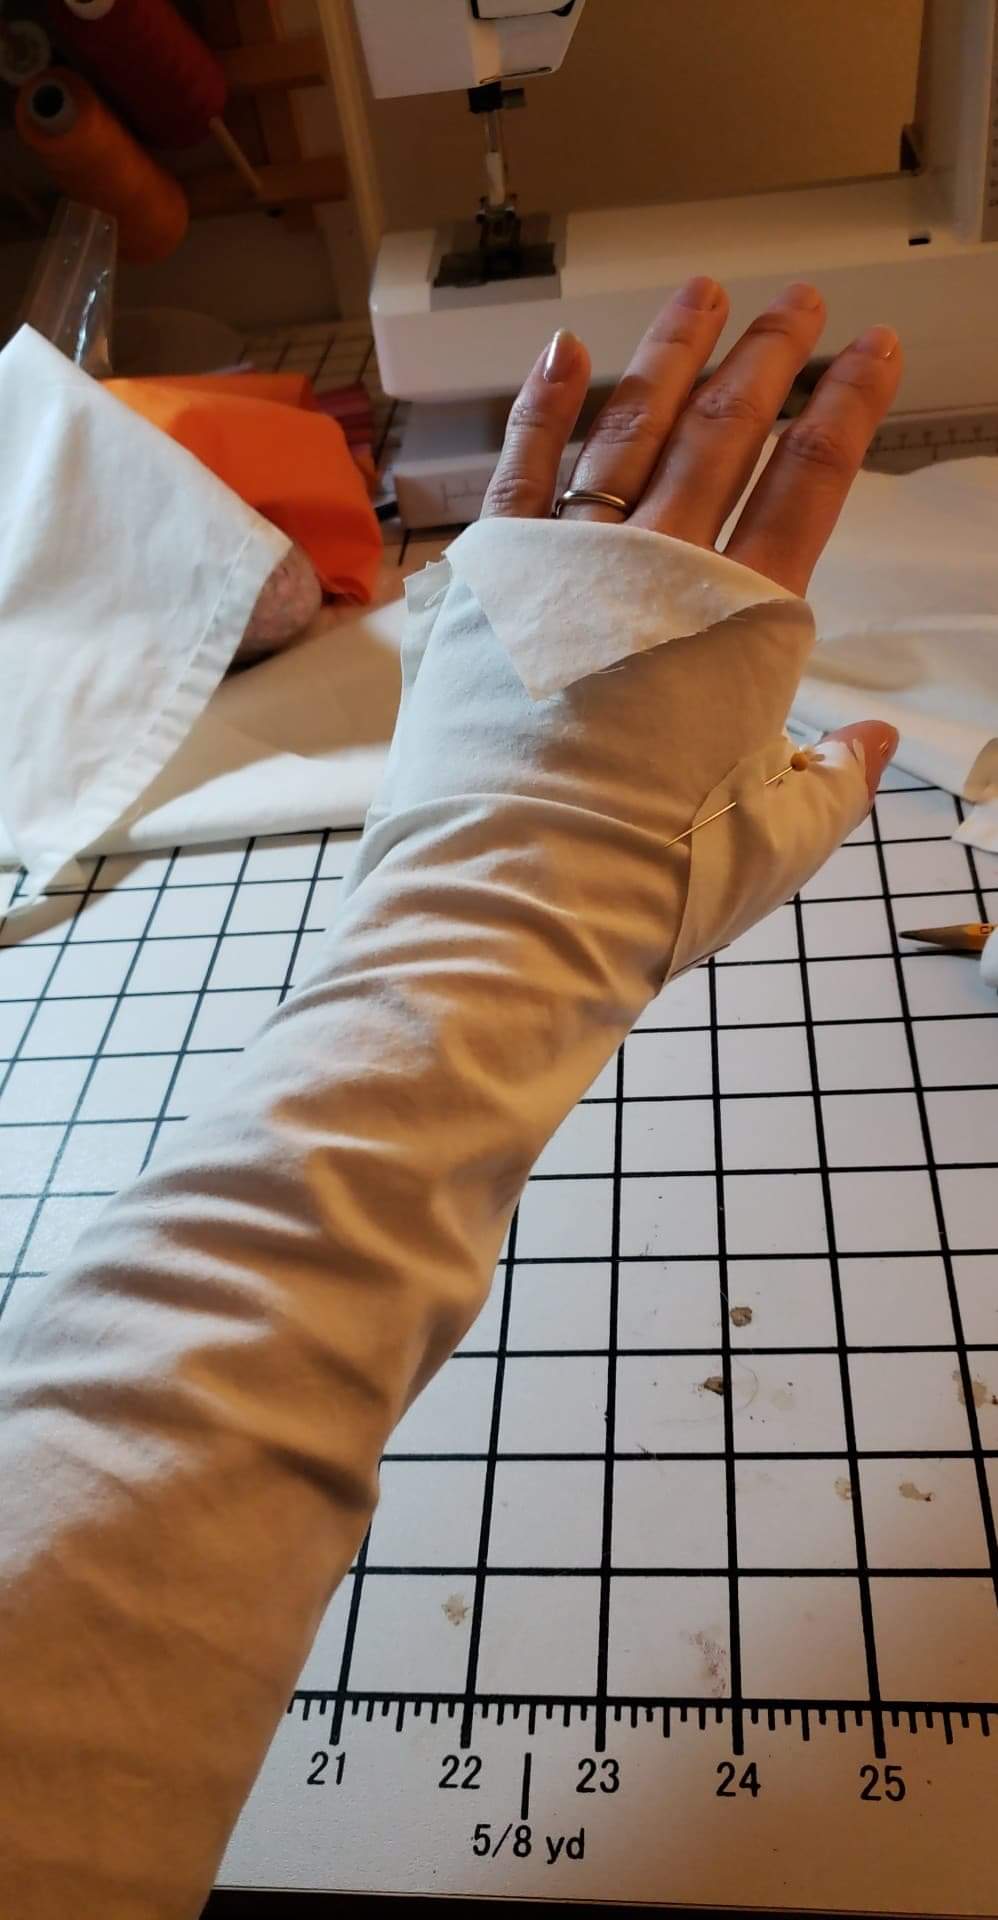
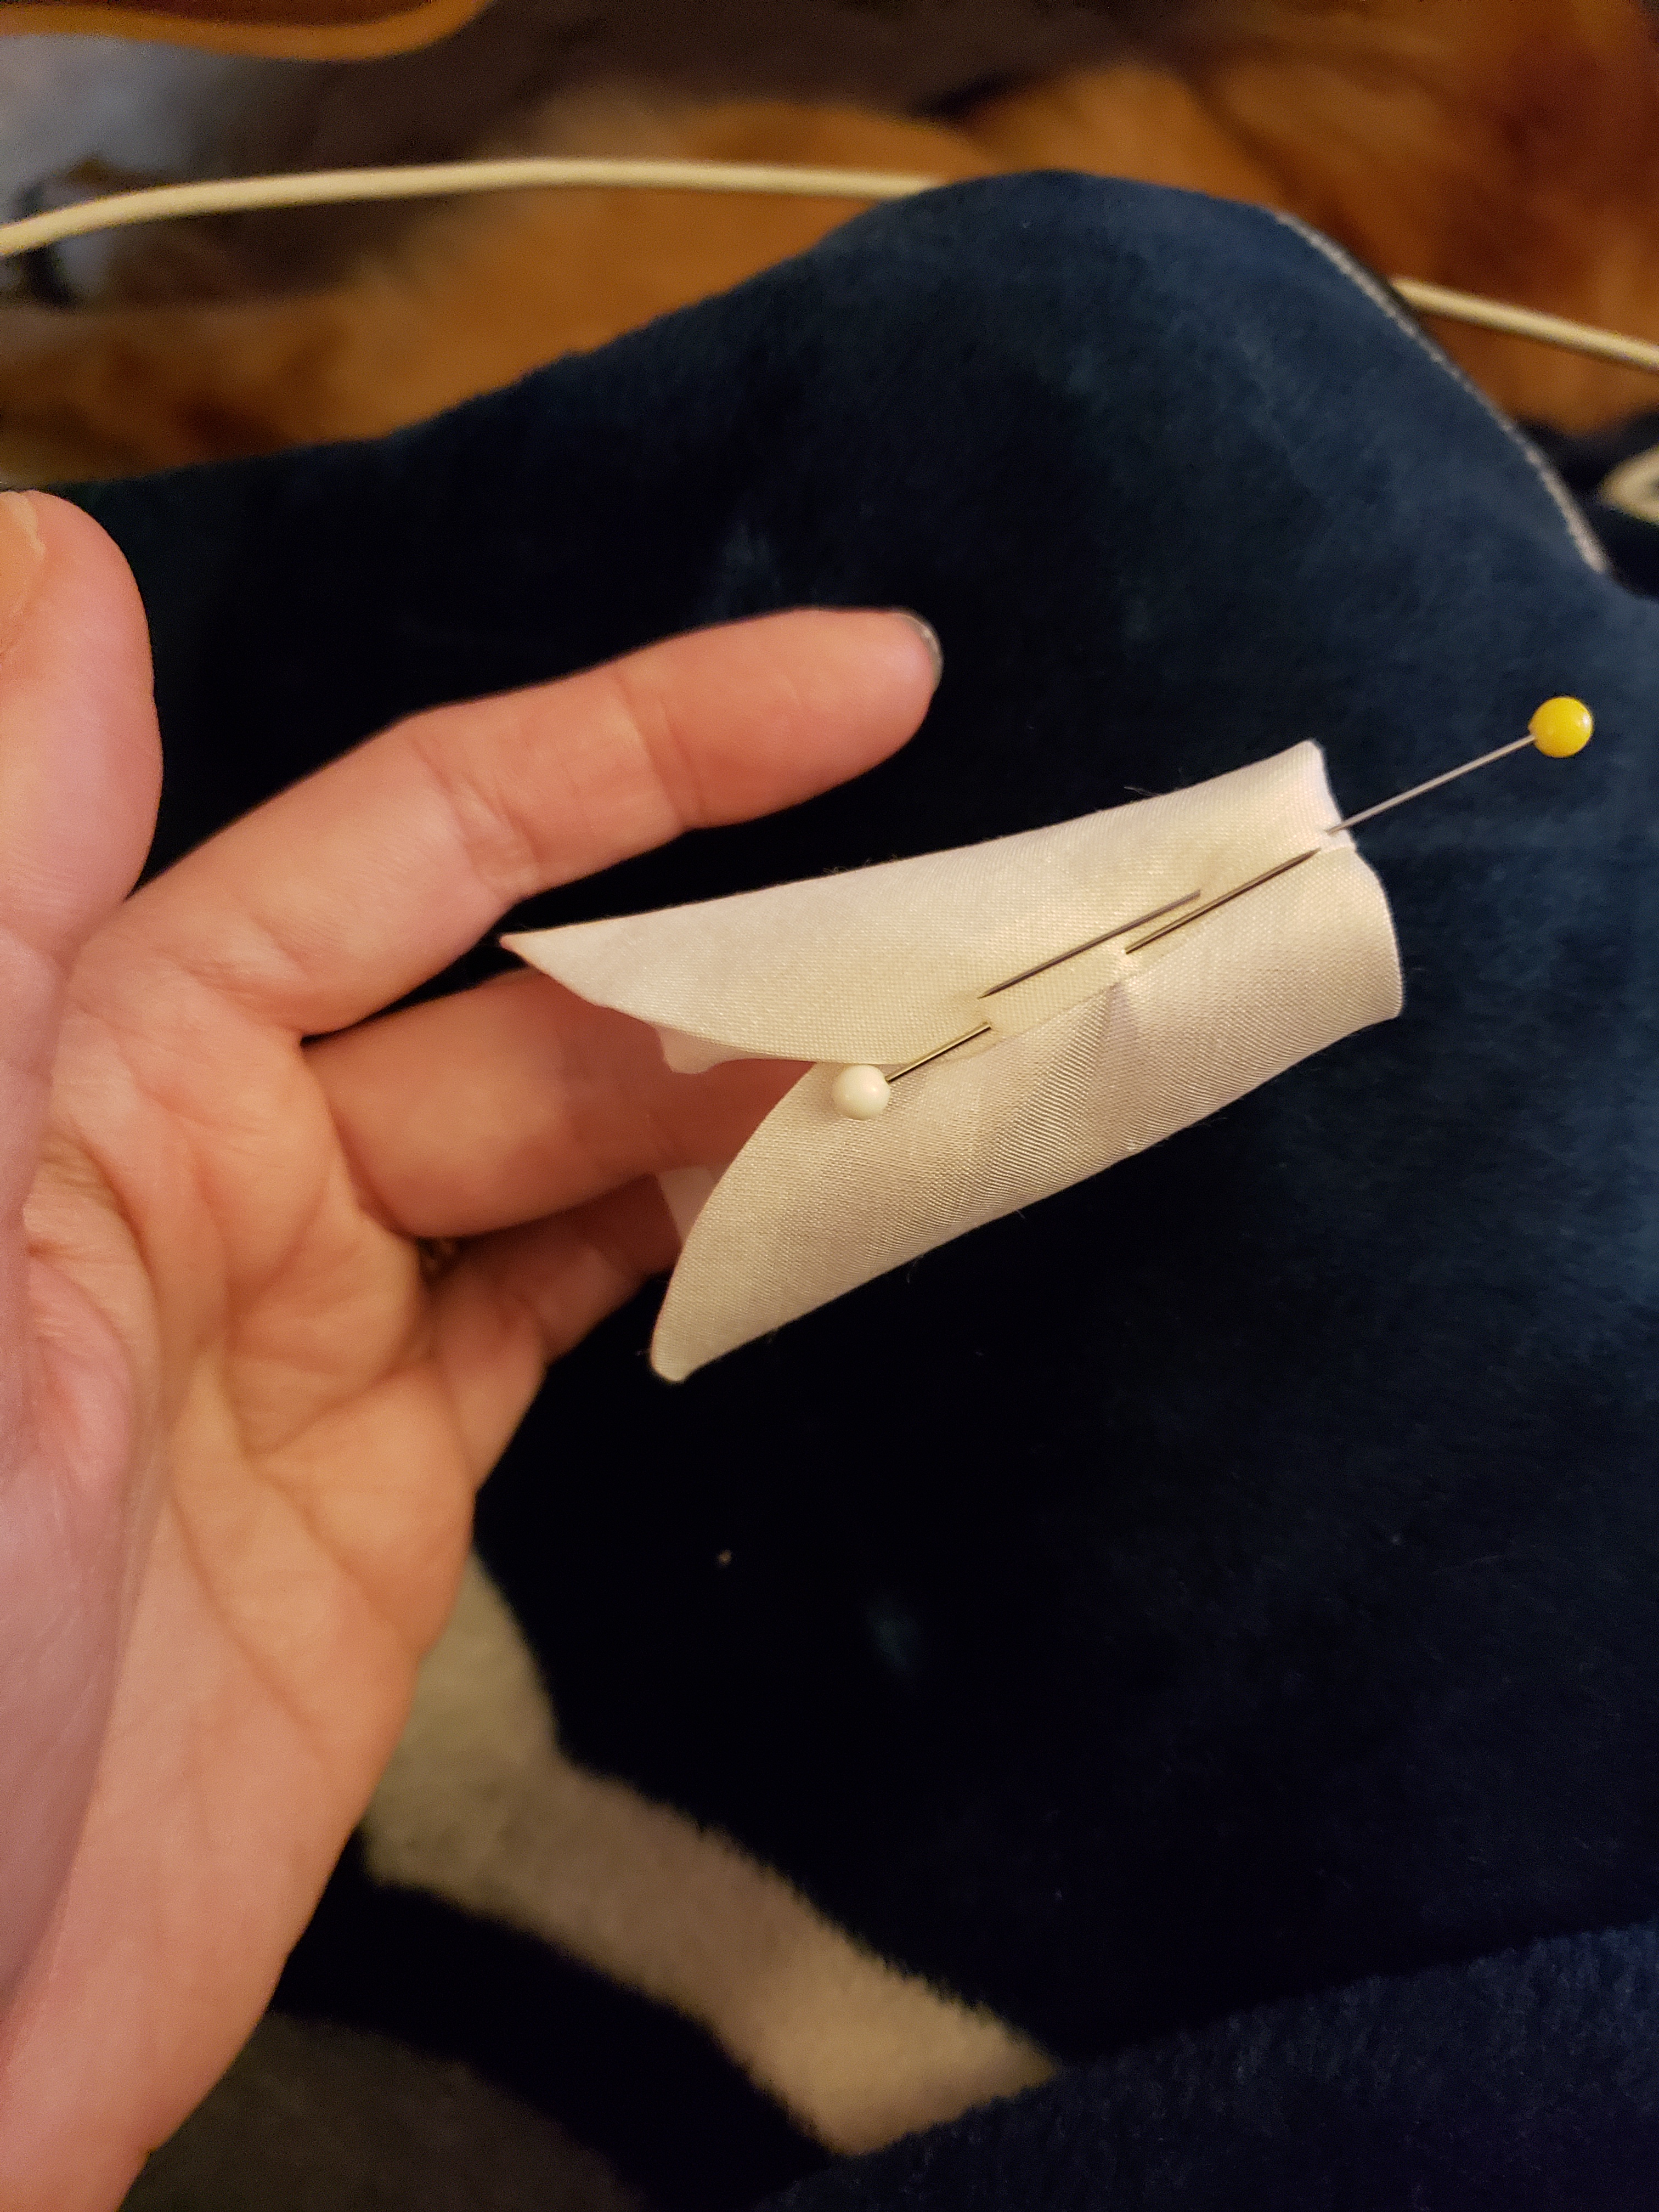
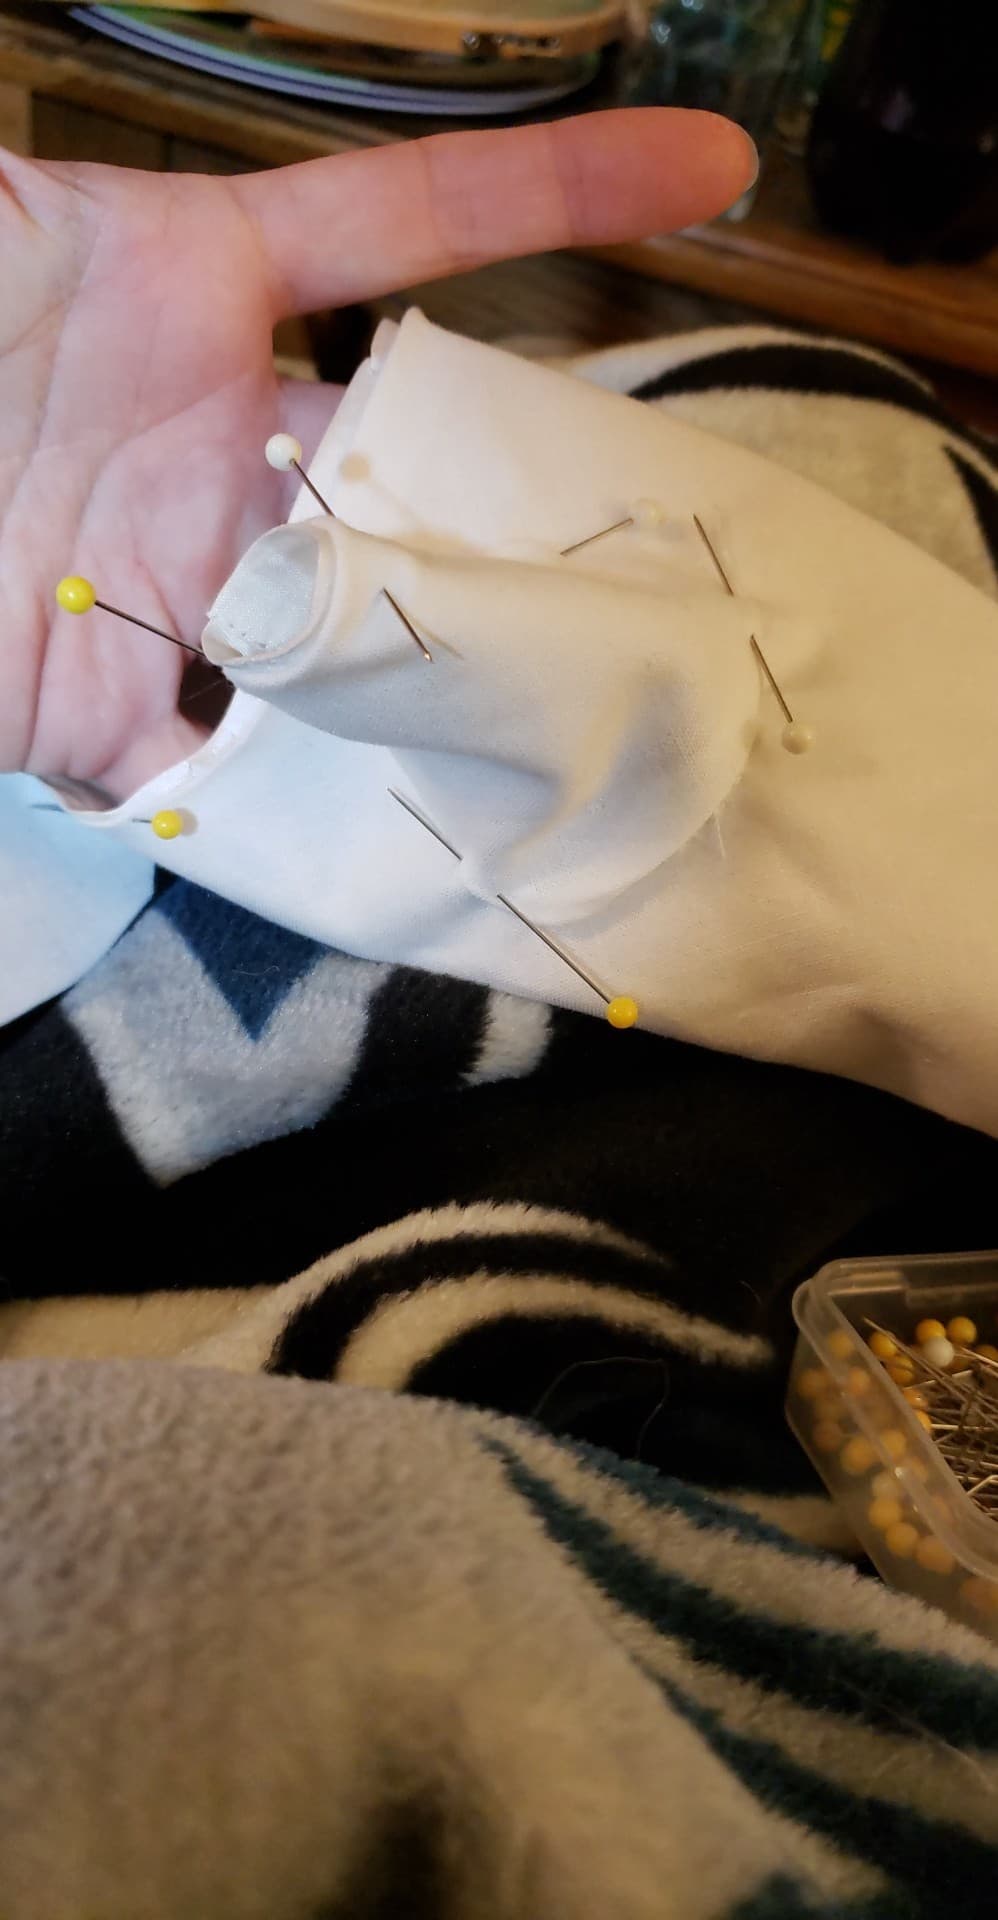
Now the awkward part. The thumb. I started by drawing a straight edge and then folding it around my thumb and pinning.

If there’s a way to draft this it’s beyond my skills

I wish I had helpful thumb advice but mostly I just…futzed. I promise it’s not hard. Just wrap your thumb and trim away the excess. You’ll be left with a pattern that’ll sit nicely on top of the body of your mitt.

ta daaa a finished mitt…pattern

Here’s what my final pattern looks like. But again everyones arm measurements are different so no one-size-fits-all pattern will look good on everyone. It’s really very easy to fit your own, don’t be intimidated!

I kept my seam allowances small, 1/4″ to reduce bulk

Decorate

embroidered mitts from the MET

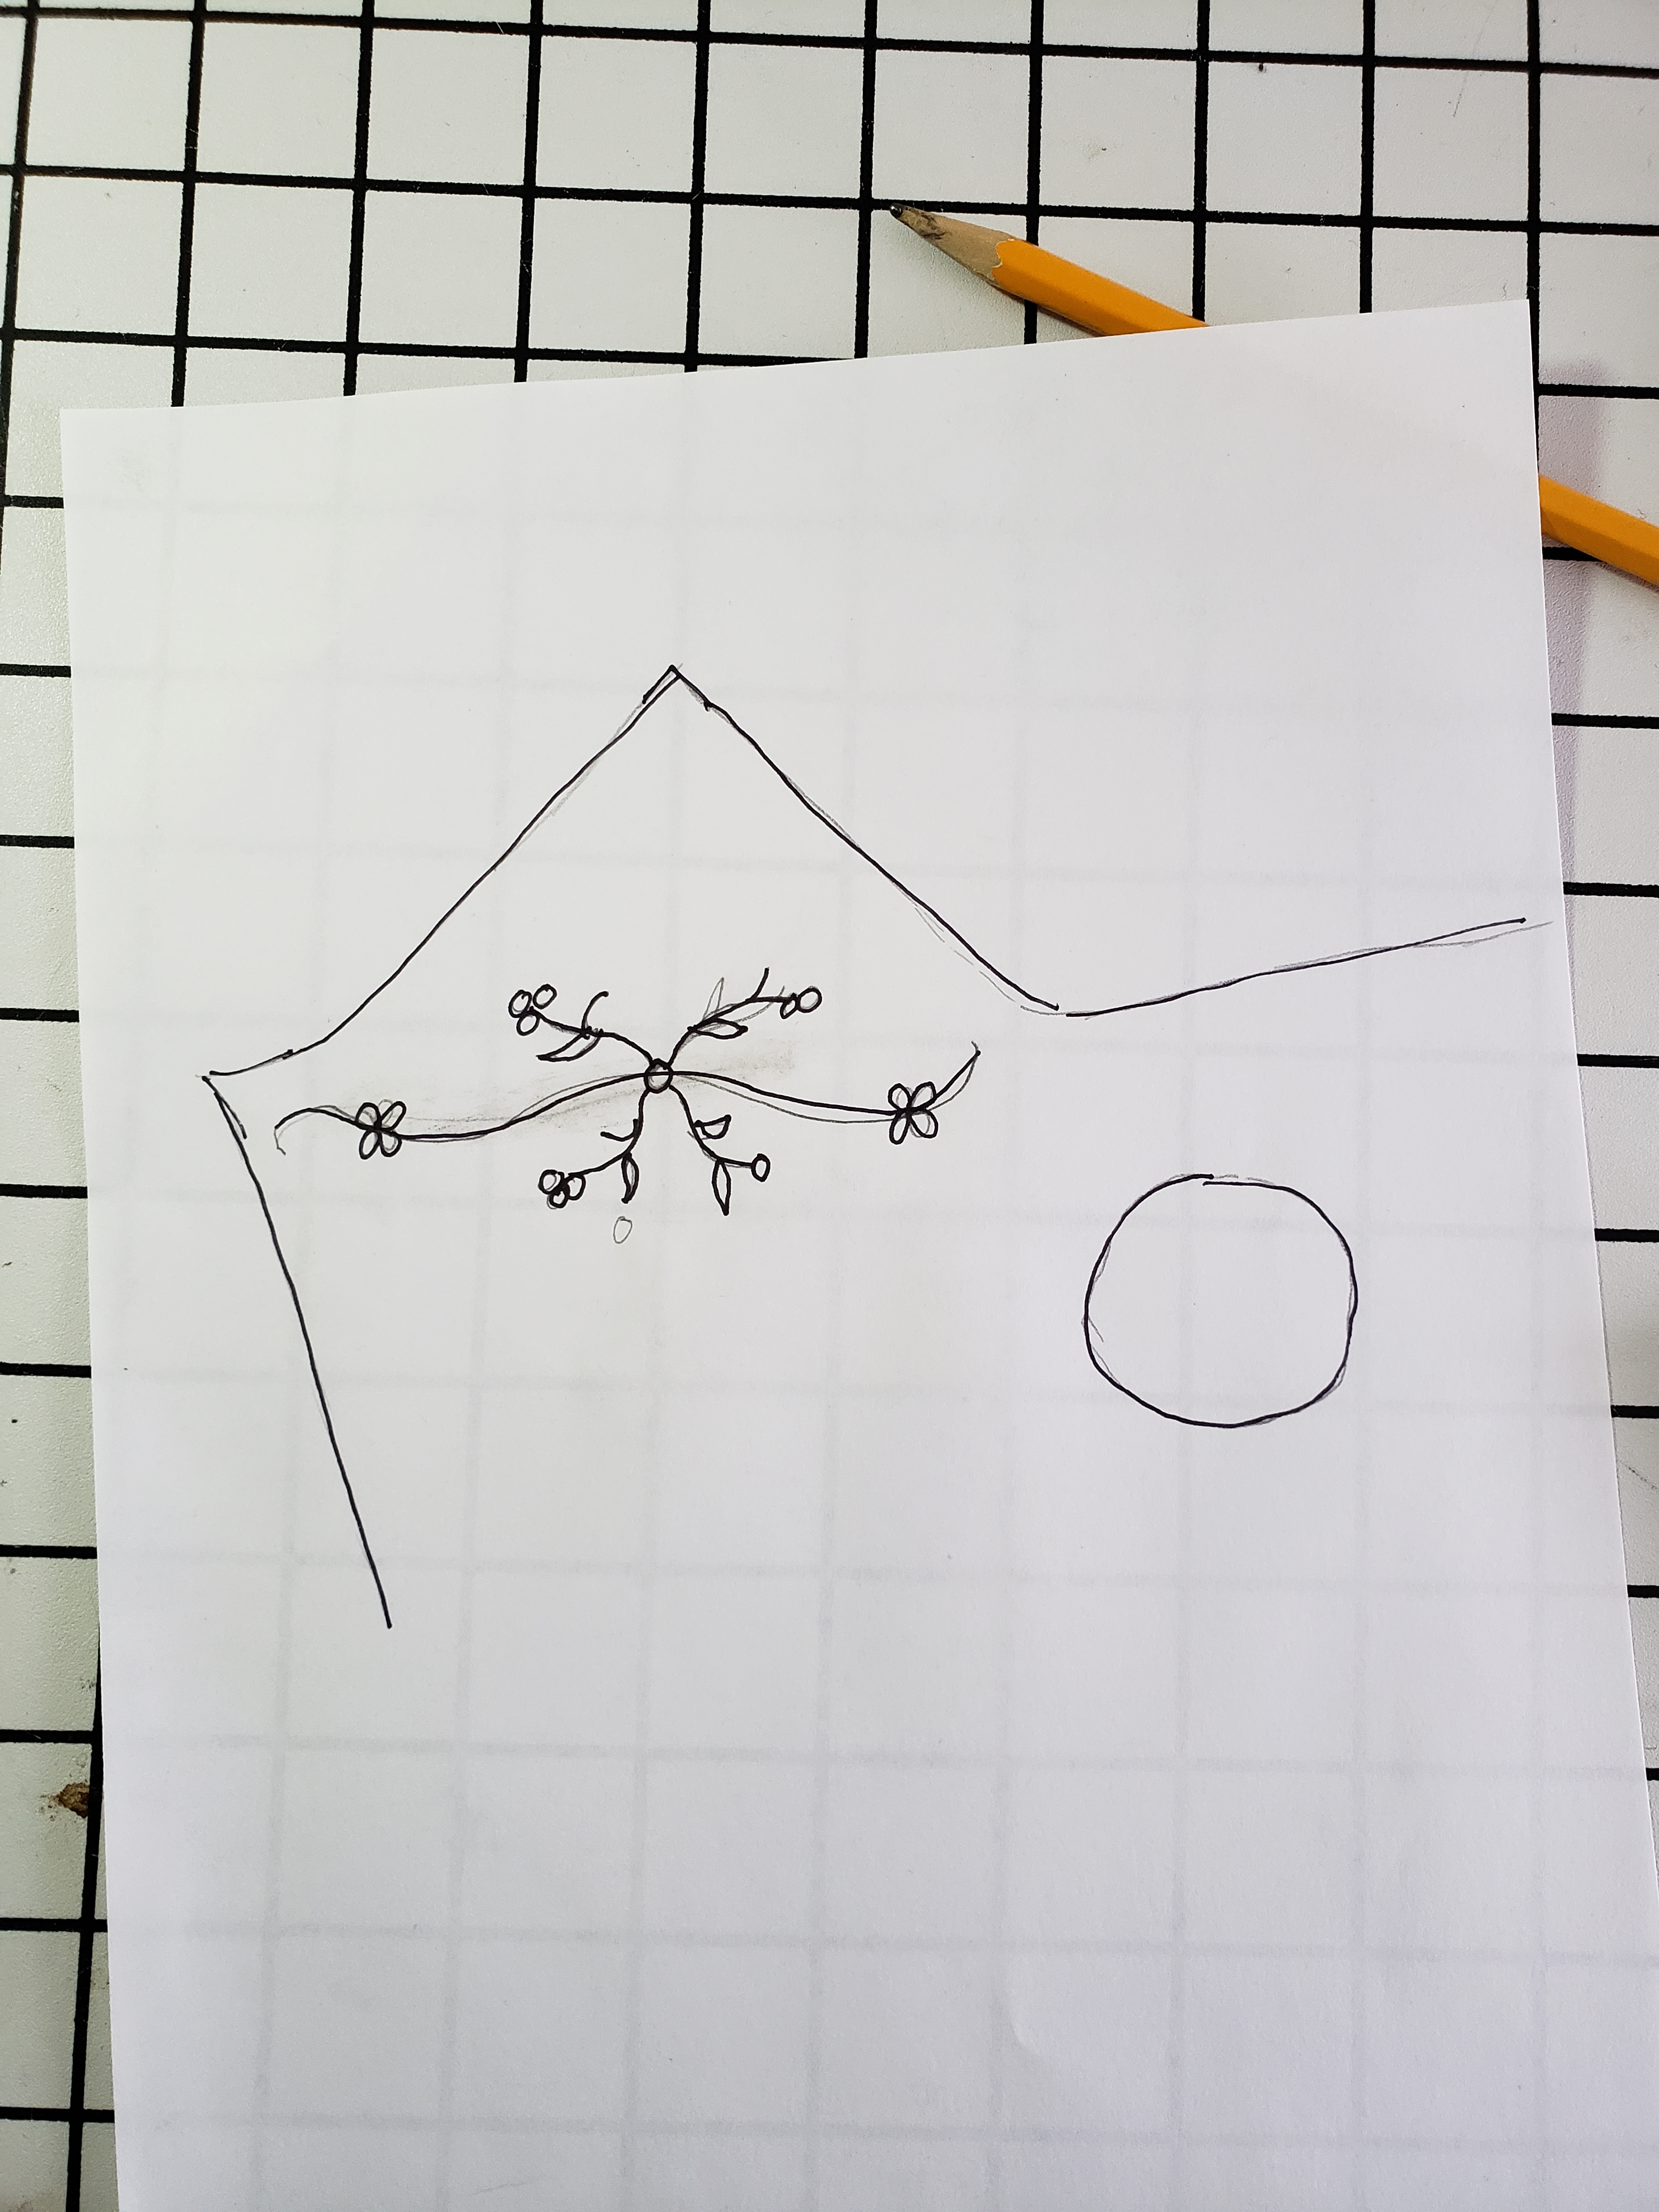
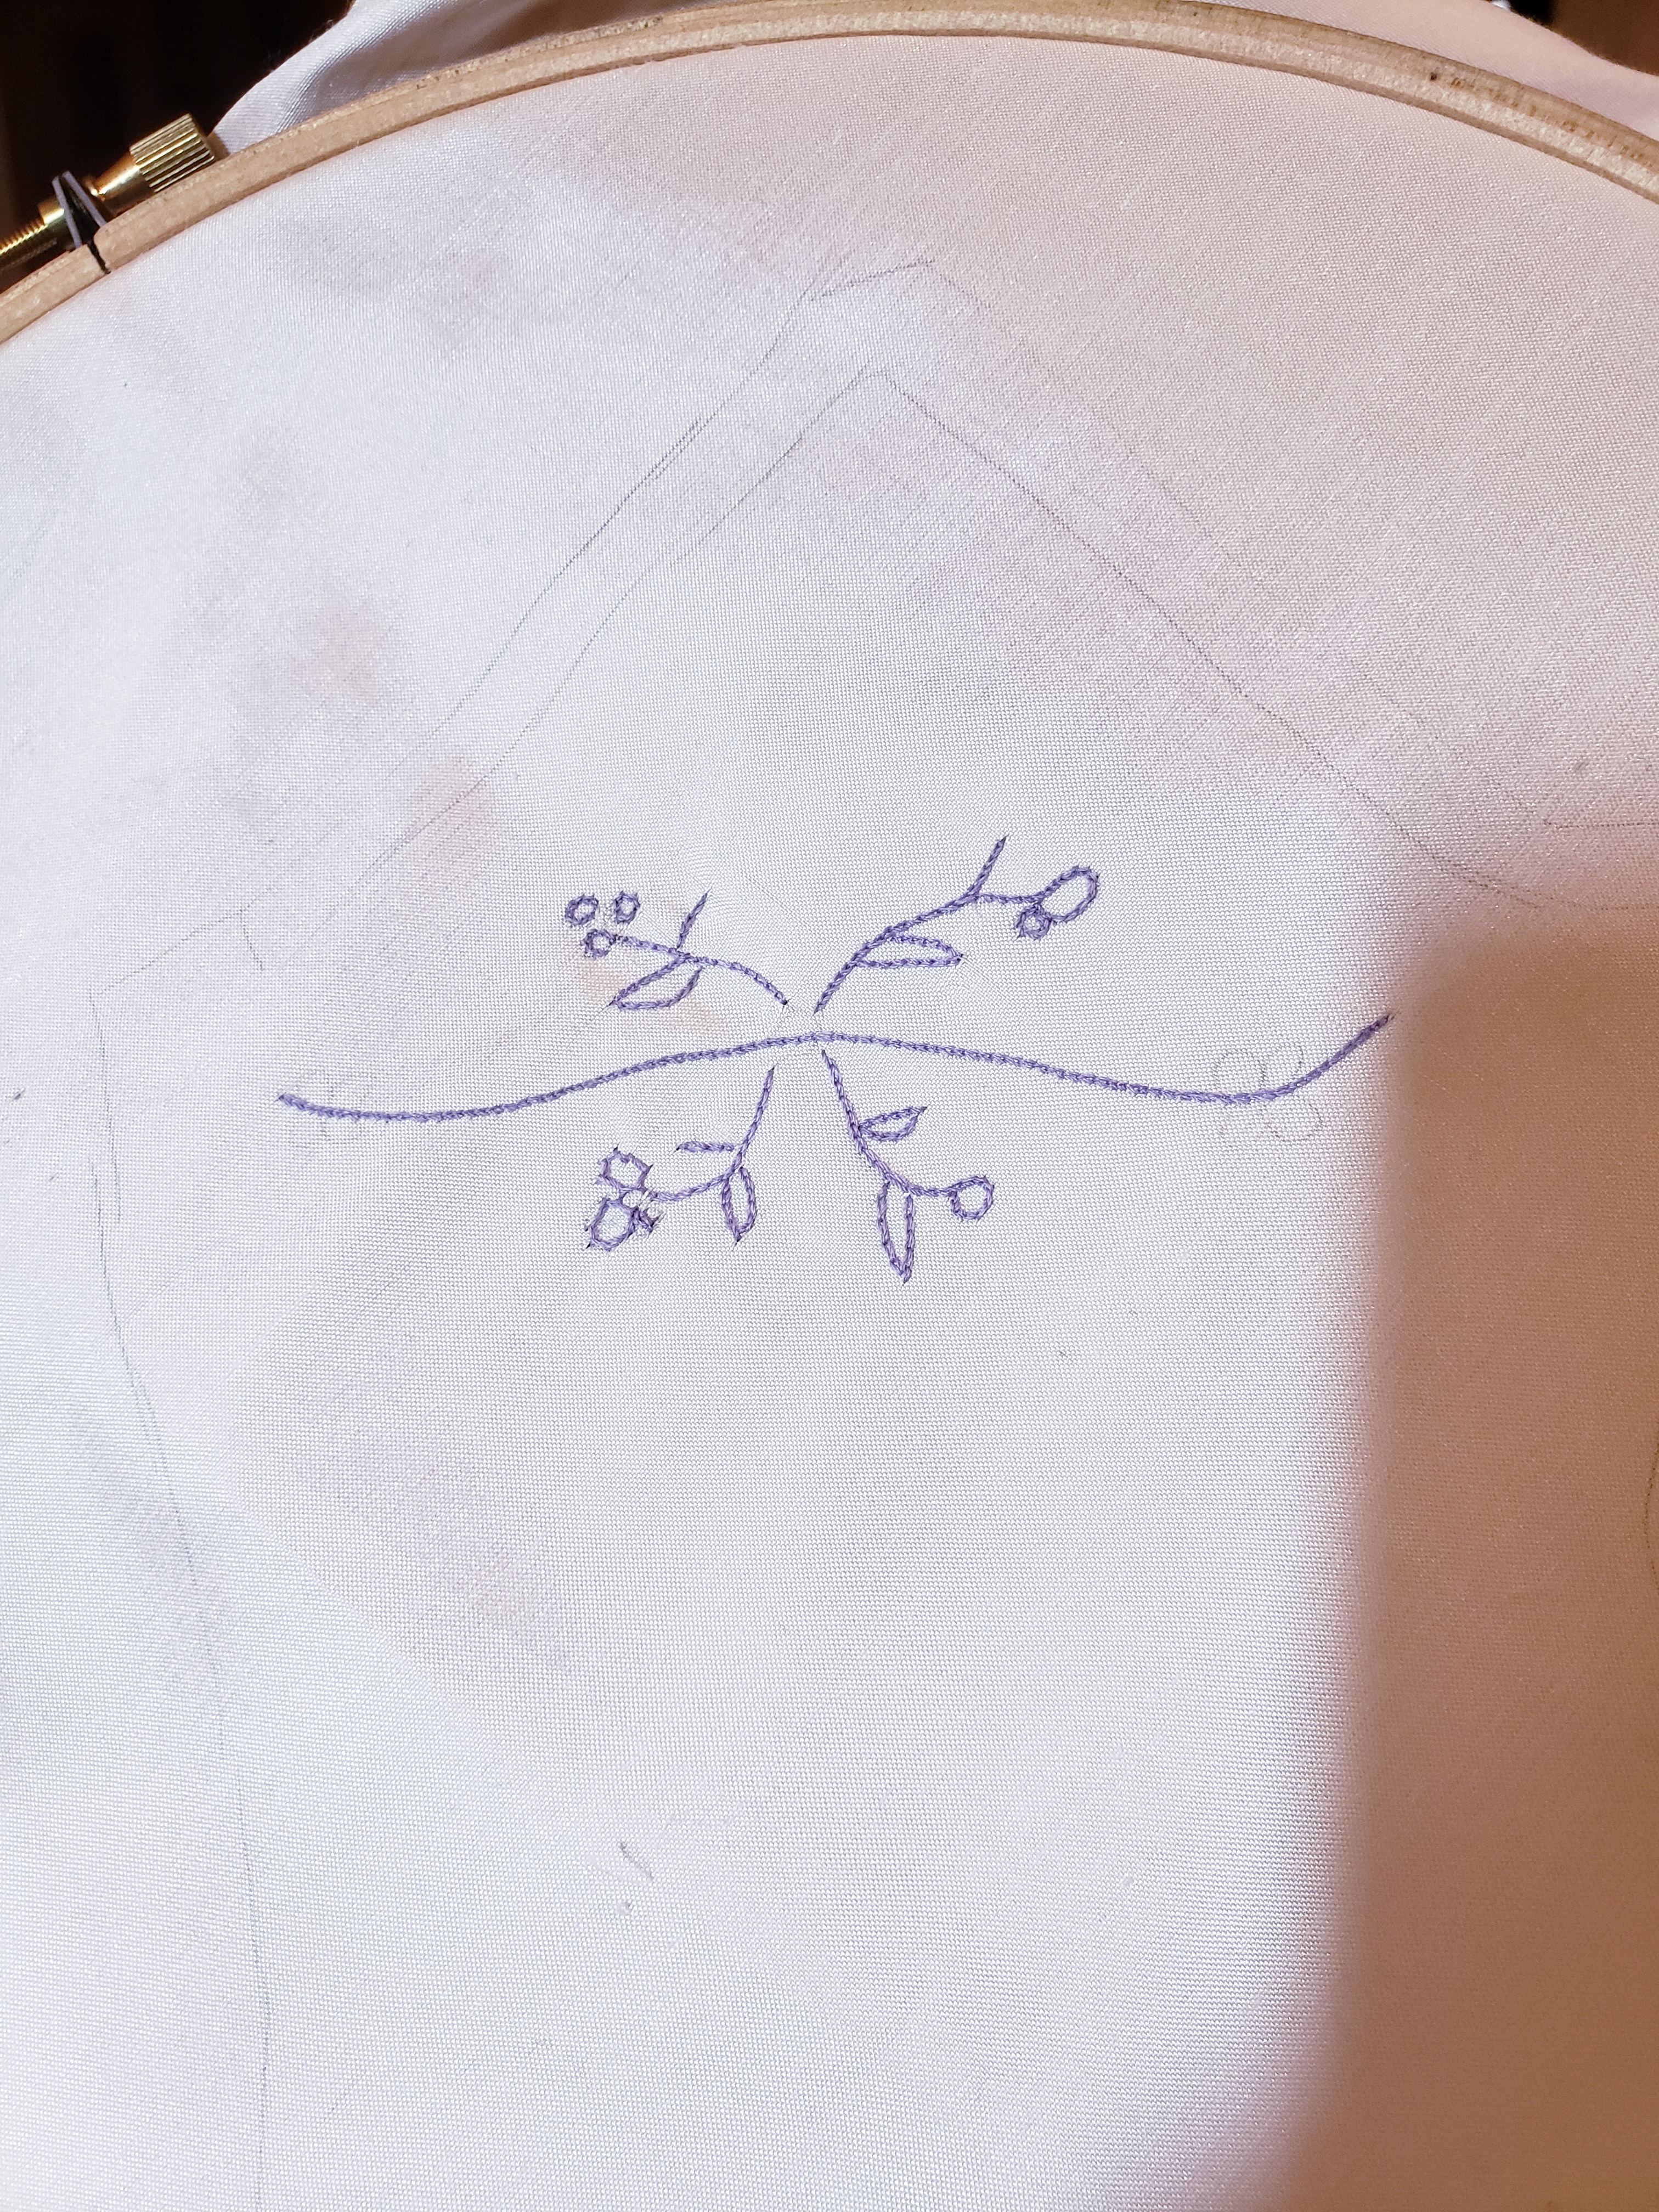
If you want to add any embellishment it is MUCH easier to do so before you assemble them. Mr. Sewloud got me a tambour embroidery kit for christmas so I wanted to try a small bit of practice embroidery on mine.

Drawing out a simple design
One of my mitts has WAY nicer embroidery as I was getting better as I went. Don’t look close

Assembly

Okay you’ve made a lovely pattern for a pair of mitts….now what? The fun part! Sewing them together. I feel the need to point out here that there is no one way to sew together mitts. Four sets of mitts went to the MAR in the car I was riding in, and all 4 were sewn together differently, and all 4 were documented ways. This is just the way that I found easiest.

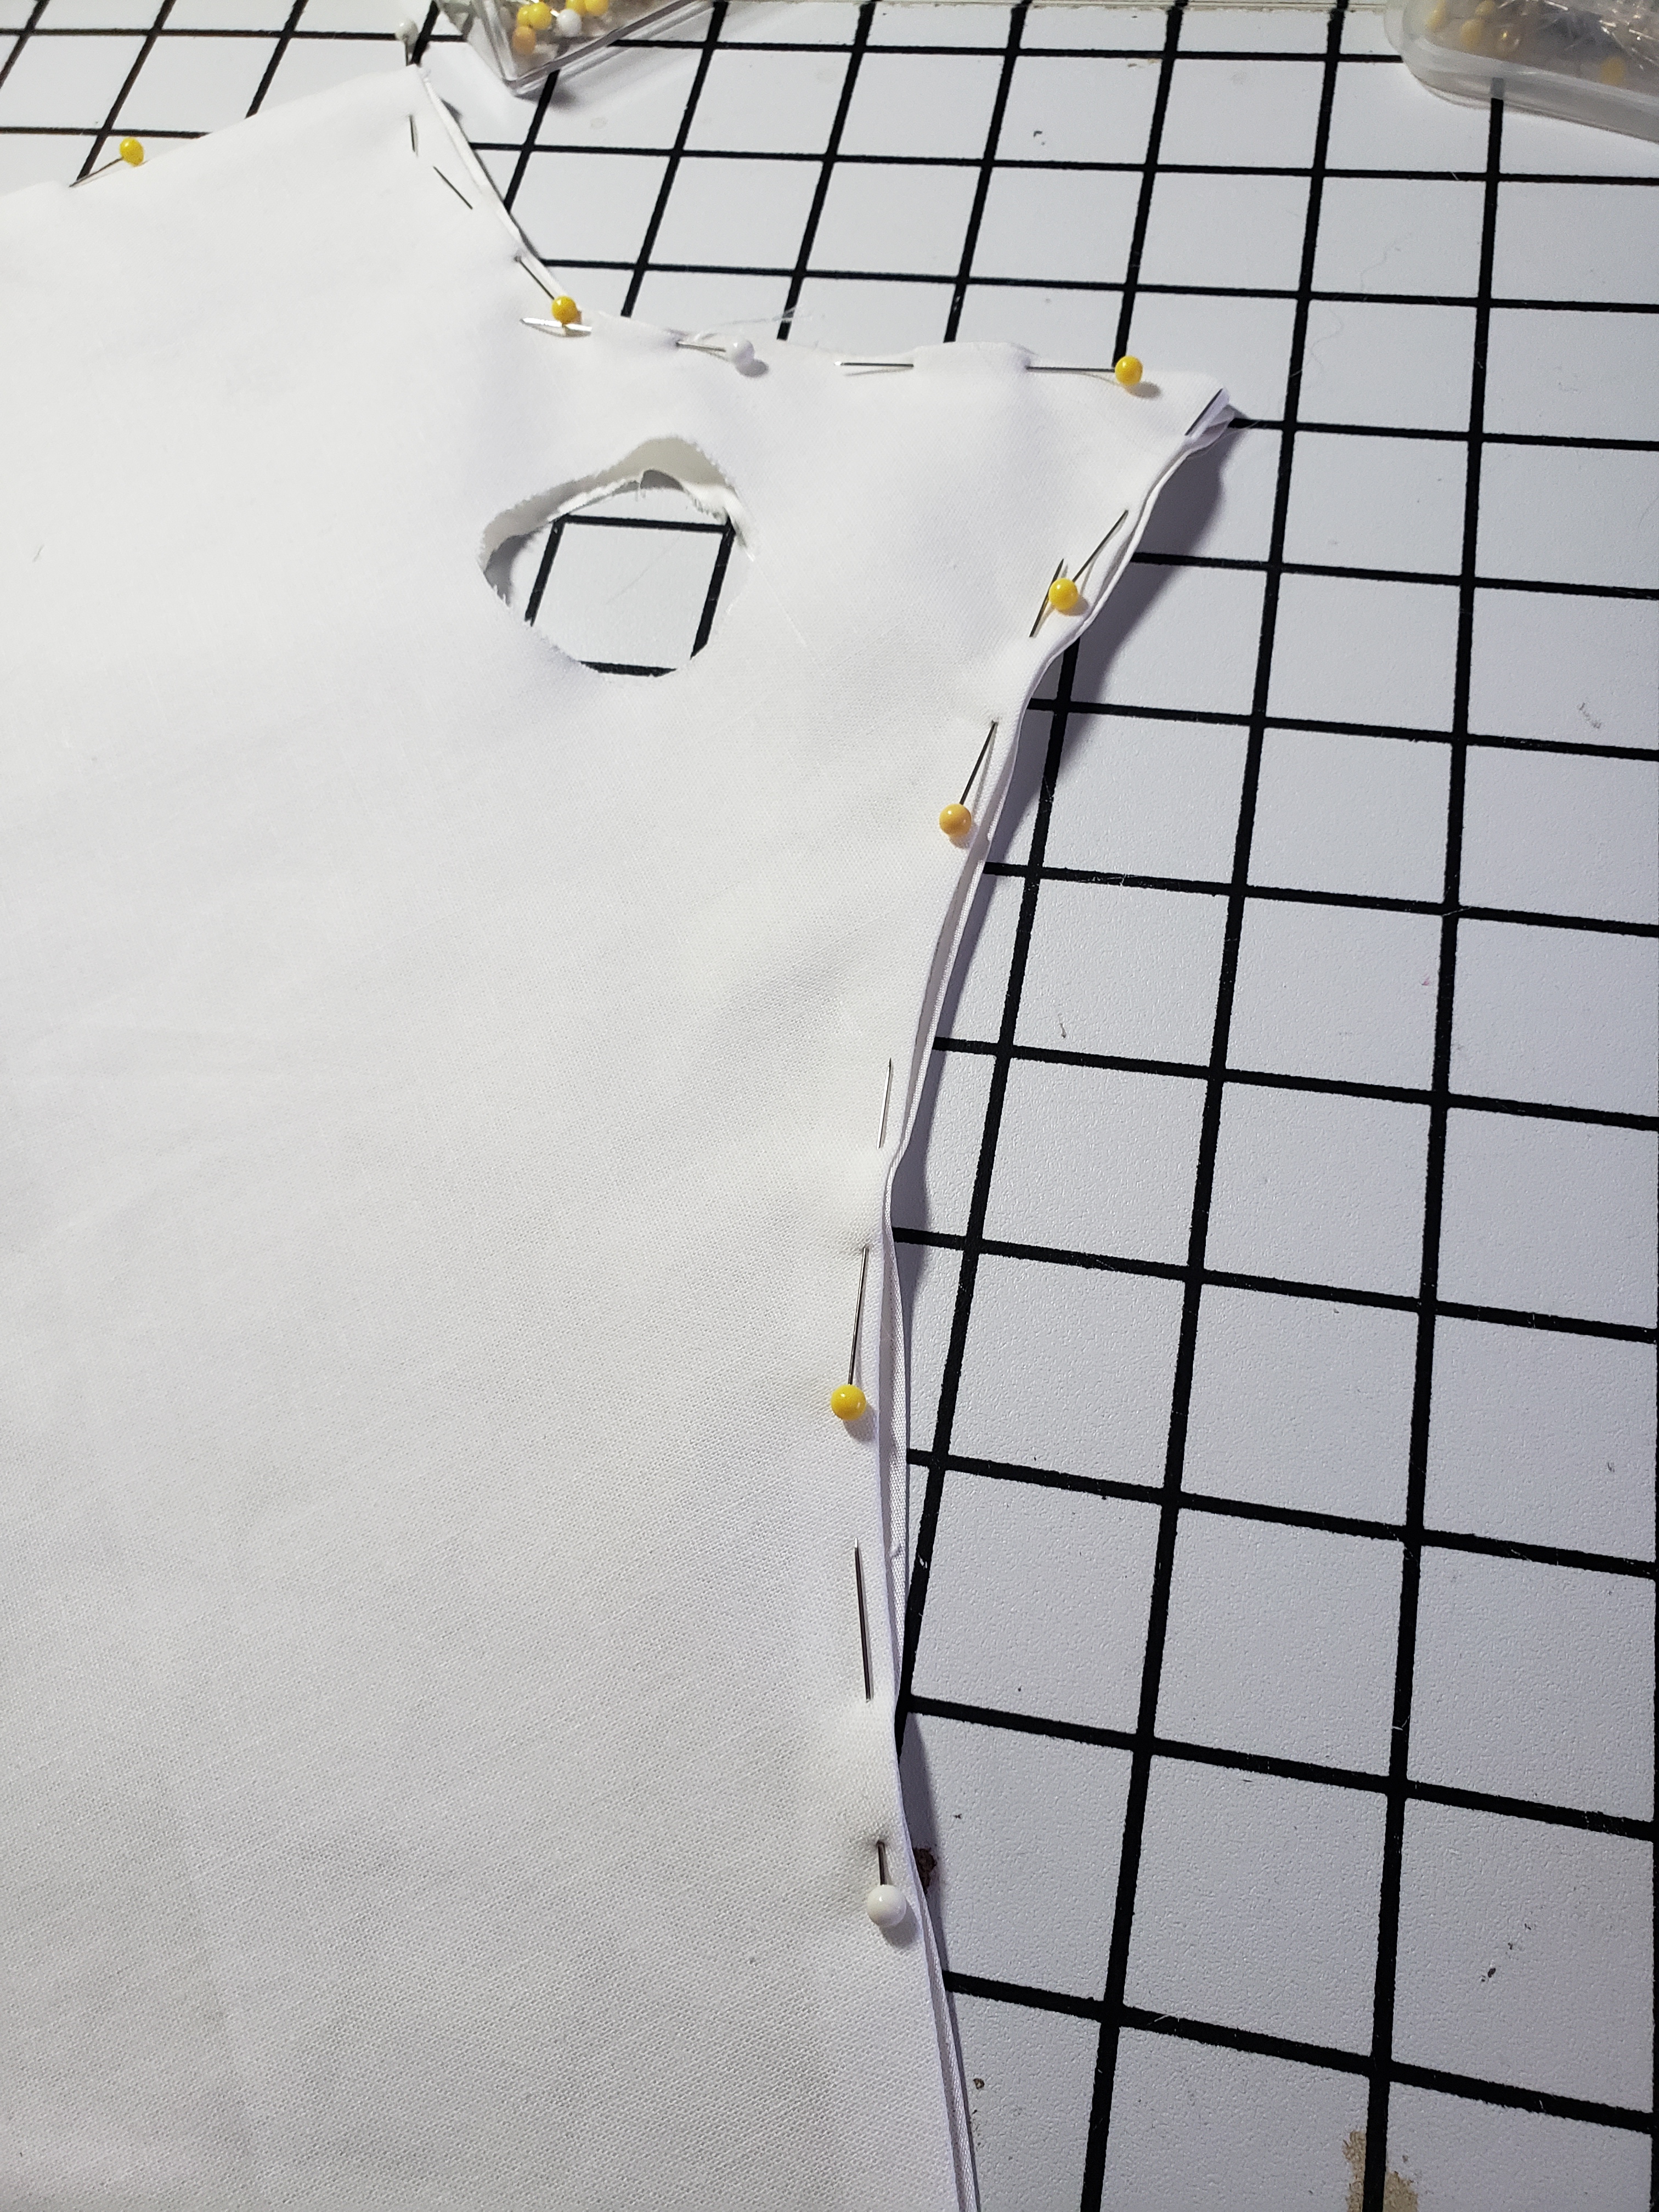
Step 1. Iron all the seam allowances in on both the lining and the fashion fabric. I made mine out of silk taffeta scraps and cotton broadcloth scraps. You need such a small amount this is a great “use up scraps” project. Just remember to cut them on the bias. This is important for giving you the stretch needed to get them on over your hands.

why yes I DID burn my fingers, what makes you ask?

Step 2. Place the lining over the silk, wrong sides together.

it’s so pretty when all the edges are encased

Step 3. Fold in half and sew up the side seam. I personally used the “English Stitch” Which is demonstrated far better than I could by American Duchess Here. I was really pleased with this stitch though as it provided a stretchy very small flat seam allowance, and I didn’t want bulk on the inside of my mitts

Step 4. Sew the top and bottom hems, I used a hem stitch but a whip stitch would work, or really any hand stitch will work.

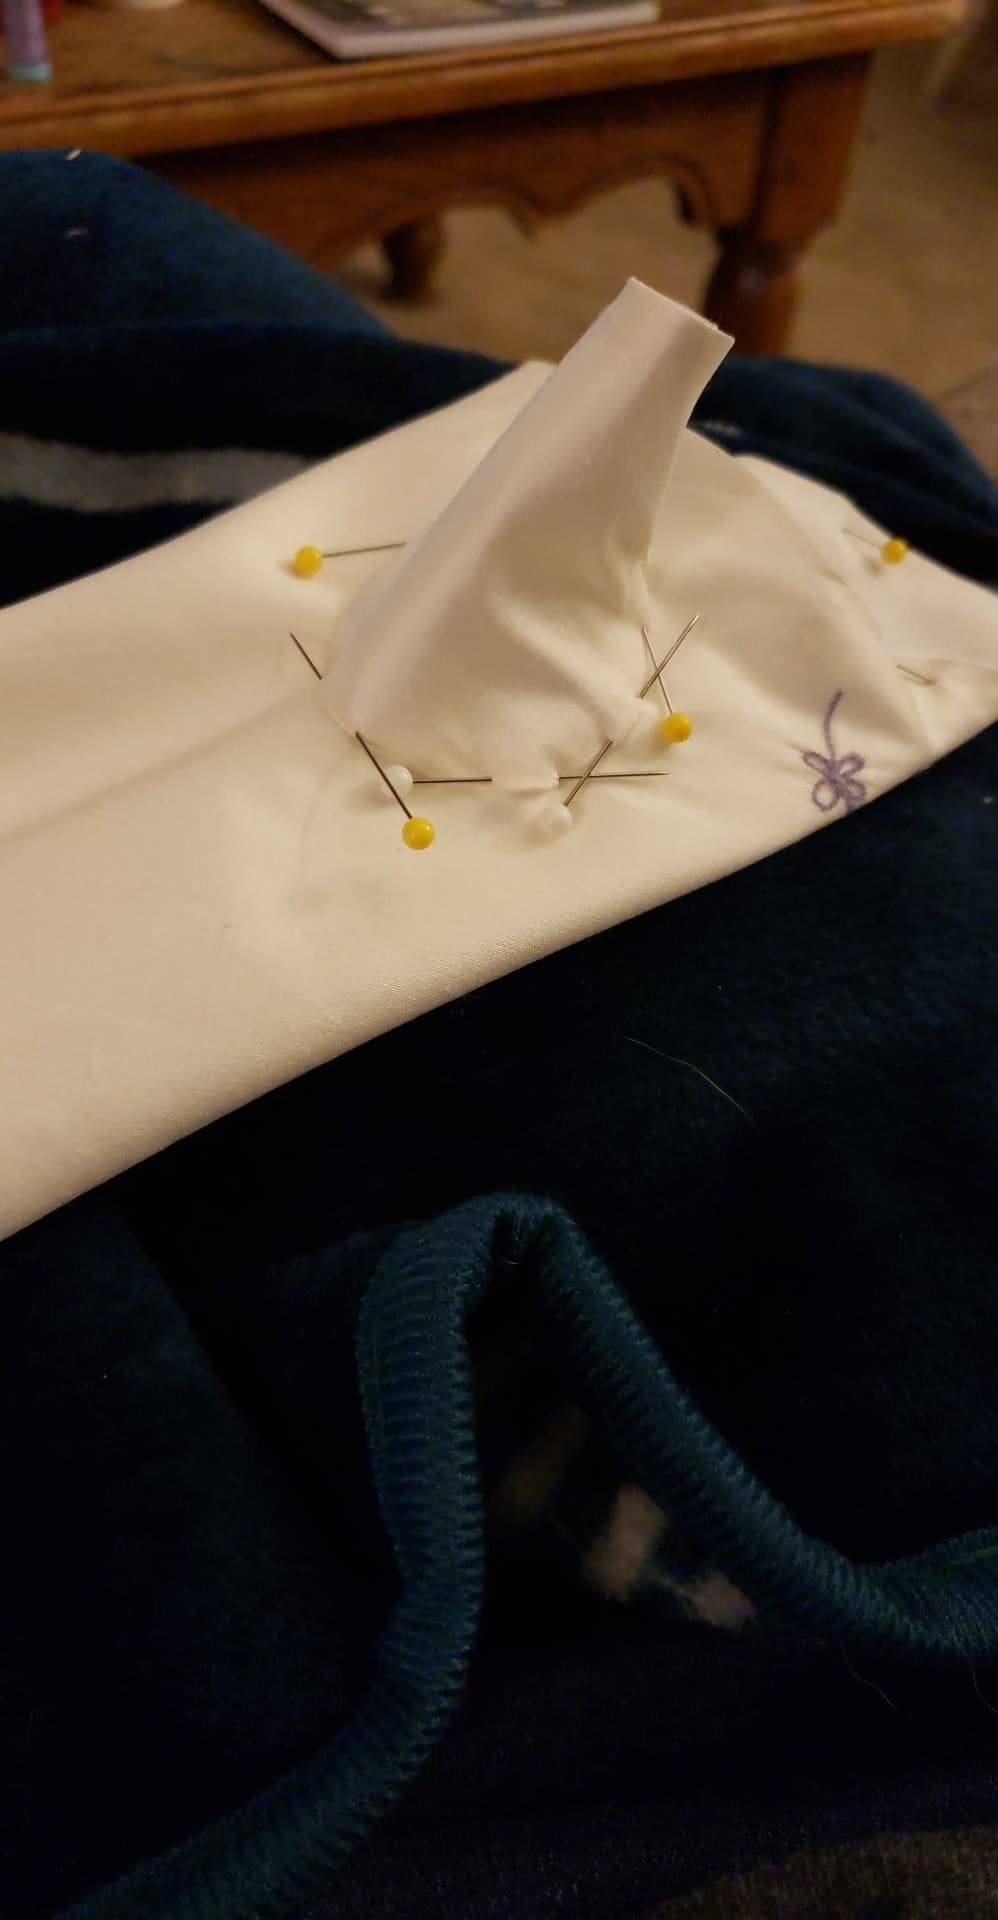
Thumb seam ready to be sewn before applying to mitts

Step 5. Thumbs! Thumbs are fiddly. No way around it. So I can’t stress this enough, it’s like 4″ long, it’s worth it to hand sew it. You just can’t fit that small space in a sewing machine. or if you can you’re a better woman than me. (making these did lead to a long thought experiment where I wondered how they mass manufacture barbie clothes). Begin by pressing all the thumb seam allowances up the same as the mitts. Overlap the side seams and top stitch into a tube.

Imma thumb!

Step 6. Pin the thumbs onto your mitts. Make sure they point in the correct direction.

It’s happy to see you…

Step 7. Sew your thumb! I used tiny back stitches. This is the one part of your mitts that will really take strain so take the time to really sew them on.

I use gutterman silk thread and I do recommend waxing it

ALTERNATIVE: Amanda made her mitts by folding under the seam allowance of the mitt body and inserting the thumb from below.

That’ll work

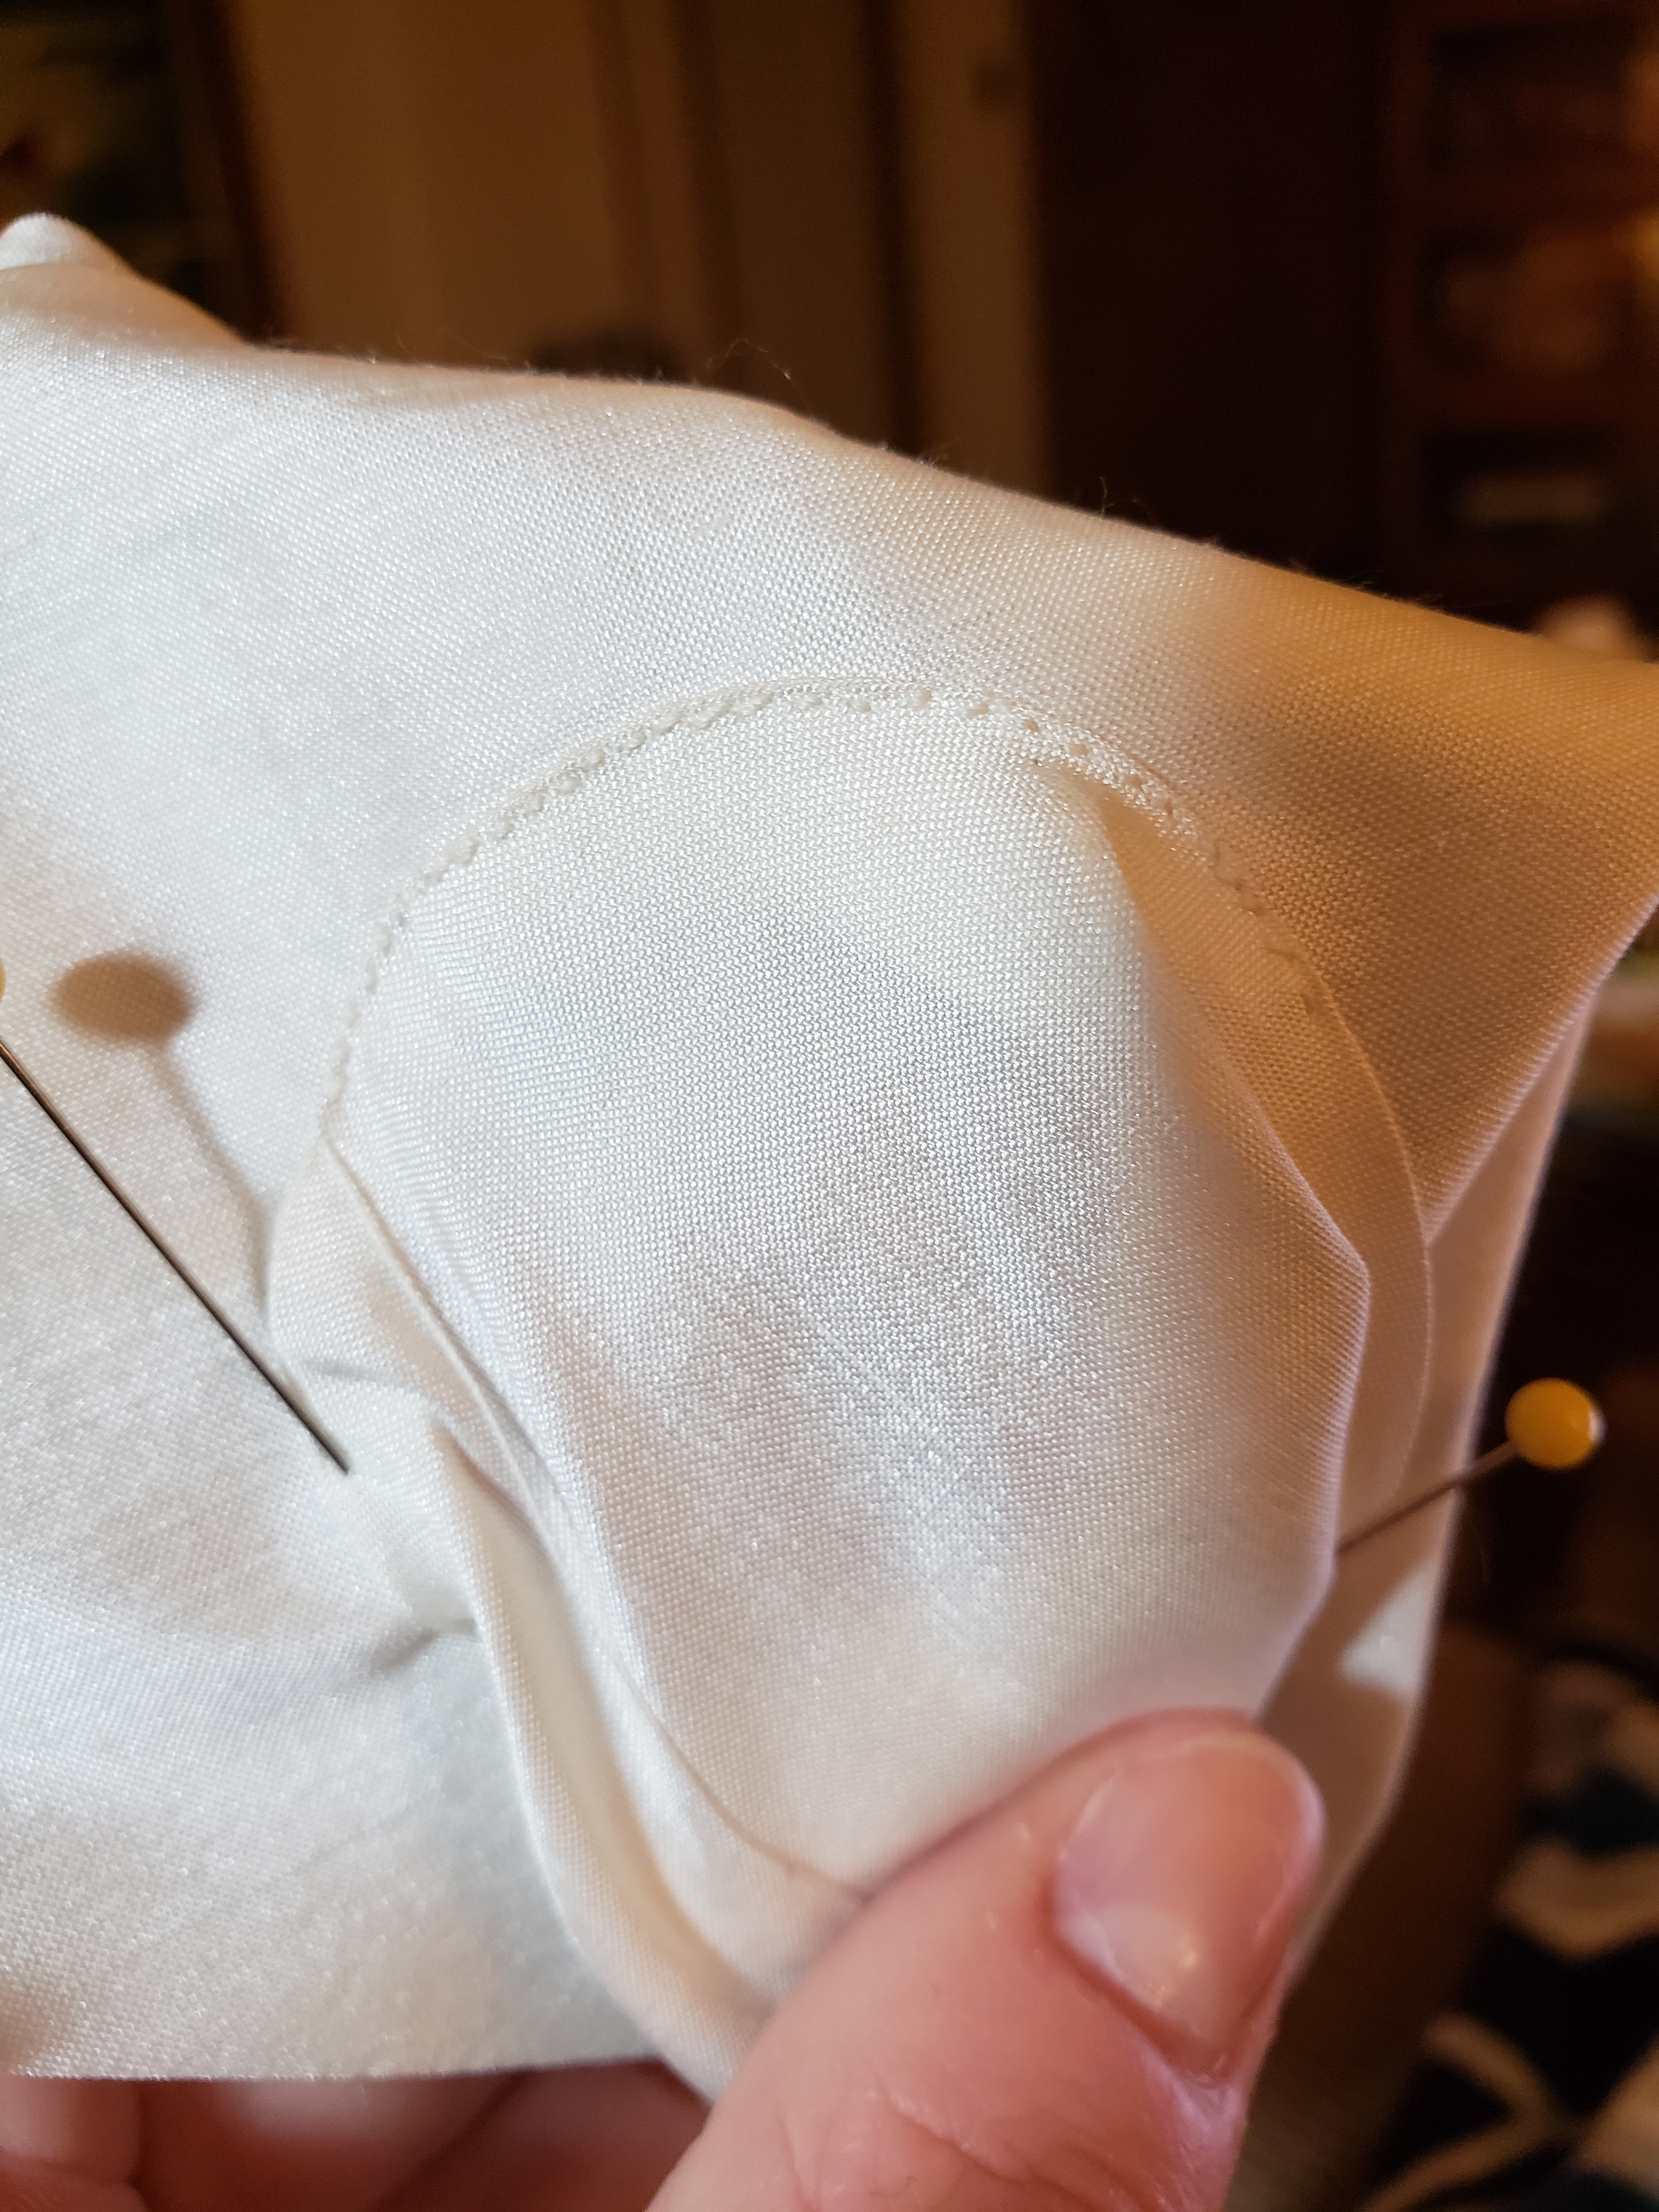
Step 8. Thumb lining. Assemble the thumb lining in a tube same as the thumb, now turn the entire mitt inside out so the thumb is sticking up, shimmy the thumb lining down over the thumb. Whip stitch in place to the lining and slip stitch to the top edge.

This would be easier to see if both my mitts and lining weren’t white

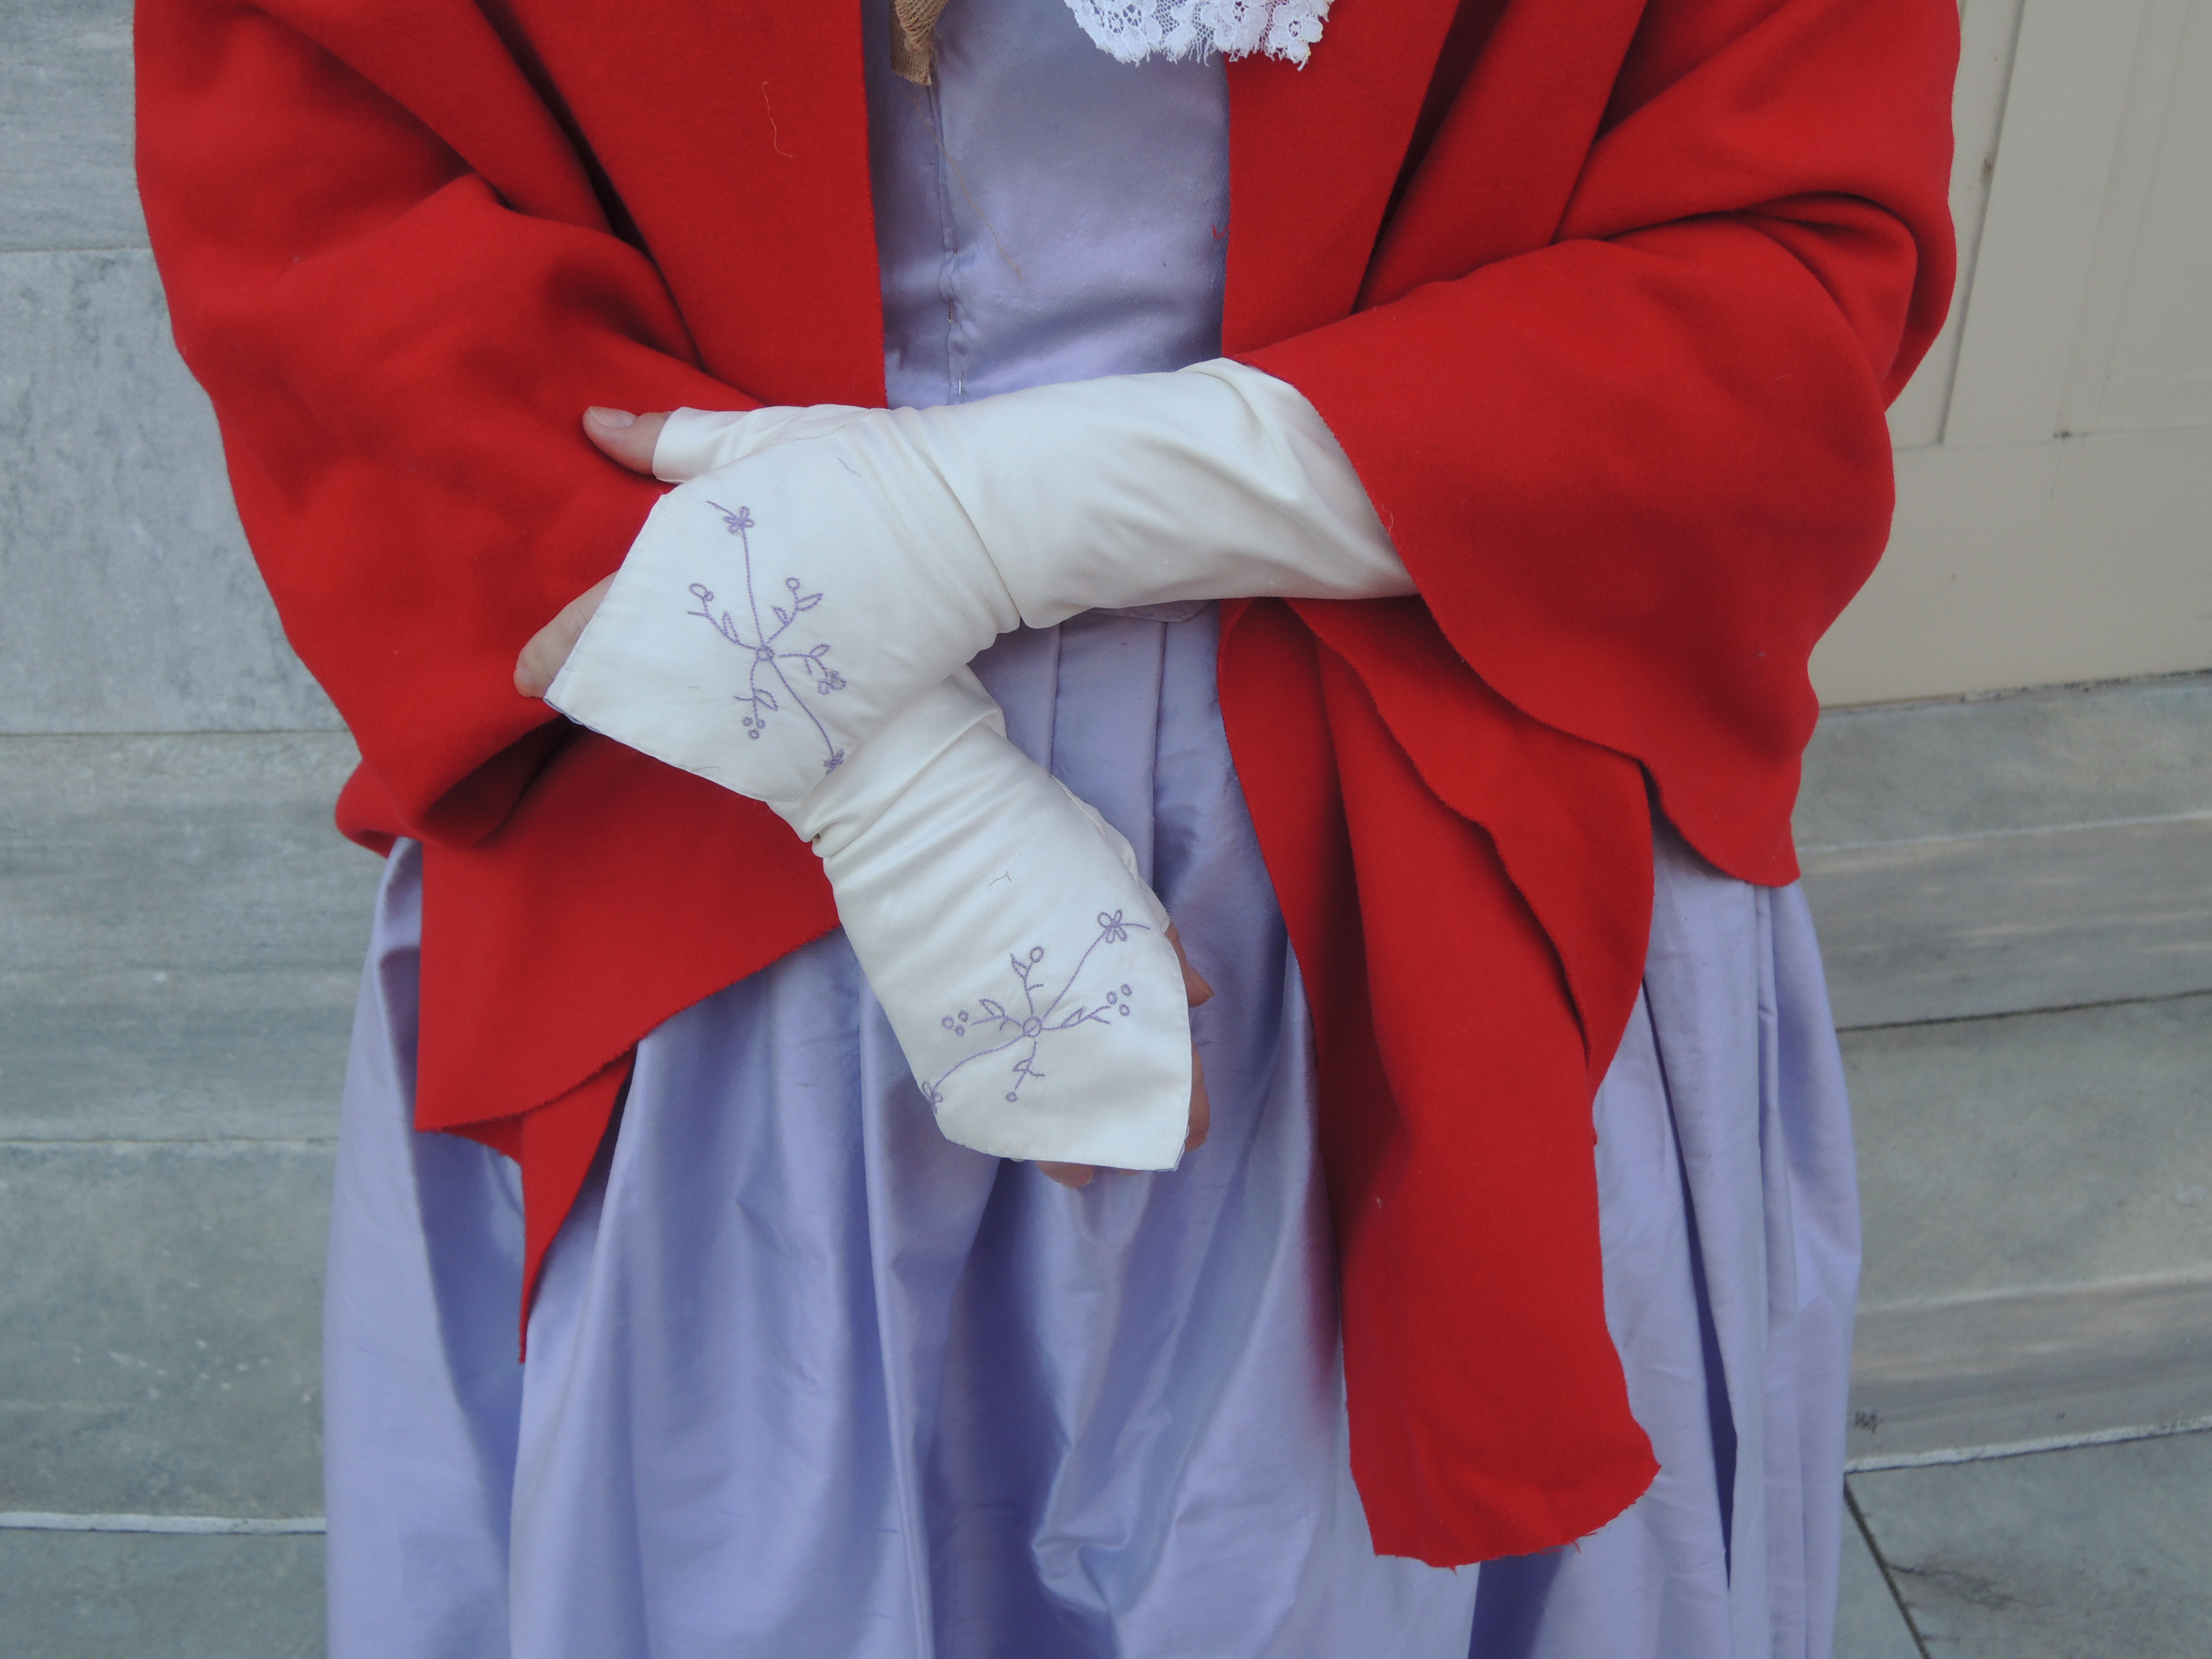
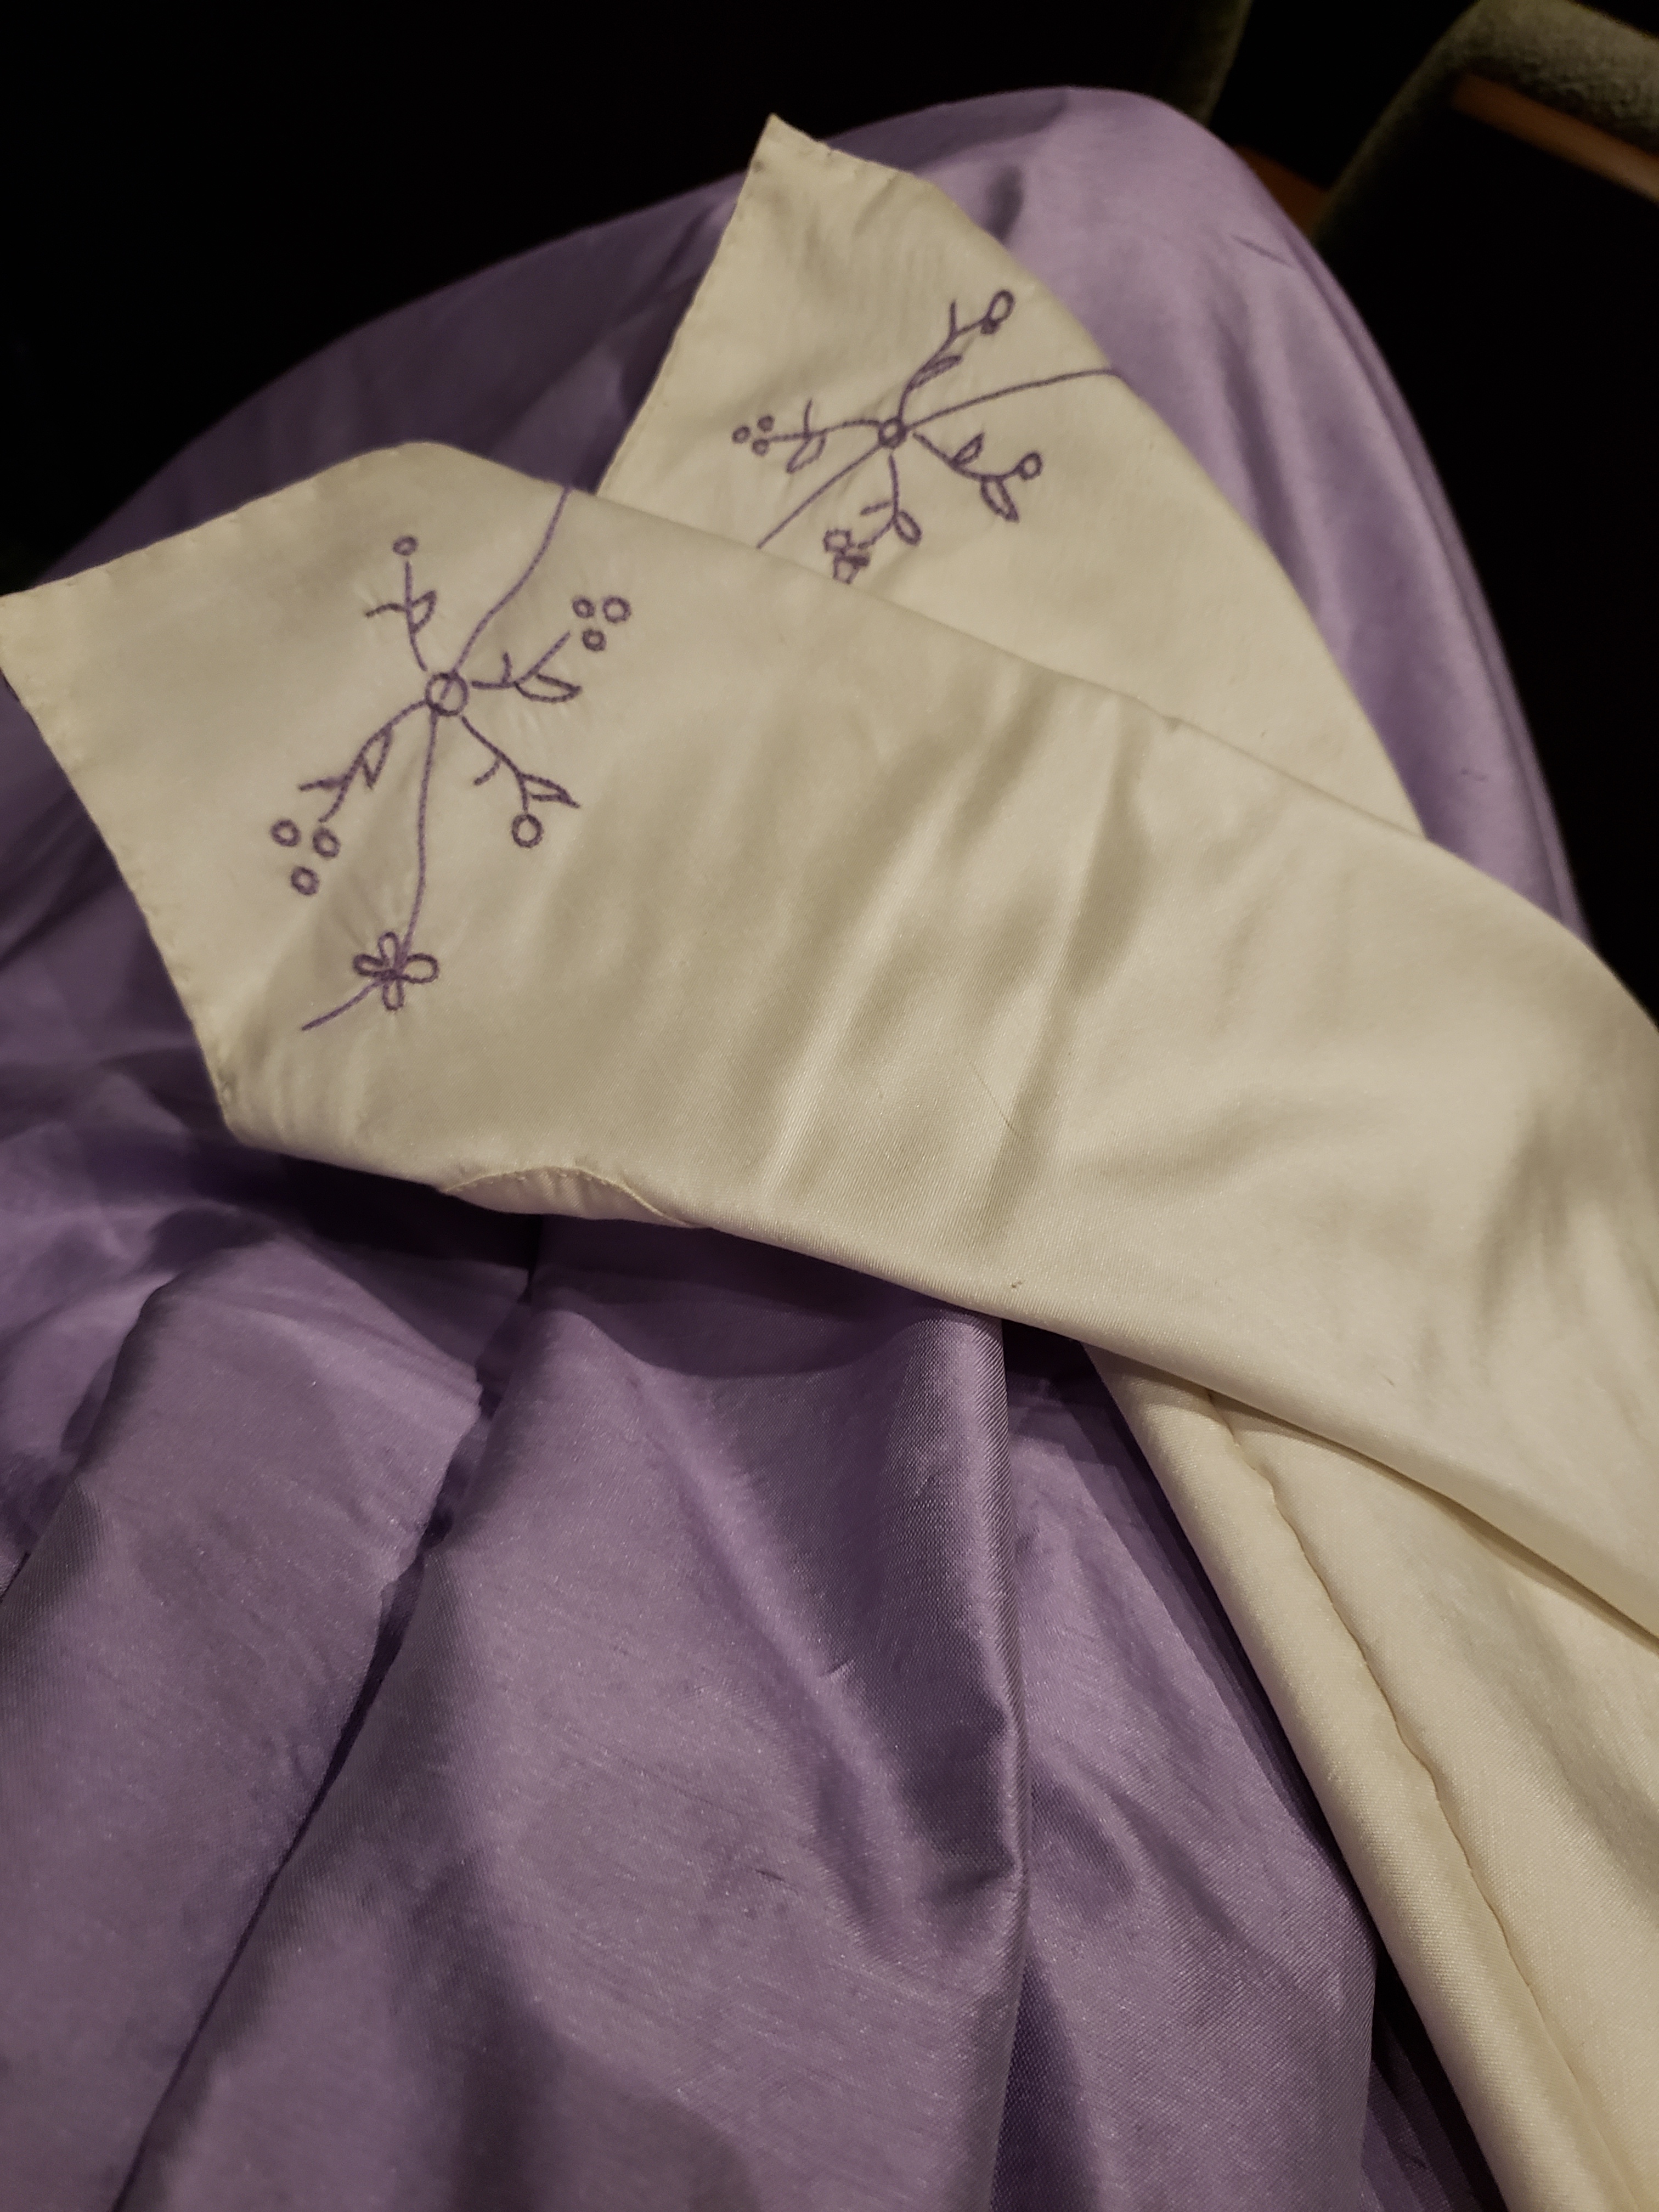
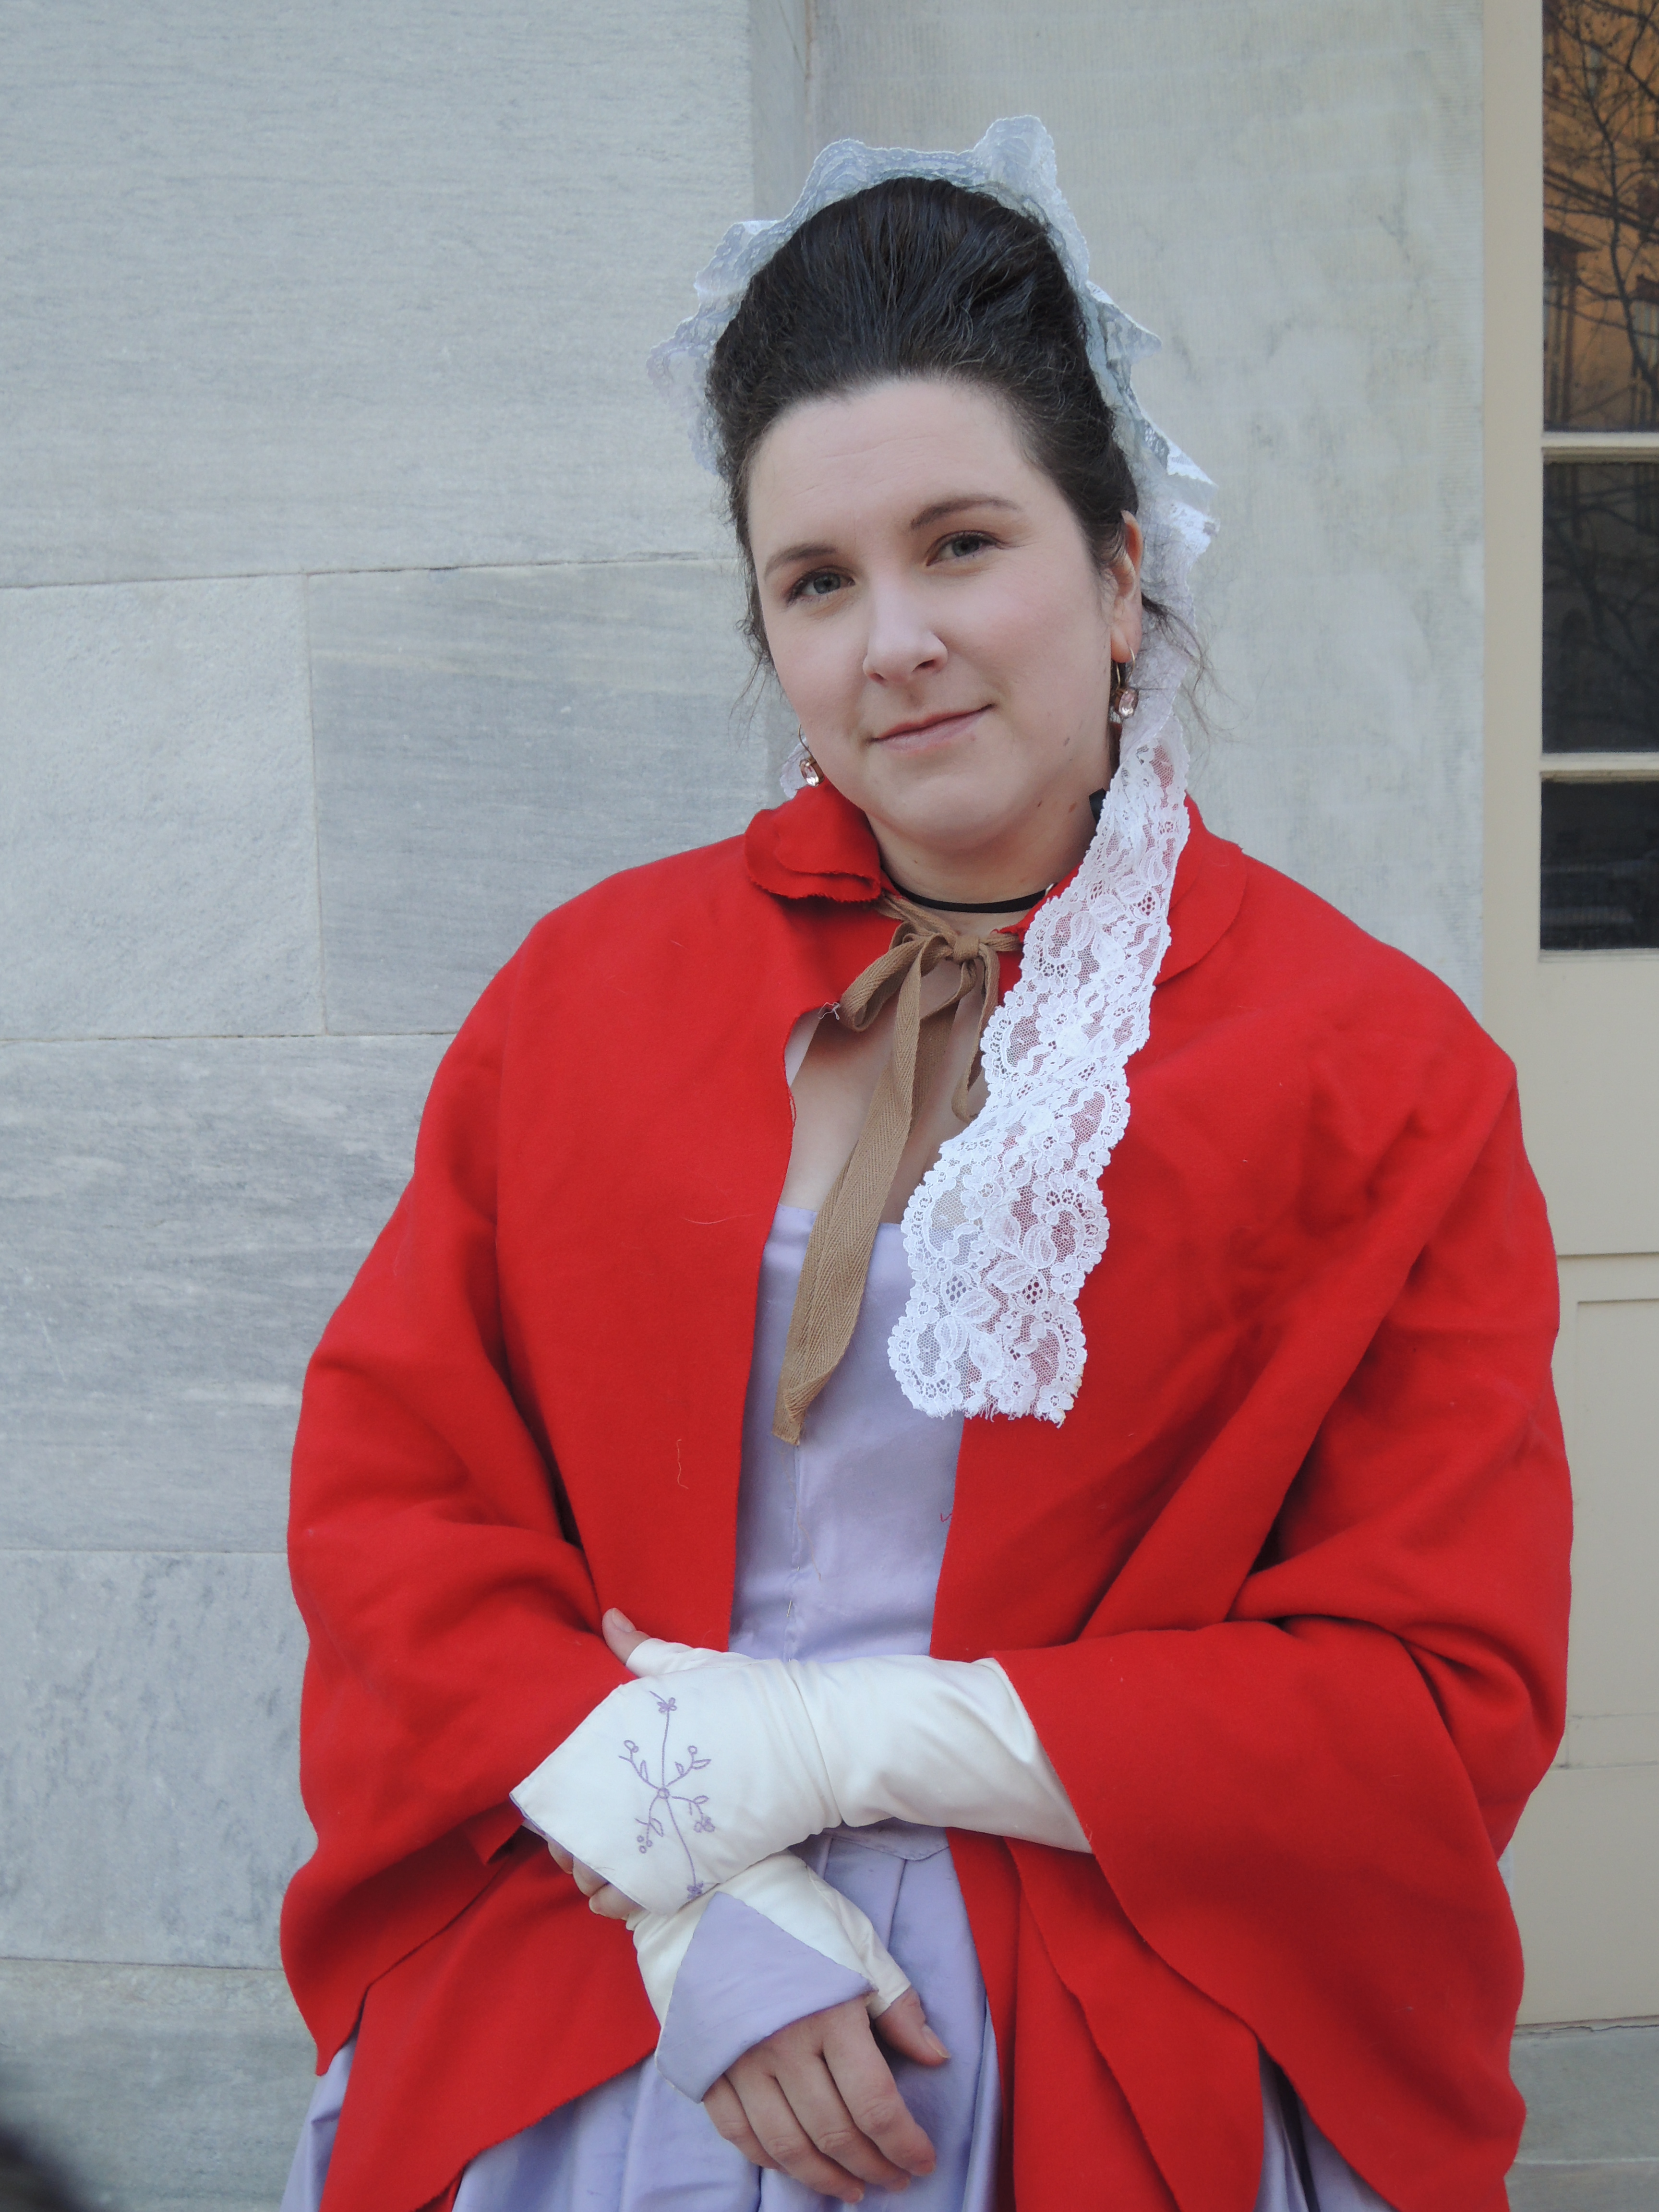
Step 9. If you want a facing of a contrasting silk or leather cut a triangle the size of your flap and iron the edges under. I used a scrap of lavender silk and whipped it into place.

Step 10. WEAR YOUR NEW GORGEOUS MITTS AND BASK IN YOUR GLORY

A note on fit

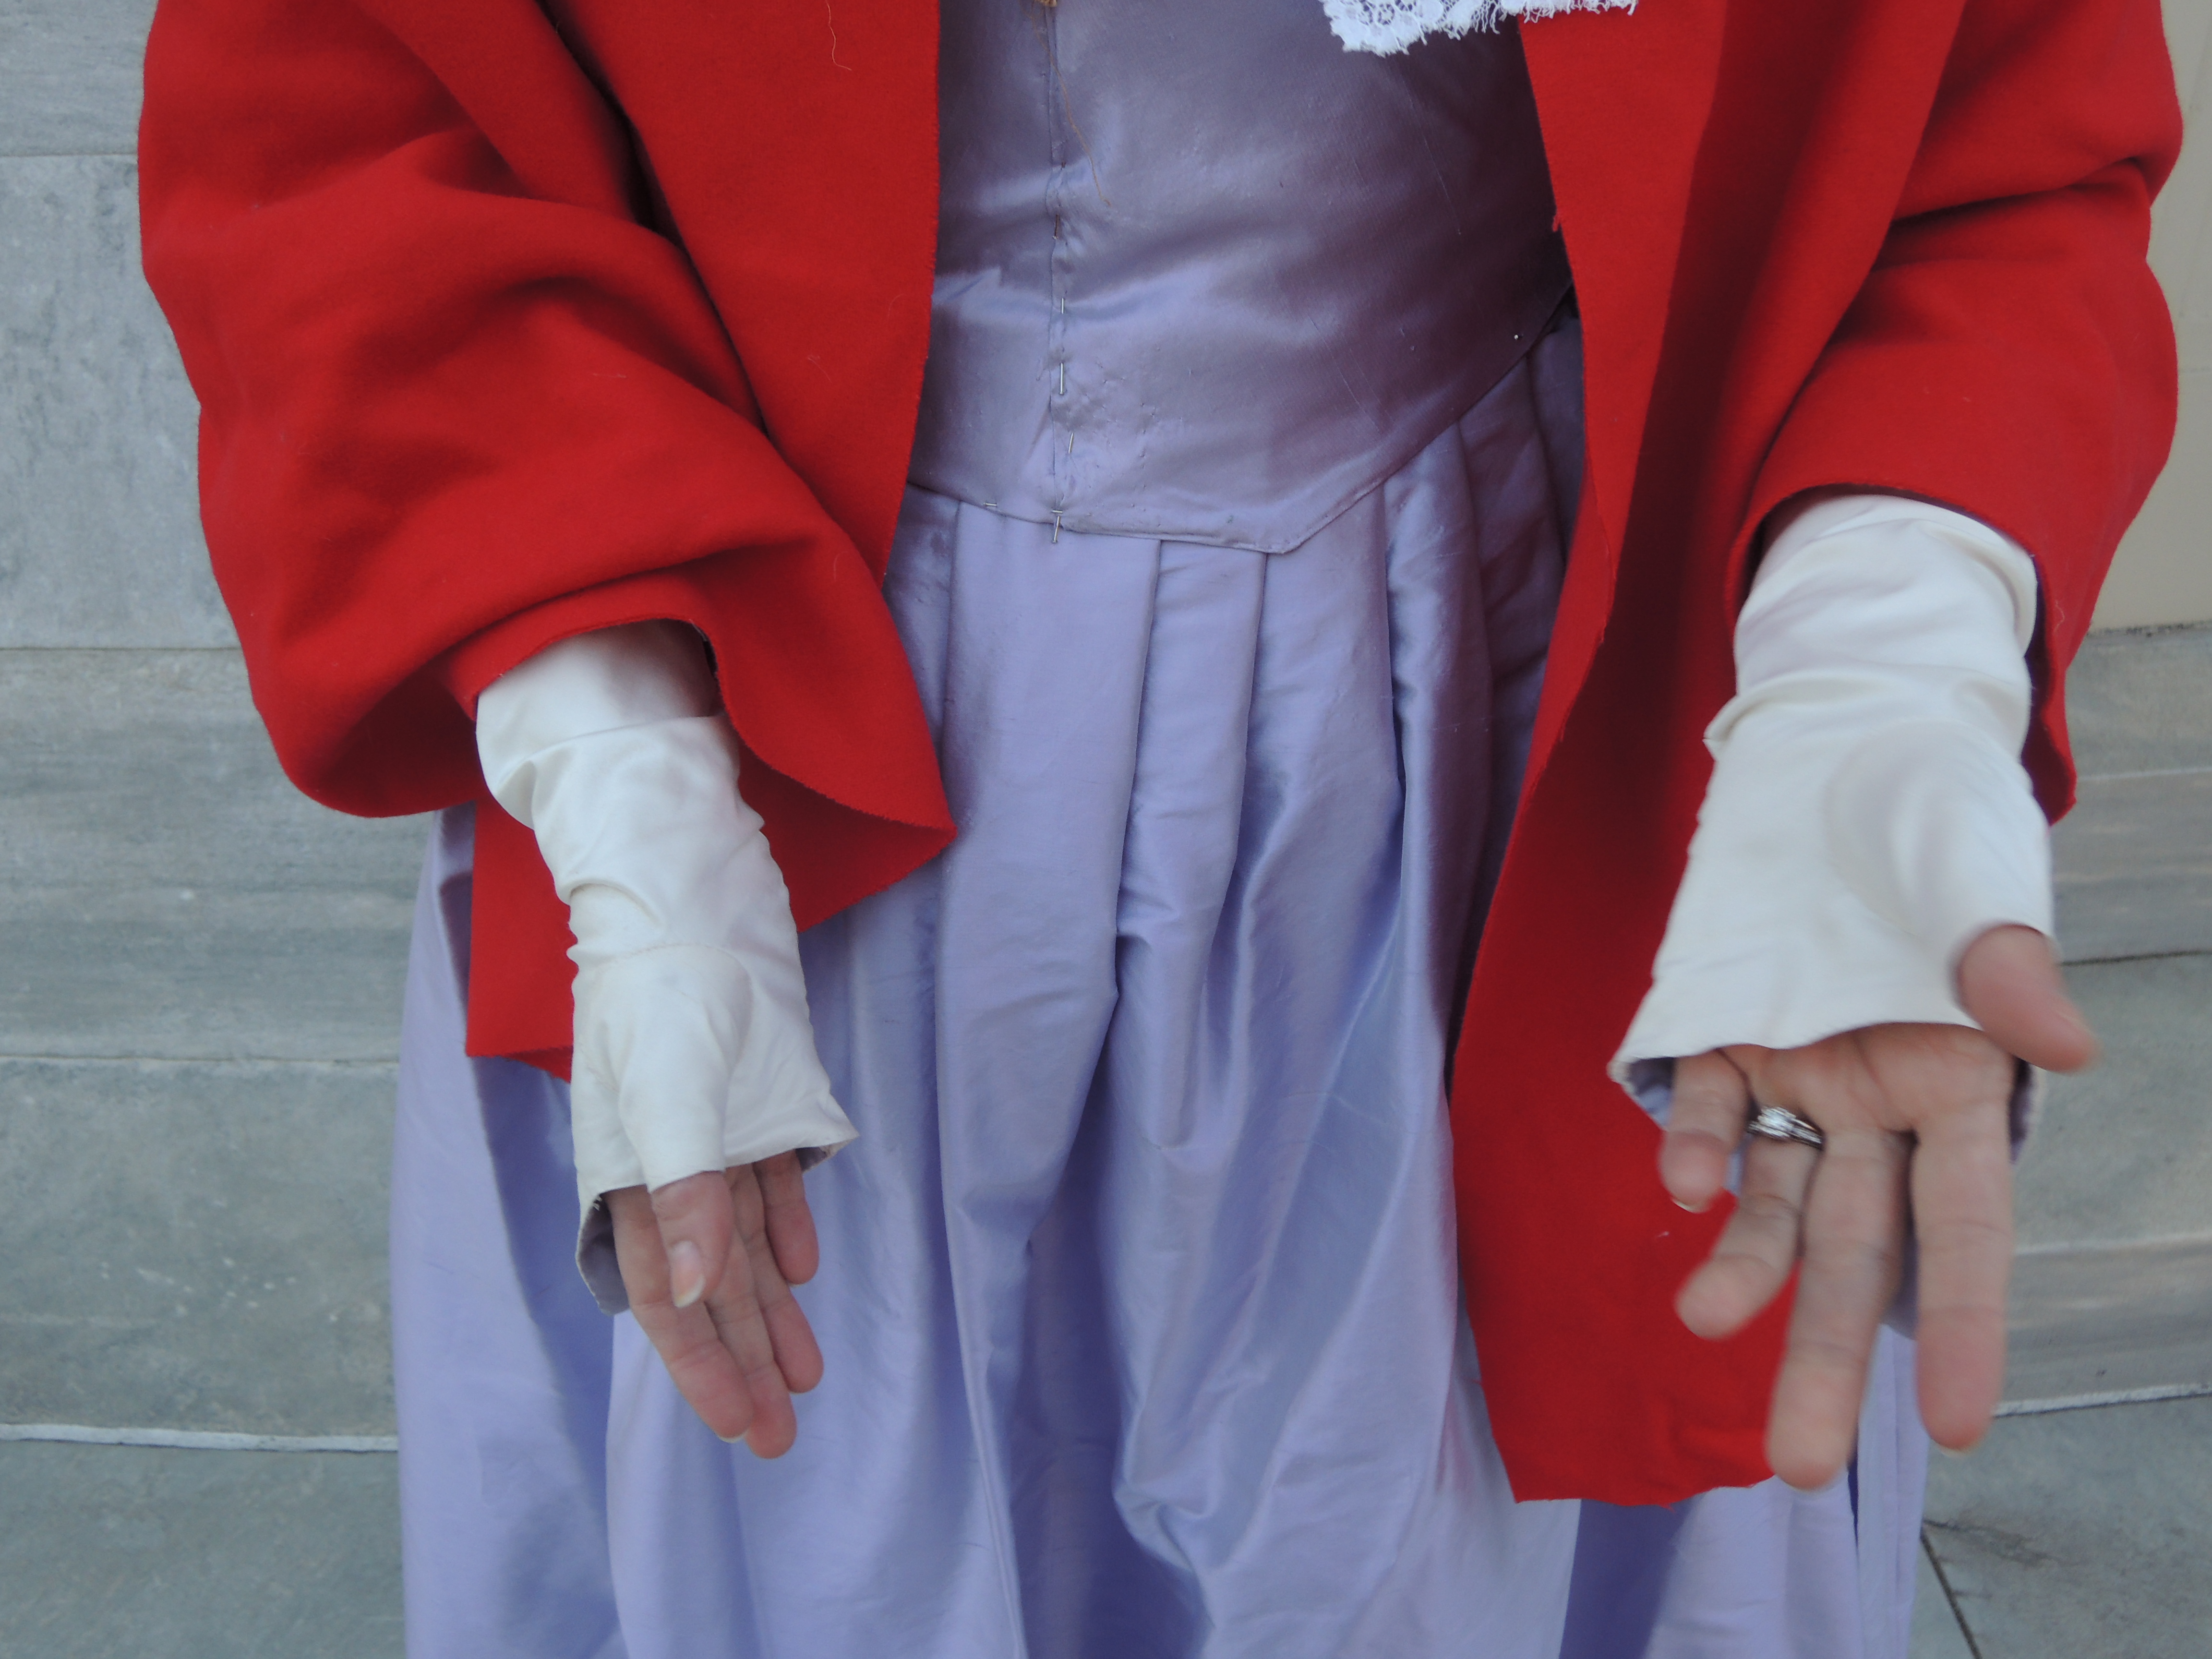
You may be like me, tempted to be annoyed that your mitts are wrinkly in the arm, live with it. The wrinkles come from the bias, and if you have any difference in the width of your hand and the width of your wrist you will have wrinkles. You NEED those wrinkles to get them on.

See? period correct wrinkles

Also fit them as tightly as possible because any fabric, even stiff silk taffeta will stretch with repeatedly be taken on and off. I could BARELY get them on when making them and in an hour of wearing them I need take in the palms.

also…I don’t normally flip my wedding ring that way..I blame the cold.

Lets end with more beauty shots

The Scarlet Pimpernel

Standard
The Scarlet Pimpernel
Untitled
They seek him here, they seek him there, Those Frenchies seek him everywhere

Wherein my husband is a very “good sport”

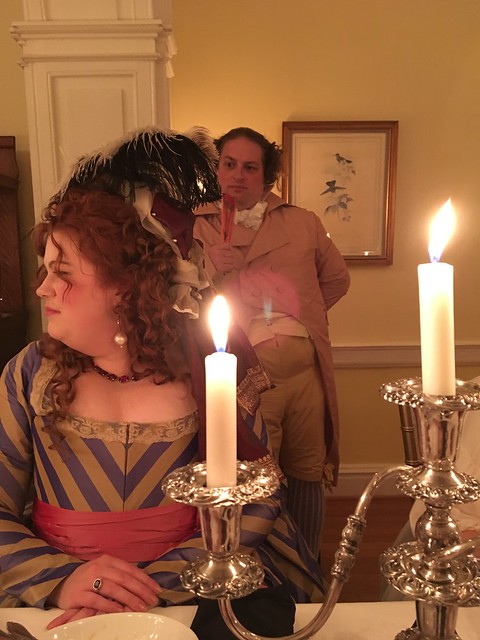
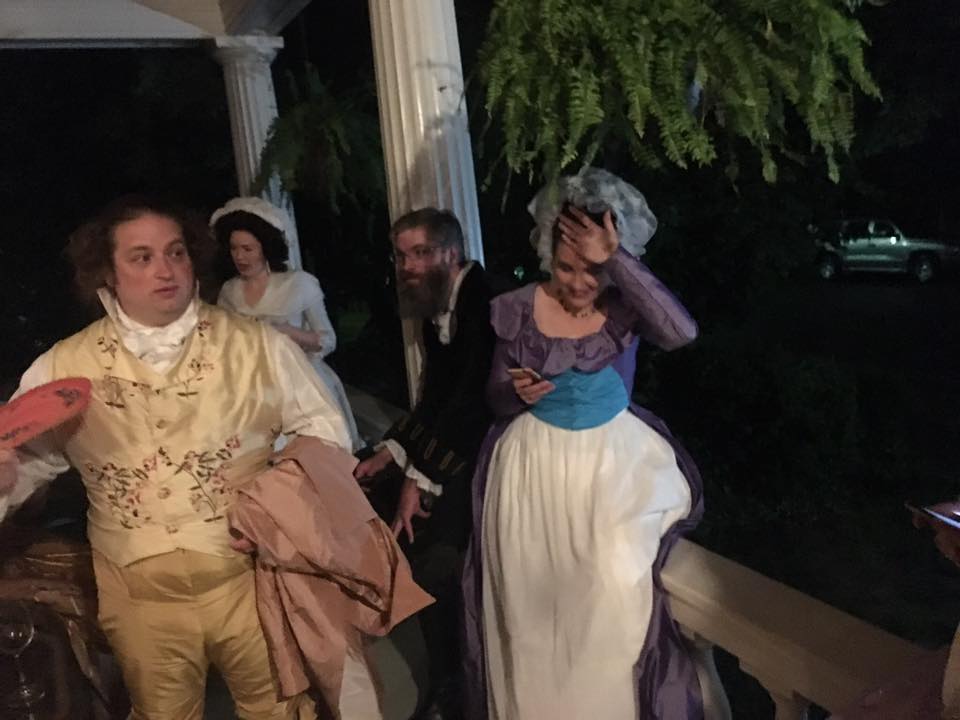
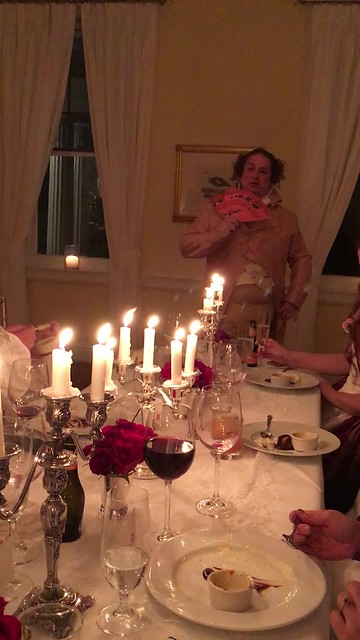
Or at least that’s what my mother persists in telling me constantly.  Jenny-Rose and her family (they’re all just as amazing and talented but I don’t think they have blogs…) decided to host a very swanky 18th century dinner party called The Pimpernel Dinner, and one cannot have a Pimpernel Dinner without well a Pimpernel. So who’s got a husband with great acting chops and will wear whatever he’s handed? *looks around the room*…*crickets*…shit I’m making menswear again aren’t I?

Now I’m really not a fan of menswear making for a few reasons.

  1. I don’t get to swan around in the results and look pretty.
  2. Men are strangely shaped with bits in places. BITS I SAY.
  3. Pants.

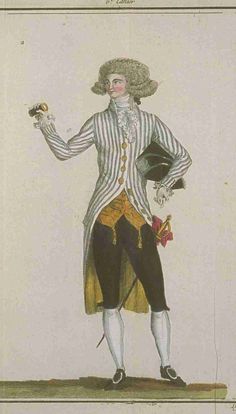
The Inspiration:

4336ce0db40fbdcc254d68ded5844926

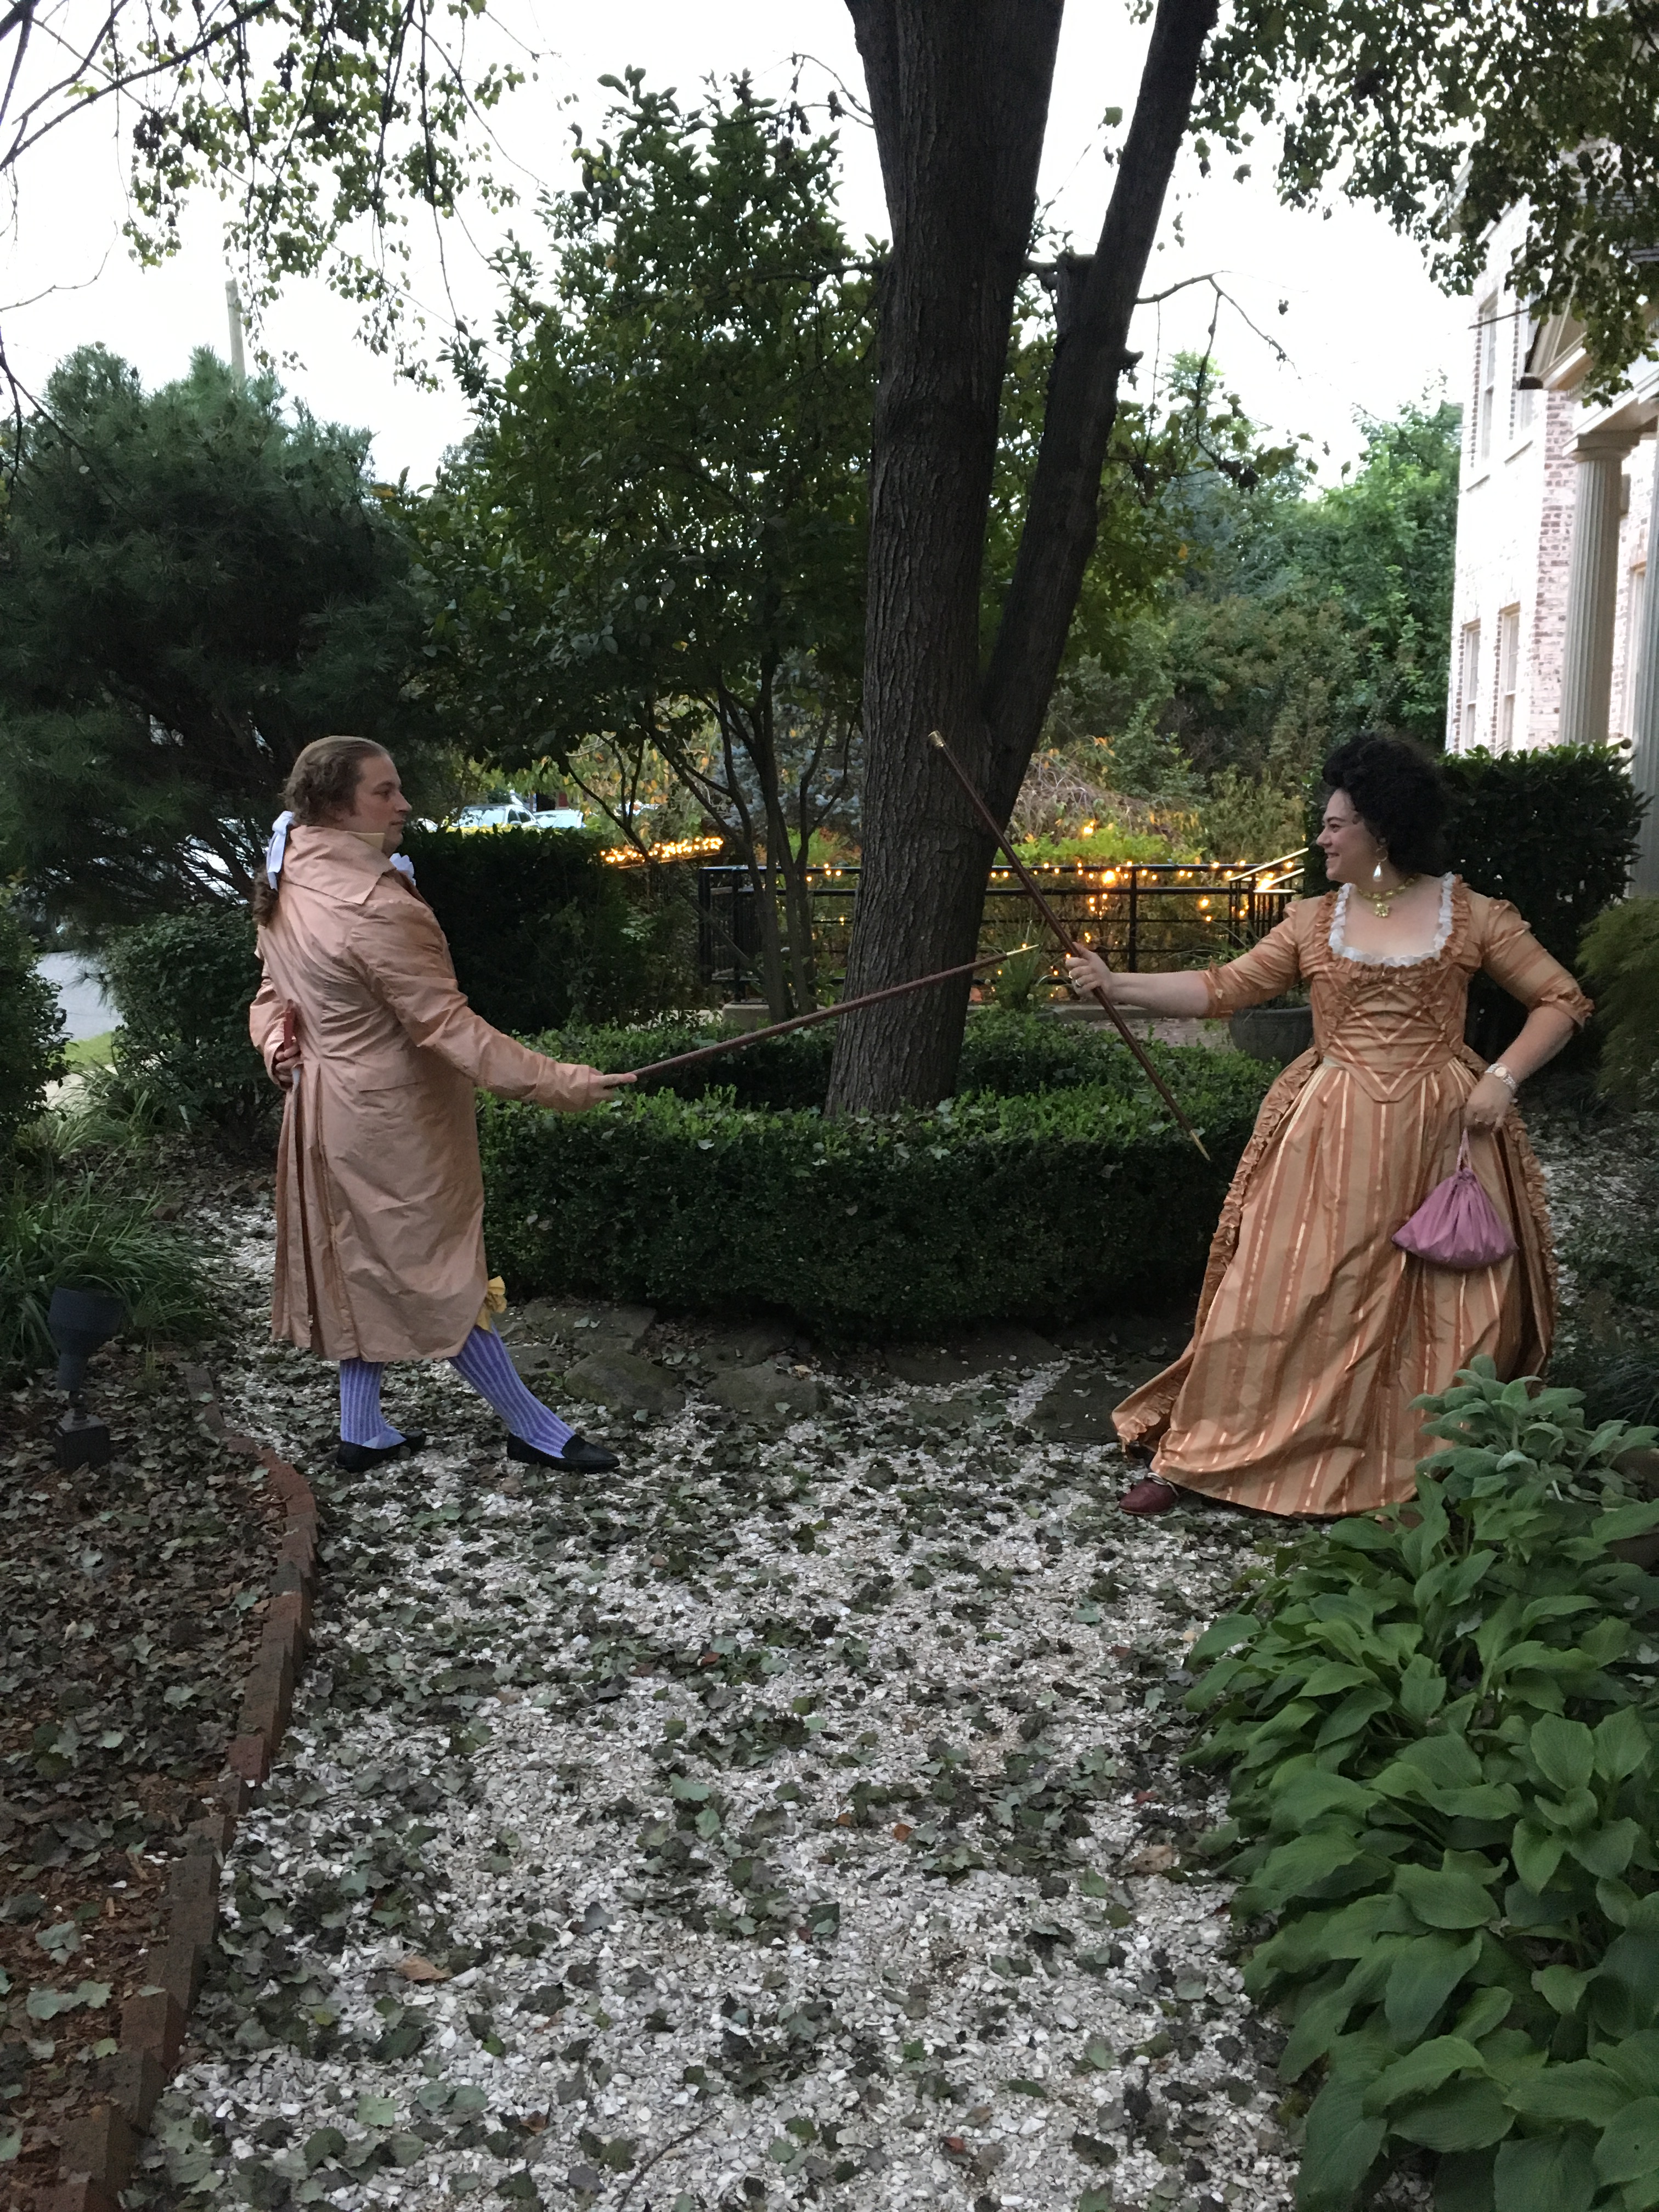
And that sassy pose

7daba7eecd861471dde1180cdb57c07f

They seem to have suffered microcephaly a lot though.

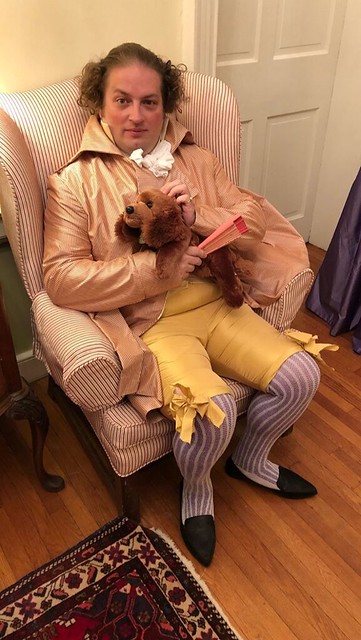
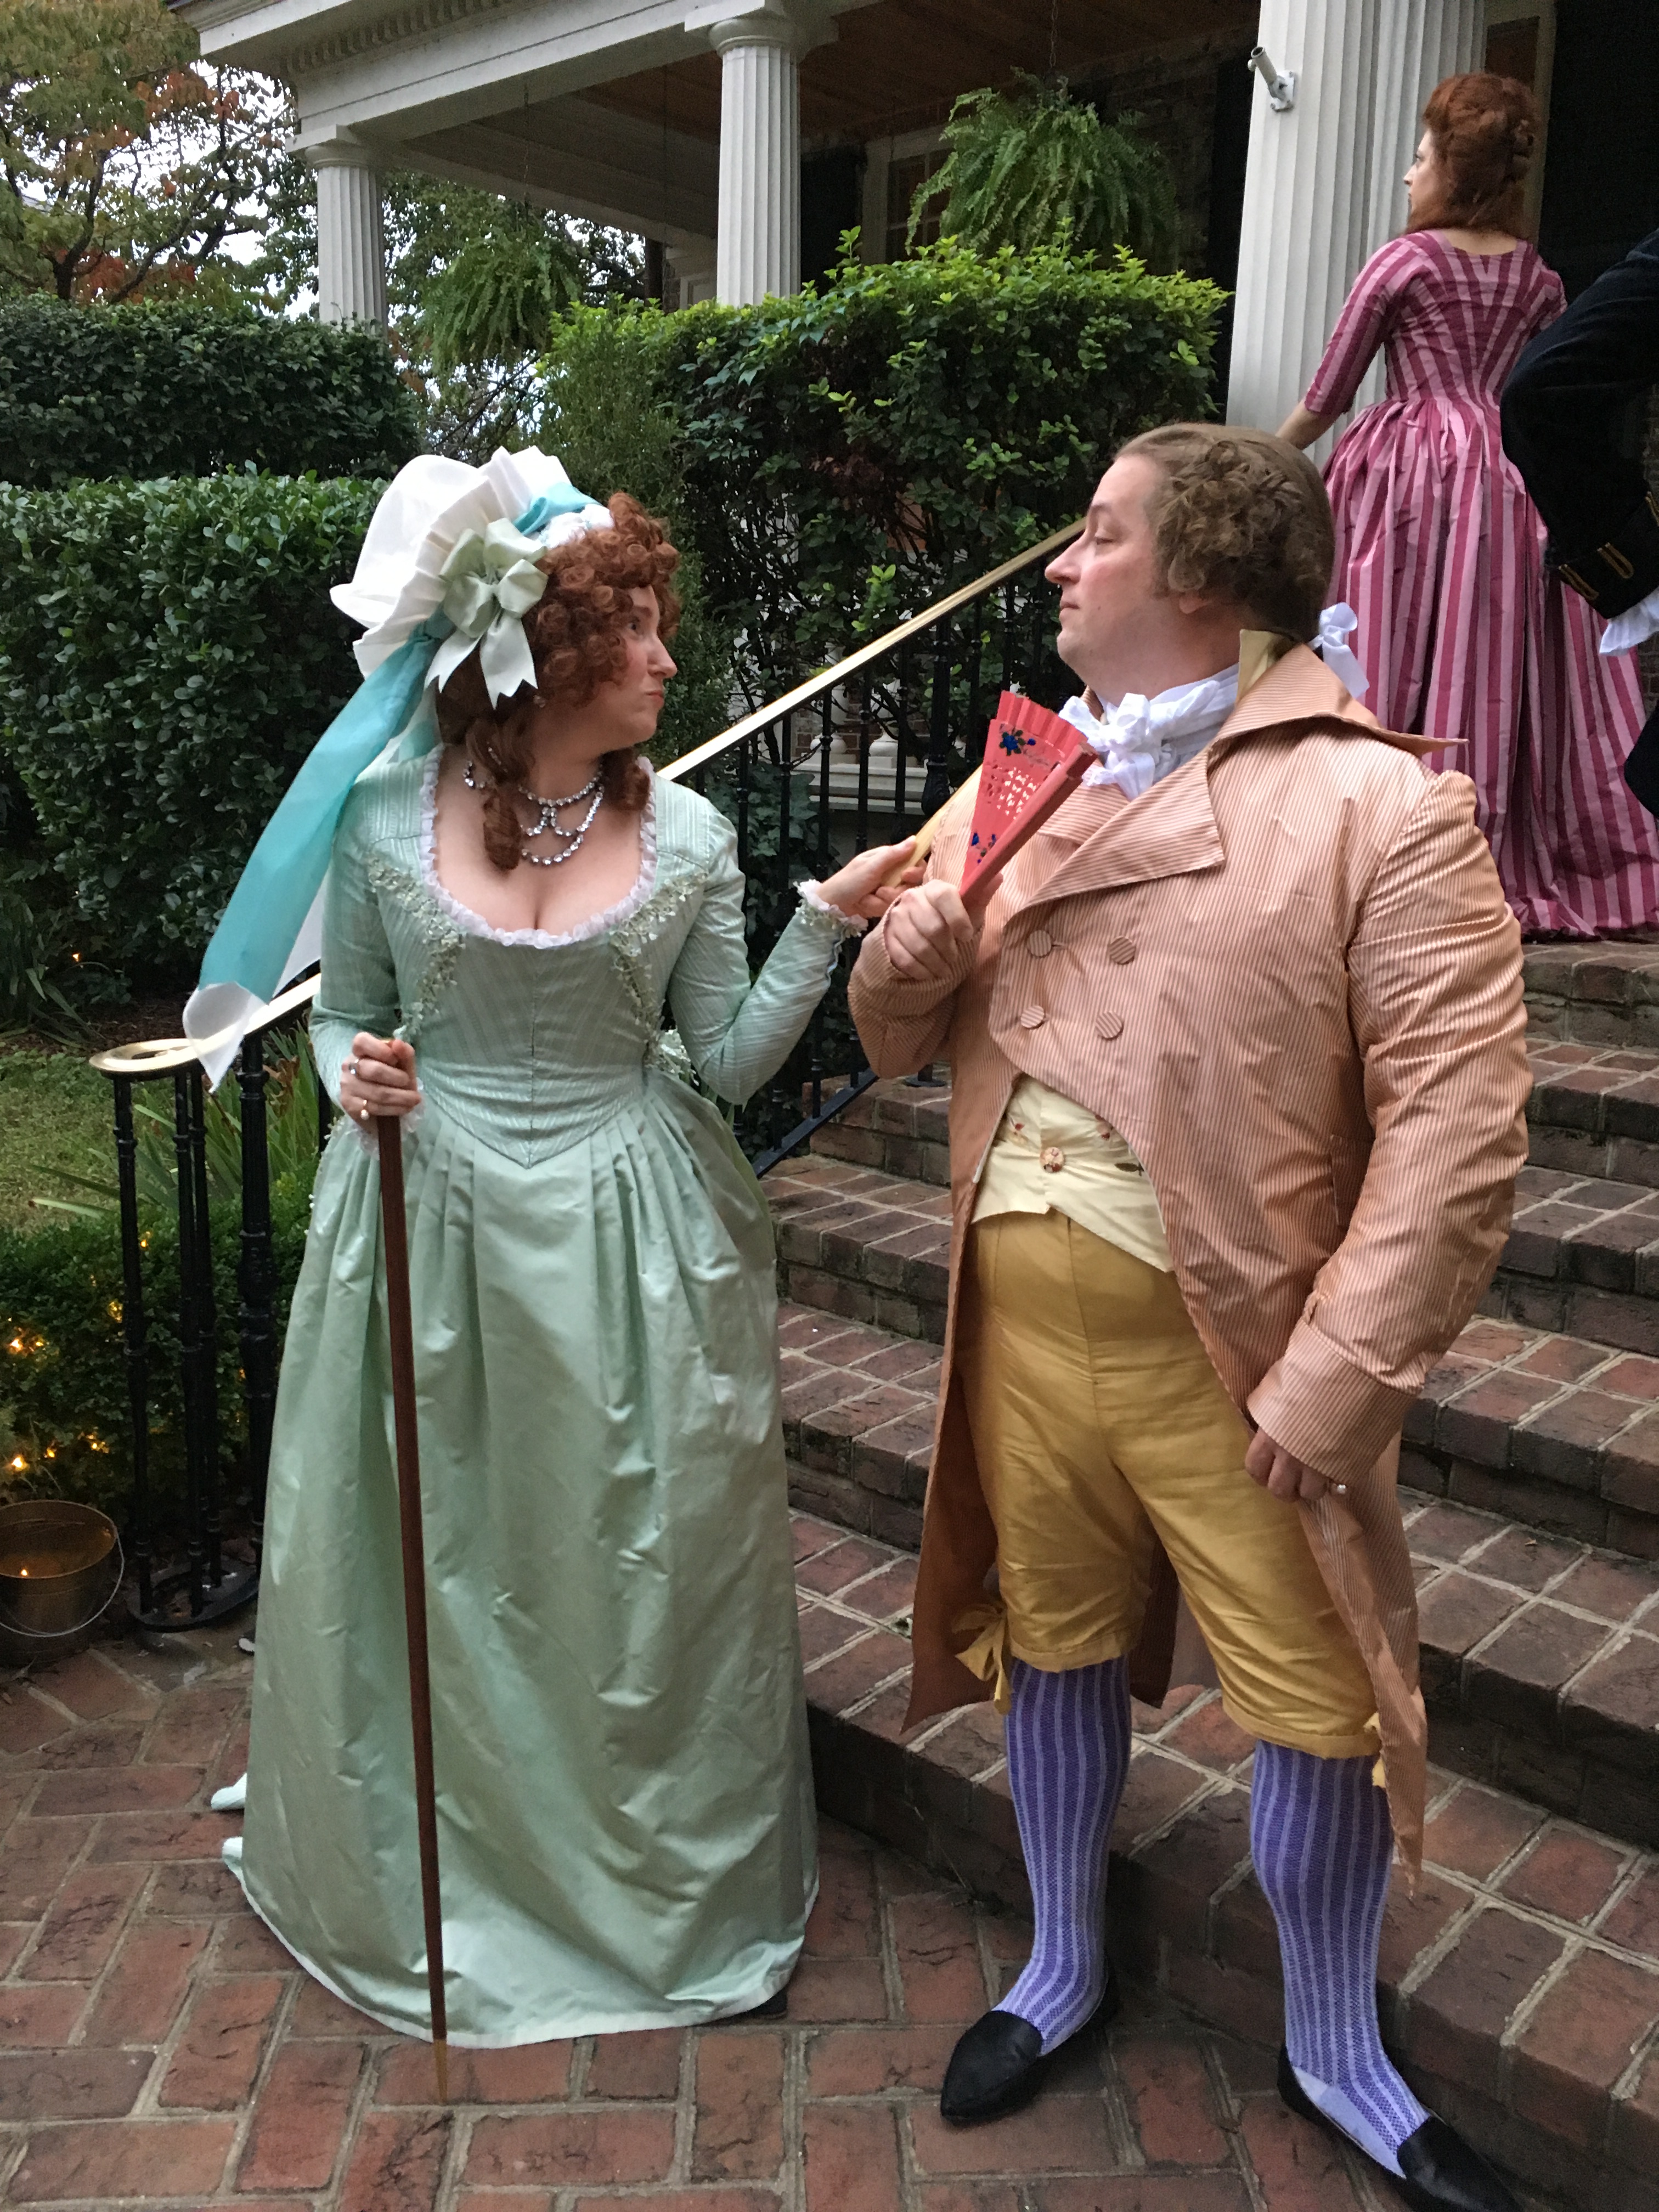
One of the things I like about this period in menswear is how patently ridiculous it gets. You do see some matched three piece suits, but more often then not it’s a free for all. My friend Ginger nicely picked up some silks in the L.A. Garment district for his jacket and breeches and I found some fabric for the waistcoat online. What I didn’t have a lot of was time (we’ll leave out the part about the party being announced like a year in advance or that I committed to two major events two weeks apart and that was probably maybe my fault…I said we won’t discuss it).


Breeches:

I was trying to keep the budget for this monstrosity to within semi-reasonable levels. I splurged on the silk so one of the ways I save money was to re-use a pattern I had for breeches that was just slightly off period. a68ec9e4f1a67f1d7a0571bf977ae08c

Technically this pattern by Country Wives is for 1800-1825 but the narrow fall is close enough and I was working with what I had.

I shortened the legs, then tried him on the victim husband and took in the legs till we reached foppish-vacuum-sealed and added knee bands. My knee bands gaped just a tiny bit…so bows.

Untitled


Waistcoat:

I used the pattern I draped for his Mr. Darcy waistcoat and added to the length and front width. Re-drafted the collar. It’s really a beautifully embroidered waistcoat…too bad you can’t see it worth a damn. I should have just skipped it.

42407551_2211120709133051_3250160370320408576_n

after party shenanigans


Coat:

For the coat I did spring for a real pattern and bought Laughing Moon 124. A word to younger costumers, when you’re choosing where to invest and where to cut corners. Sometimes if you don’t have the right sleeve pattern it’s worth the money to pay someone else.

Lets take a moment to appreciate the absurdity of the collar. I meant to cut it down to be more proportionate to Rob’s average height, but 11pm Robin forgot. So absurdity it is! For next wearing I would like to properly finish it with all the called for buttons, shorten it about 2″ and shorten the sleeves an inch. But considering I did zero mock ups and just made it…I got away with highway robbery in terms of fit.

44873948841_3243877b29_o

how DARE YOU MADAM! With Modern Mantua Maker.

His stockings were borrowed from my closet, Amanda gave them to me for Christmas a few years ago so I can’t be sure, but knowing her shopping habits they’re from sockdreams. (regardless of these stockings another highly recommended shop). And the absurd pointy shoes were from target the night before. Yeah the costume gods smiled on me on that one.

44873941881_6048a03980_o

There was stiff battle required to save the champagne!

29937161487_dfe8c80c8c_o

With two of our three beautiful hosts

44823608002_d3020b5726_o

I happily re-wore my copper open robe and feel beautiful

43962758385_aabdbfe09c_o(1)

Did I mention the location was stunning?

Wow you’re still reading? Colour me impressed. Thank you to Ginger for getting fabric in LA, thanks to Jenny-Rose for styling his delightful hair and thanks to my husband for always being a good sport.

Untitled

Copper 1790s Open Robe

Standard
Copper 1790s Open Robe

Every year the Dallas Ft. Worth Costumers Guild hosts a stunning Georgian Picnic, and every year us on the east coast wish we were as cool. So this year Amanda and I decided we should have a knock off version here.  Think of it as the bag you buy on the street that’s by “Coach” but they spelled it with a K.


Untitled


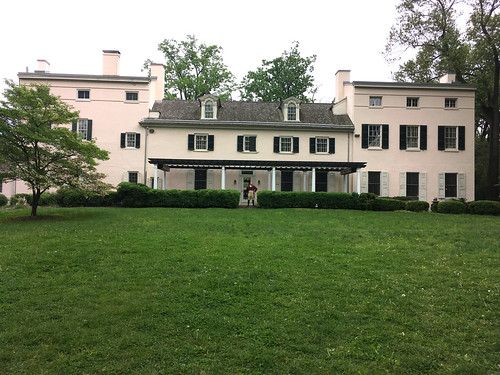
We set a really wide date range as “Georgian” can go 1714-1830 if you really push it, so anyone who wanted to come could find an outfit. The location we picked was Historic Strawberry Mansion in Fairmount Park, Philadelphia (mostly on a random internet search and let me tell you it was perfection and they are SO NICE). As Strawberry Mansion was heavy remodeled in the Federal Style I decided I wanted something at the turn of the century.

Untitled

A well dressed man, the best of accessories

Years ago Amanda gave me this gorgeous copper silk that told me it wanted to be an open robe, then I just hadn’t had an event to make said open robe FOR and it languished…no longer!

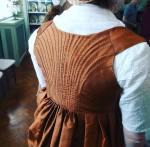
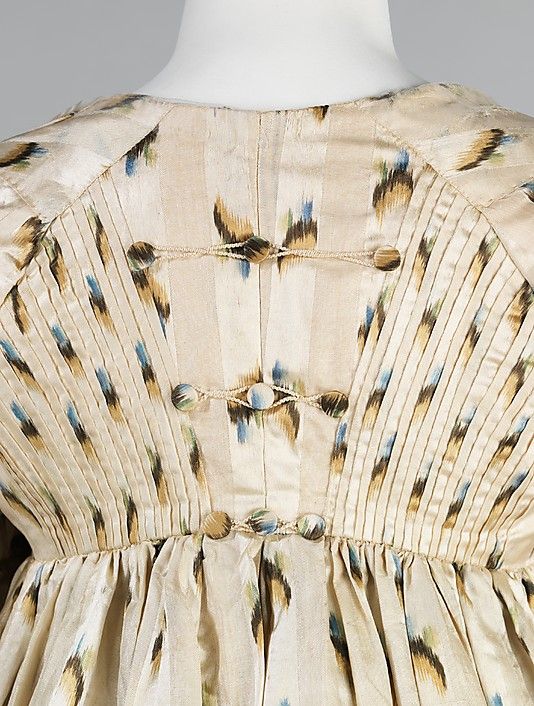
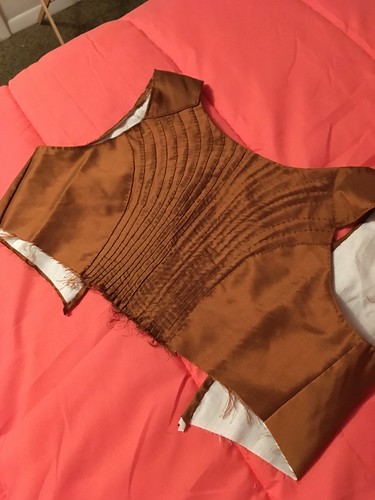
Looking around I was heavily inspired by robes with elaborate pleated backs. What can I say I’m incapable of picking the easy thing.

I started with my basic regency bodice, which is a heavily bastardized version of the Simplicity regency pattern. Did two more mock ups than I would like to discuss and cut out the lining from plain cotton broadcloth. Then I cut a width of silk  a few inches longer than my center back length to allow for wiggle room.

31963857_10101792498281009_8267335118746550272_n

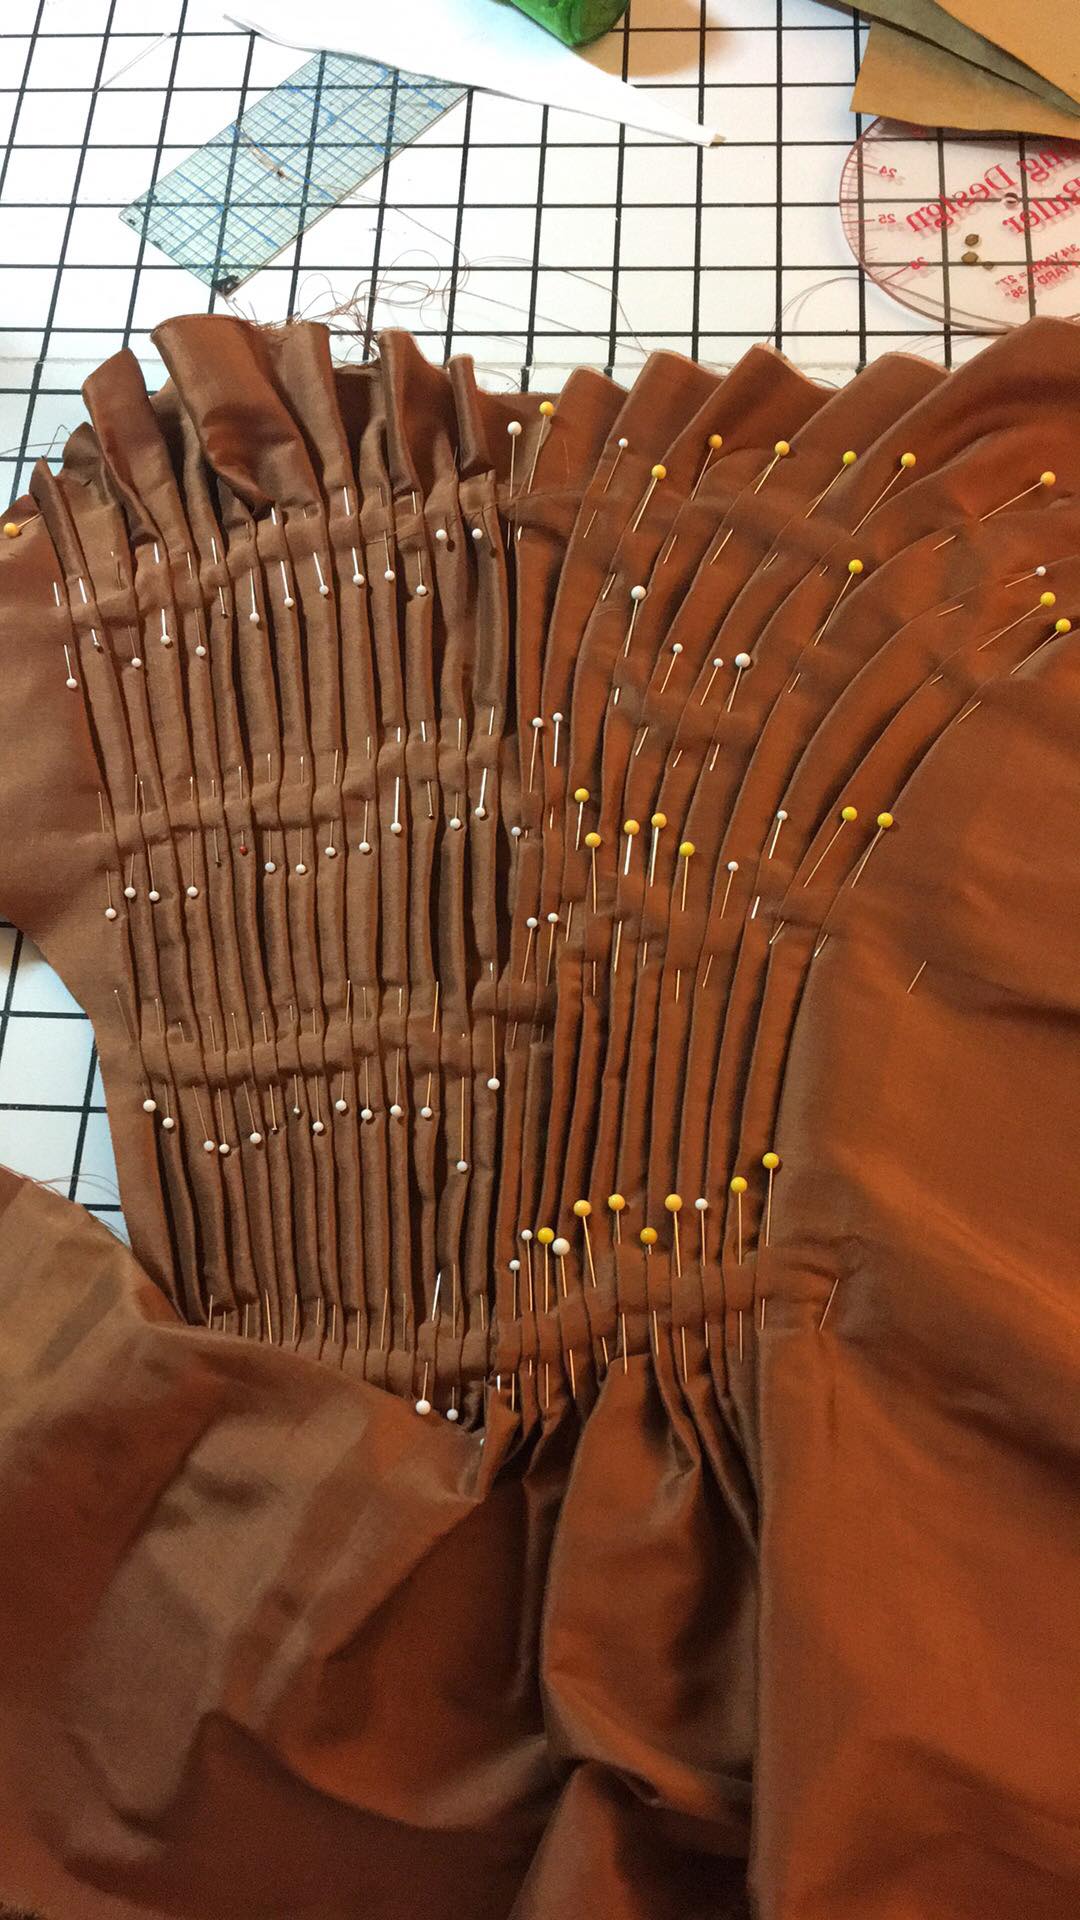
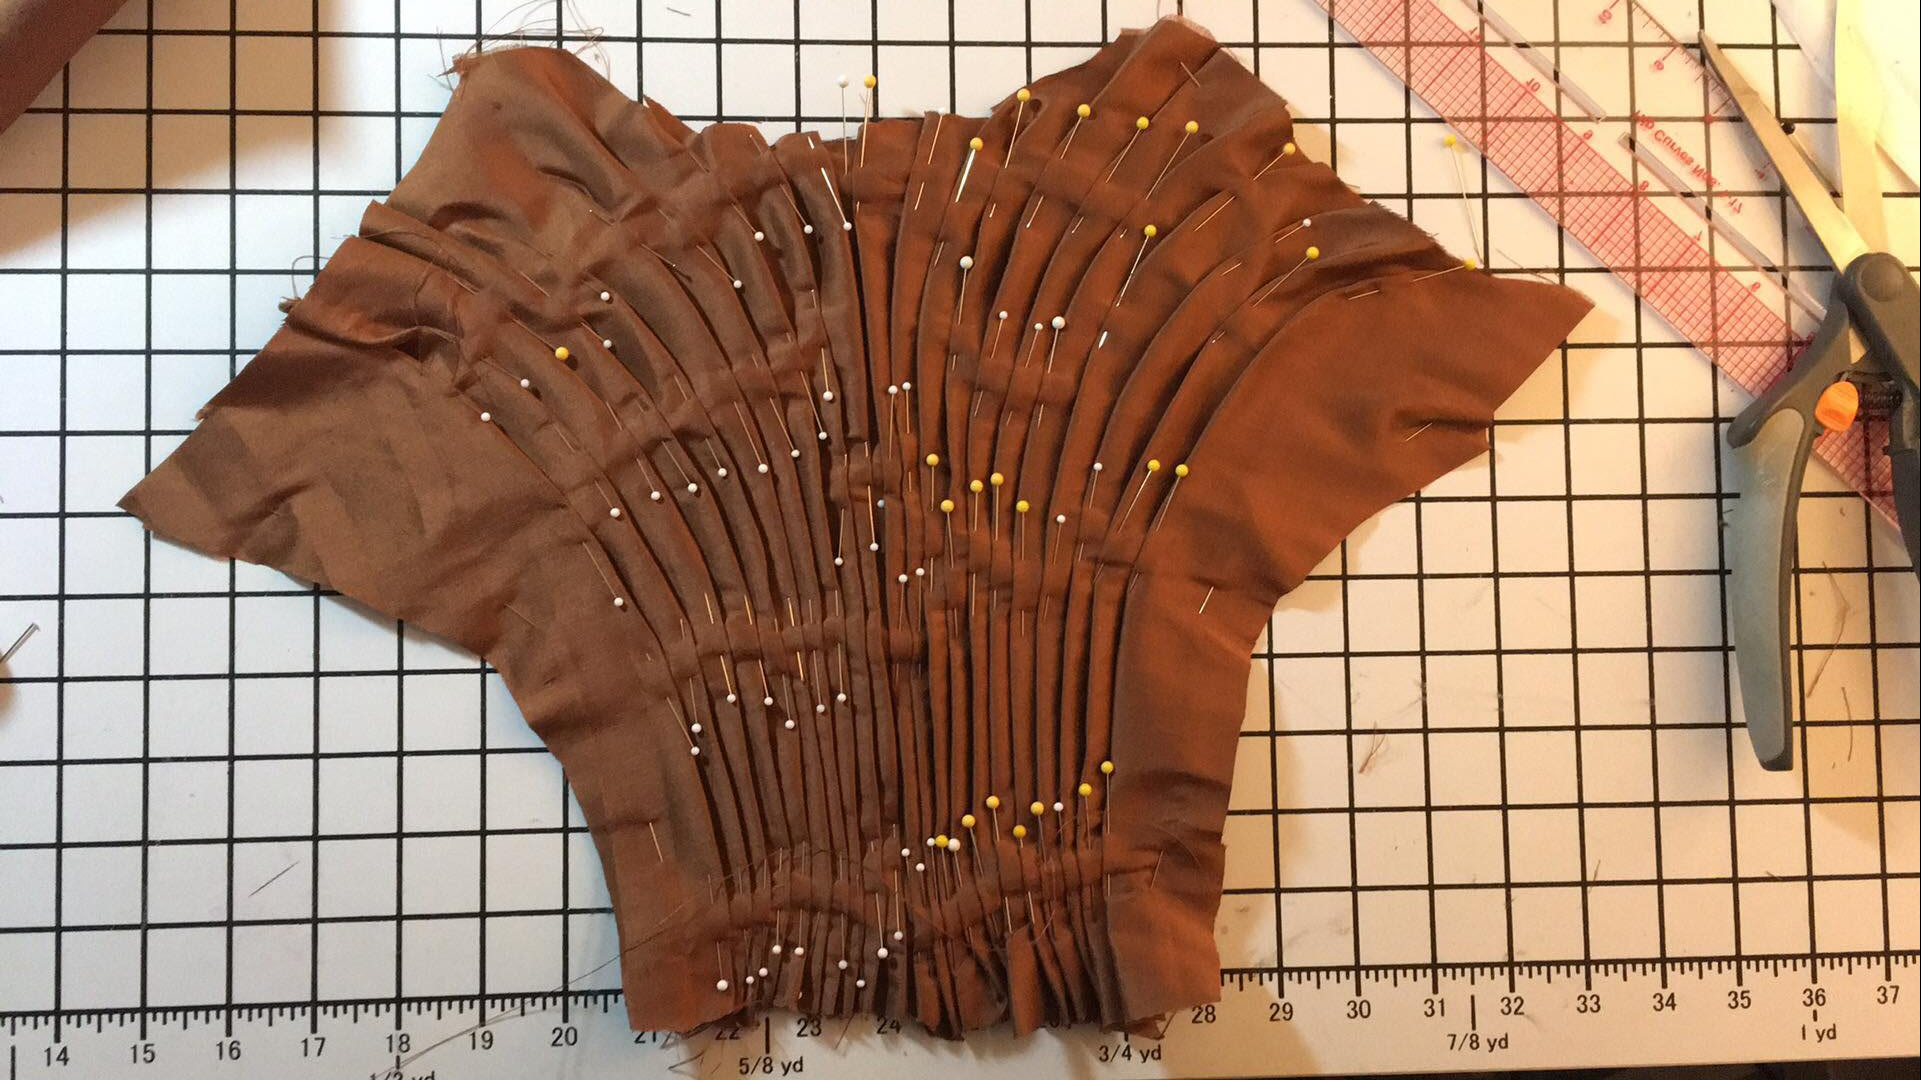
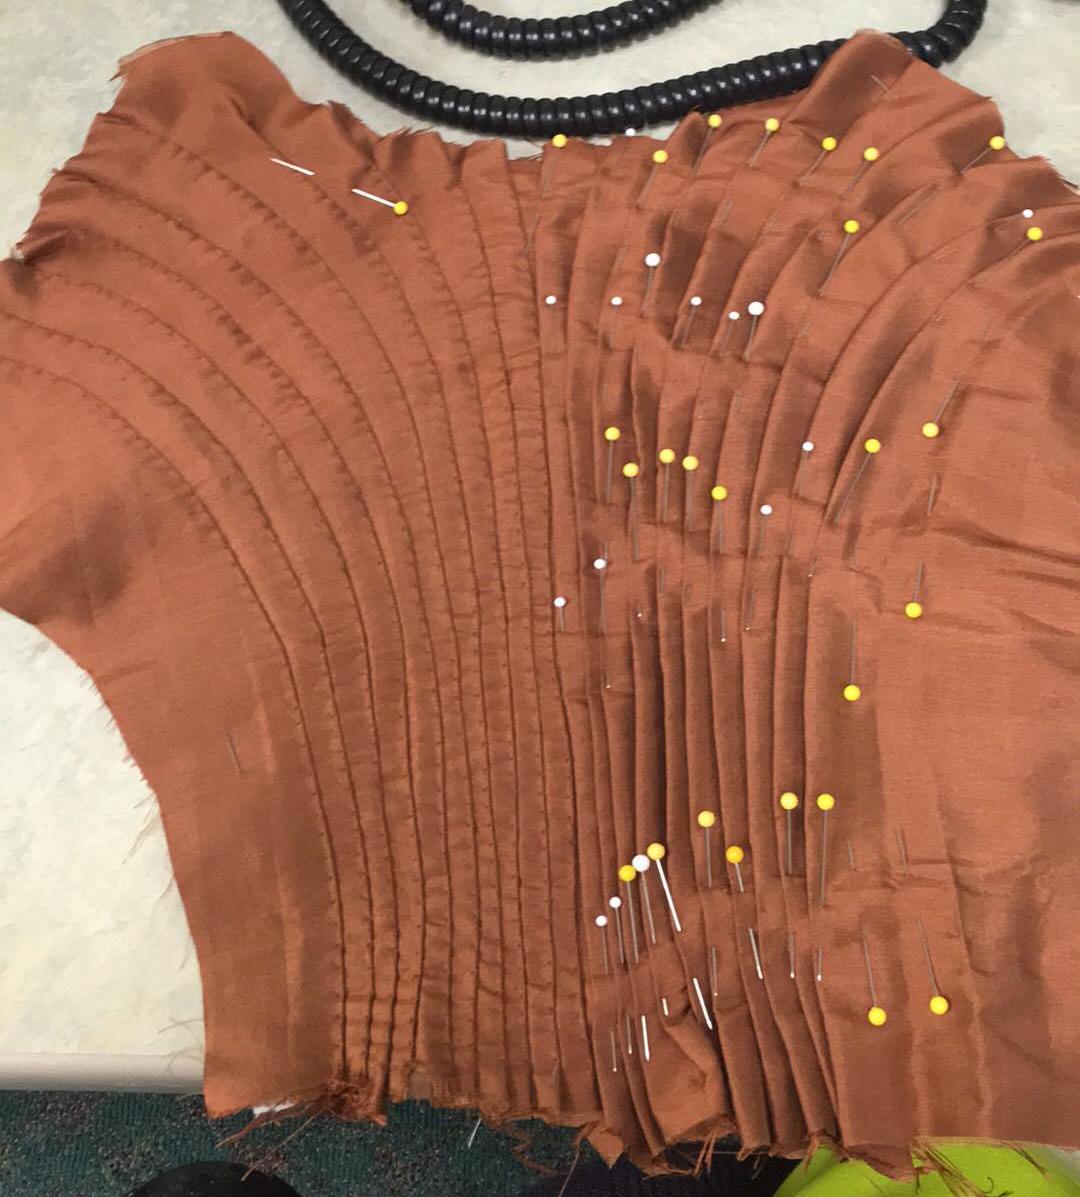
I started by folding the width in half. This silk was 40″ wide giving me 20″ of pleating on each side. But if you had wider fabric you could use deeper pleats or take them all the way to the edges. In the above photo you can see that the first time I pleated it up I went with more vertical parallel pleats and decided they weren’t as flattering as curving them.

31947540_10101792523784899_2520684149602254848_n.jpg

I promise it only LOOKS asymmetrical because I hadn’t trimmed it evenly…and got most of the way through and realized I had 10 pleats on one side and 11 on the other…I curse a lot then fixed it.

32104719_10101793005459619_4597155817647505408_n

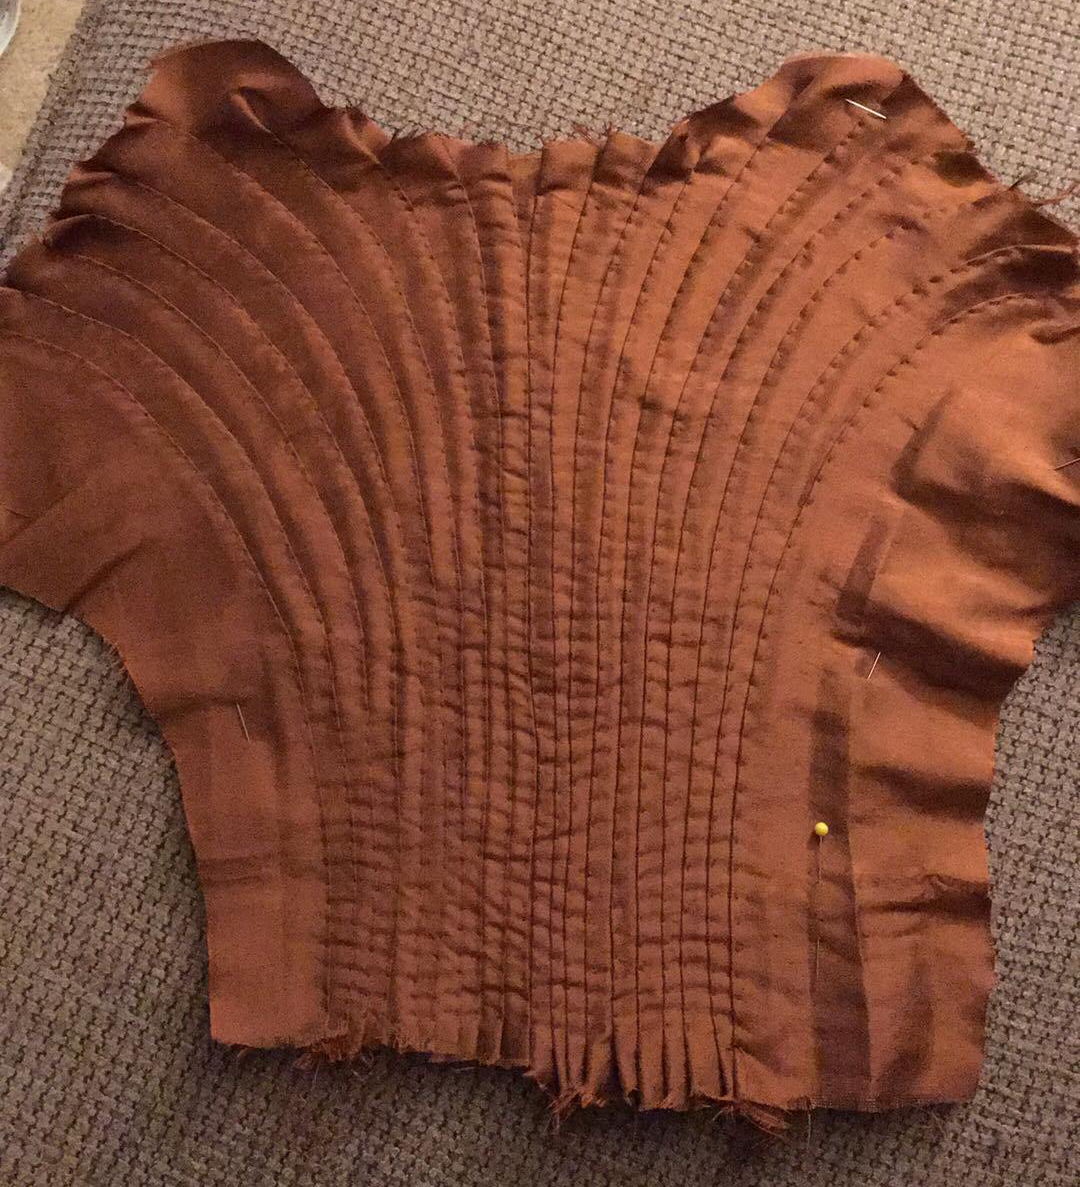
From there it was a “simple” matter of carefully sewing down down the pleats. One at a time.

32228690_10101794734948709_2205893841720967168_n.jpg

After I sewed all the pleats down I laid the pattern back over the back and trued up the piece as it had skewed and stretched with sewing. I folded the side of the side backs down and top stitched them down so they would blend with the rest of the pleats. I hemmed the neckline, armscyes and sewed the two skirt panels together….then I was out of time.

Untitled

I had a 12 hour work day and then guests coming and the poor thing was going to be in the UFO bin forever…but did I mention how AMAZING my friends are? I walked in the door from work on Friday night and Carolyn and Taylor were hemming my skirt..and did I mention they’re hella faster than I am at hand sewing?

42039687762_f49618fae3_o

TA-DAAAAAAA

Basically what I’m saying is I can claim like 50% of this dress. And I am enterally grateful to them because I felt SO FANTASTIC wearing it. My “turban” is just a strip of leftover silk. I’m wearing the Dames a la mode Jane Austen cross and new turquoise earrings.

27197994607_40b63f31d7_o

why is my mom always saying he’s such a “good sport”


I can heartily endorse everyone make an open robe as they are ridiculously fun to swan around in. We’ll just pretend that my hem didn’t get dragged around the lawn…

41365391004_763904b63e_o

And if you get the chance? VISIT STRAWBERRY MANSION

41365396434_b53915ba31_o

and never take yourself too seriously

Thank you to Taylor, Carolyn, Adrienne and Amanda for photos!

Lavender Anglaise

Standard
Lavender Anglaise

Once upon a time in a far away land (Pennsylvania circa 2008) I was working as an indentured servant to the lady Joann. I noticed amongst her wares this lavender silk dupioni. Since it was of fairly low quality and left over from someone’s special order it languished, and languished, until finally she let the price go to something I could afford on my pitiful salary. I planned to make the lavender dress in Costume Close Up. Just as soon as I thought my skills would do it justice….

b7fba76d27a31461500369e559eb1988

In the Colonial Williamsburg collection

Then I waited and waited till I achieved the mythical sewing mastery I was hoping for…………………………Finally Amanda asked if I would participate in a “dress in a day” style demo for a The Indian King Tavern where she volunteers, oh and did anyone have a dress length of silk?

When in doubt, if you don’t have the skill level to do your fabric justice? TRICK SOMEONE MORE TALENTED INTO IT!

We began with a linen lining cut to my 18th century body block. Amanda and Alice draped and pinned the en fourreau pleats.  For those NOT 18th century sewing nerds that means that those beautiful pleats going down the back start as one long piece of fabric from neck to floor and the pleats are shaped on the back and flare into the skirt. And when your friends have perfect tiny stitches the effect is quite beautiful. Adrienne worked on the petticoat. I stood there and looked helpful.

33711771393_efbe525985_o

fun fact my left hip is higher, yay scoliosis! 

We got…maybe 2/3 of the dress finished at the demonstration. While we’ve done a dress in a day in the past and ended up with a lot more dress, it’s just slower when you’re enjoying chatting with the public.

18199405_1297605156943008_1050862587654740840_n

I got the better end of the deal, it was 90 degrees in there, my undies WAY comfier                  Photo from the Friends of the IKT facebook page

Because we did not finish the dress in one day I took it home and did the finishing bits. It was much more pleasant to sew a fully fitted dress that I just had to hem and finish edges on. Oh and sleeves.

34541061705_6ea4a5b200_o

We thought we would visit the IKT the week later for their presentation on tea in the 18th century (which was excellent) and to show off the finished gown. I borrowed Amanda’s DELIGHTFUL cupcake hat. I cried a little when I gave it back.

34522052365_4349fafc11_o

Overall I’m really happy with this dress. I wore it polonaised like the original in the Colonial Williamsburg collection.  The silk is really poor quality so it put purple fluff fibers EVERYWHERE.

34155259410_baf3ecfb41_o (1)

We got asked a lot of questions about buttons and why didn’t women’s wear feature more buttons? And the best I can say (having not done a thesis on this) is that some women’s wear did have buttons, but experience has just told me how easy it is to adjust the fit on a pinned dress. Plus something with so little ease is hard to keep the buttons from pulling and rumpling.

34520235345_94cd18f011_o


So that’s a huge costume off my bucket list. What dresses are on YOUR bucket list? Do you have any perfect fabric stashed for a someday project when you feel brave enough?

Now who wants to help me distract Amanda so I can make off with her hat forever…

34136253670_164545e0be_o

Orange Pet en l’aire

Standard
Orange Pet en l’aire

In my last post I casually teased that I went to Jennylafleur’s AMAZING Big Ass Hat Tea, it was pretty overwhelmingly fabulous.

An invitation to a Jennylafleur party is basically the golden ticket of costume events, and I felt pressure to live up to the people I would be with. I was waffling around trying to decide what on earth I wanted to make for this era I don’t really feel good in and my awesome friend Adrienne plopped orange check silk in my lap…yes the largest part of it is earmarked for my Gettysburg ballgown this year buuuuuut…a minimal amount of debate later (I.E. 30min over tea and cookies at sewing day) a plan was concocted for a pet en l’aire or caraco jacket.


12ce1919d9ae47da2ed23a3ae76afcf3

I am a big fan of this one in the LACMA collection

I started with Katherine’s francaise tutorial. If you’ve never read it and ever wondered anything about how to construct a francaise gown I demand you stop and read it…hold on I’ll wait…It blew your mind and made it all make sense didn’t it?!

33567764986_9c887b94ca_o

draping the back pleats on top of the fitted lining

Basically I followed the francaise tutorial but in short. Instead of inserting full side panels I laid out my side seams about 8″ in from the edge of the fabric to build in the skirting.

33608336955_78fb3b4d85_o

sewing pleats

I hand sewed all of it, mostly because I find period construction techniques just work better with hand sewing. Well that and I happen to find it really relaxing.

33681363636_420df393b1_o

Smoothing on the front panel..see that waist wrinkle?..more on that later

I did struggle with the waist dart, in the end, I let it win. I didn’t WANT to put in a waist dart, but there are originals that have one and sometimes you just gotta listen to what the fabric wants.

33722060435_a15904eb98_o

Jerk. Please admire the AMAZING carpeting in my sewing room too.

In the end I was moderately happy. I need to insert a little gusset under the arm to increase movement. But it was comfy enough that I stayed in it for 12 hours without noticing the time flying by.

33785390142_b88f3abe05_o

I borrowed Jenny-Rose’s petticoat, Adrienne’s hat, Jenny-Rose’s cap, Bridget’s earrings…it was a team effort.

33902012946_3208755ff9_o

I did back lacing down the lining for adjustability, and bonus tie peeking

33557662630_c80bfa2bc4_o

It’s hard enough finding pictures I don’t look dumb in..closed eyes is bound to happen…also my petticoat came untied playing aggressive Graces

A huge thank you is due to our gracious hosts Jenny-Rose and the whole White Family. They throw a party like none other.

33557546840_793e5be6ee_o

Modeling Jenny-rose’s hat. Tell me that’s not a confection of delight.

Ft Fred Market Fair 2013

Standard
Ft Fred Market Fair 2013

On Saturday I journeyed to Ft. Fred for Market Fair for the first time. I had a marvelous time! What a great 18th century shopping experience.  But sadly my dear friend J couldn’t make it, you see she’s getting married and had important bride-things to do. So since she wasn’t with us I thought I’d see what kind of silly wedding gifts I could find for her at an 18th century market fair.

Lets see we’ve got:

How about a lovely collapsable BBQ?

How about a lovely collapsable BBQ?

How about a nice dead animal for your head?

How about a nice dead animal for your head?

the ORIGINAL Spork. Spon

the ORIGINAL Spork. Fork on one end spoon on the other.

A nice bear skin rug for those romantic newly wed nights

A nice bear skin rug for those romantic newly wed nights

Incase he cuts paper with your fabric scissors.

Incase he cuts paper with your fabric scissors.

I have no idea what this is.

I have no idea what this is.

NO WAIT I FOUND THE PERFECT GIFT!

Loin cloth for those frisky newly weds

Loin cloth for those frisky newly weds

Phew all this shopping wears a girl out!  Photo thanks to InTheLongRun

Phew all this shopping wears a girl out!
Photo thanks to InTheLongRun

Dress In a Day

Standard
Dress In a Day

Well the cat is out of the bag so to speak so I’m allowed to reveal my part in our dress in a day project. Amanda posted on her LJ about the video from Colonial Williamsburg and we may or may not have taken it as a challenge. What can I say we’re ambitious.

Amanda has posted all the lovely finished pictures so I’ll just post the one I stole from her…

amanda

Amanda in the finished dress.

A few words about the techniques we used. We followed the construction techniques of the lavender dress in Costume Close-up. The original parameters were 1. Solid color, 2. Closed front NO matching petticoat and 3. Only very simple pinked trim…don’t let Amanda design gowns for one day projects.

So why did we make the dress for Amanda and not Alice or I? We tossed it around a lot and Amanda really did try to convince us to make one for either of us. but she has two things I don’t: 1. a really solid body block to base it off of and 2. She’s TINY so her seams are half the size of mine. Don’t underestimate short seams when sewing by hand in a day.

We started with it all cut out sans sleeves around 10am. Lunchtime saw the first fitting done and all of the bodice constructed sans sleeves. By dinner time we had the functional part of the dress finished. And I have full faith that with different trim we’d easily have finished the whole thing.

And I shall leave you with a few in-progress shots.

IMG_20130408_123705_085

First Fitting

IMG_20130408_163833_251

Second Fitting

Second fitting

Second fitting

IMG_20130408_201346_893 IMG_20130408_201359_318 IMG_20130408_201412_005

we went through Four pots of Sticky Toffee Pudding tea

we went through Four pots of Sticky Toffee Pudding tea