Tag Archives: Sewing

A round gown for spring

Standard
A round gown for spring

Yesterday was our second annual Georgian stroll/picnic at Winterhur in Delware (two years in a row counts as a tradition right?), and it being spring I wanted a light fluffy spring-y dress to wear. Did I have a closet full of things I could have worn? Absolutely. Did I only give myself a week to make it? most definitely. Should I perhaps be getting wiser with age? clearly not. But in my defence, work’s been a beast and this is my distraction.

Firstly Fabric

Can’t make a dress with out some fabric now can we. I wanted something light, breezy, and springy. Last year at Ft. Fred I had been petting a bunch of Virgil’s Fine Goods fabrics and kept thinking about them, I bought an Eliza variation. Although if someone wanted to tell Rob that the Annette stripes is a traditional 13th wedding anniversary gift…ahem, anyway.

Please admire the selvage, this shall be relevant later

This lovely fabric is a lawn? voile? cotton? *this just in* it’s a shirting. I’m not good at this game. We’ll just call it a light weight cotton with a delightful drape. I need to pause here a moment to sing it’s praises, it took a press PERFECTLY, didn’t creep or walk when I pinned or sewed it and was just an all around JOY to work with. I highly recommend some for your next floaty dream. 11/10. Will be buying again. Did I mention it’s a reproduction of…something? Virgil’s fabrics are all meticulously documentable. But honestly if it had flamingos on it I might buy it again as it was so nice to work with. (now I want a regency dress with Flamingos).

What kind of dress?

Okay fabric sorted. Now what’re we going to make with it? The brief for the picnic was “Georgian” which sets a VERY wide variety of choices. But I read Pride and Prejudice every spring, so when I think of the romance of a sunny, breezy *foreshadowing* picnic, I want something regency! Plus I think Michele Quigley‘s amazing photo series has 1790s on my brain. So I started to look at cotton print dresses from around the turn of the 18th-19th century. I tend towards a less posh aestetic in general.

Dress, 2004.2.1, Friends of the Museum Purchase; cotton block printed shawl, about 1790-1810, 78.50, DAR Museum; straw hat, 1790s with modern ribbon, 2000.1, 
Chintz gown from Museum of London
From Museum of Fashion

How we make a dress

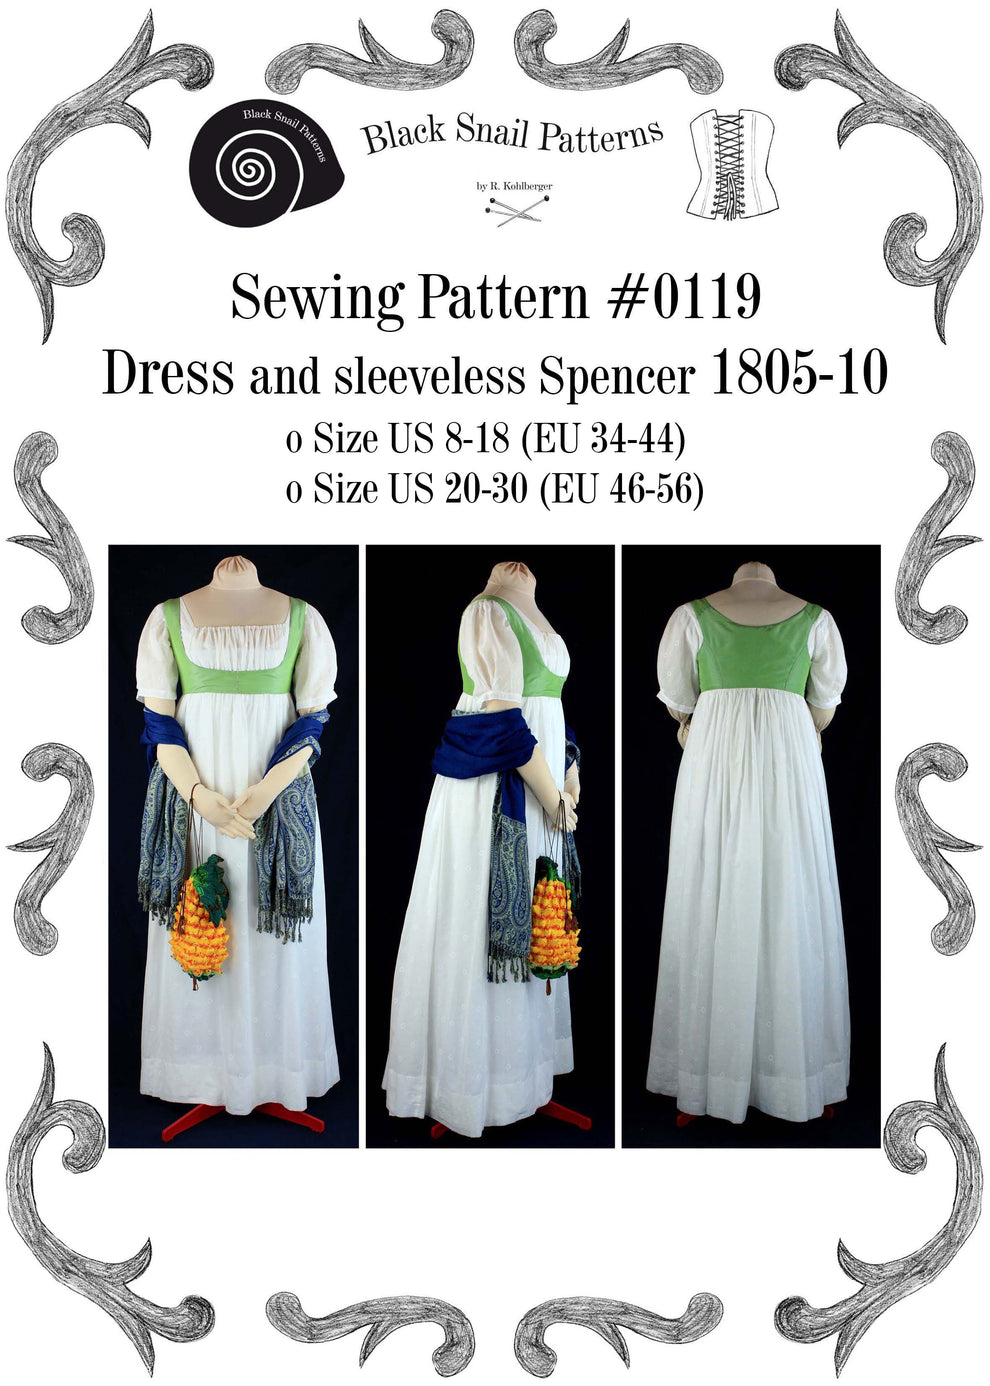
I pulled from two main places when making this dress. I started with the Black Snail Patterns pattern #0119. I have done a modified version of this dress before, and I knew it was easy to work with and fit nicely. I even managed to find the physical pattern I had printed last time. (for anyone who knows me, this more shocking than it should be)

They get major points for styling with a pineapple

Now this pattern firstly has a center back closure, and I do not have a ladies maid. I do have one fairly well trained house husband, but he wasn’t going to be attending the picnic, and I don’t love finding random strangers in a parking lot to ask to button me. I mean I have but It’s not my favorite.

Did I cut the lining on the fold and add a seam to the fashion fabric just so I could chevron it? Wouldn’t you? It just looks so nice! But the lining is one piece.

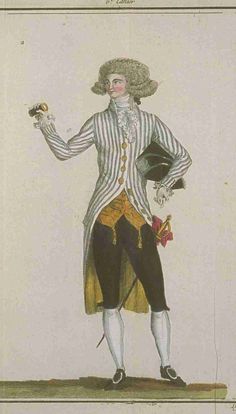
For construction steps and advice I relied heavily on Carolyn’s book Stitching La Mode: Patterns and Dressmaking from Fashion Plates of 1785-1795 It’s possible I’m biased because I had the privelage of being a model but I found it to be a wonderful reference book for both techniques and pattern shapes. I was heavily inspired by year 1794.

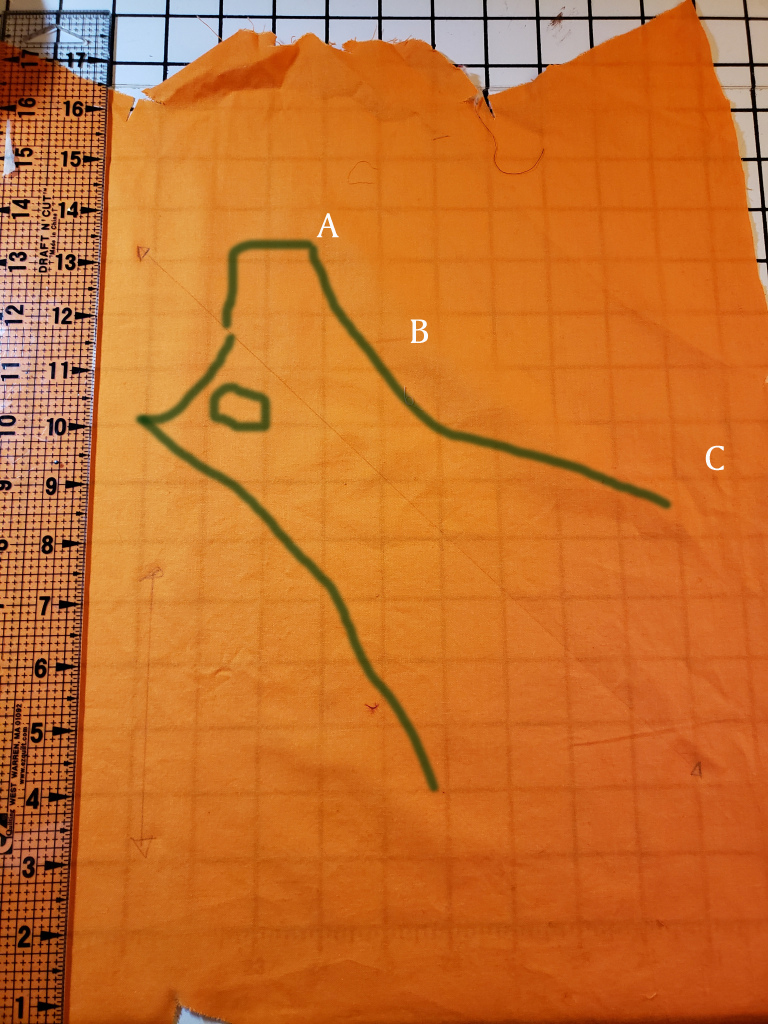
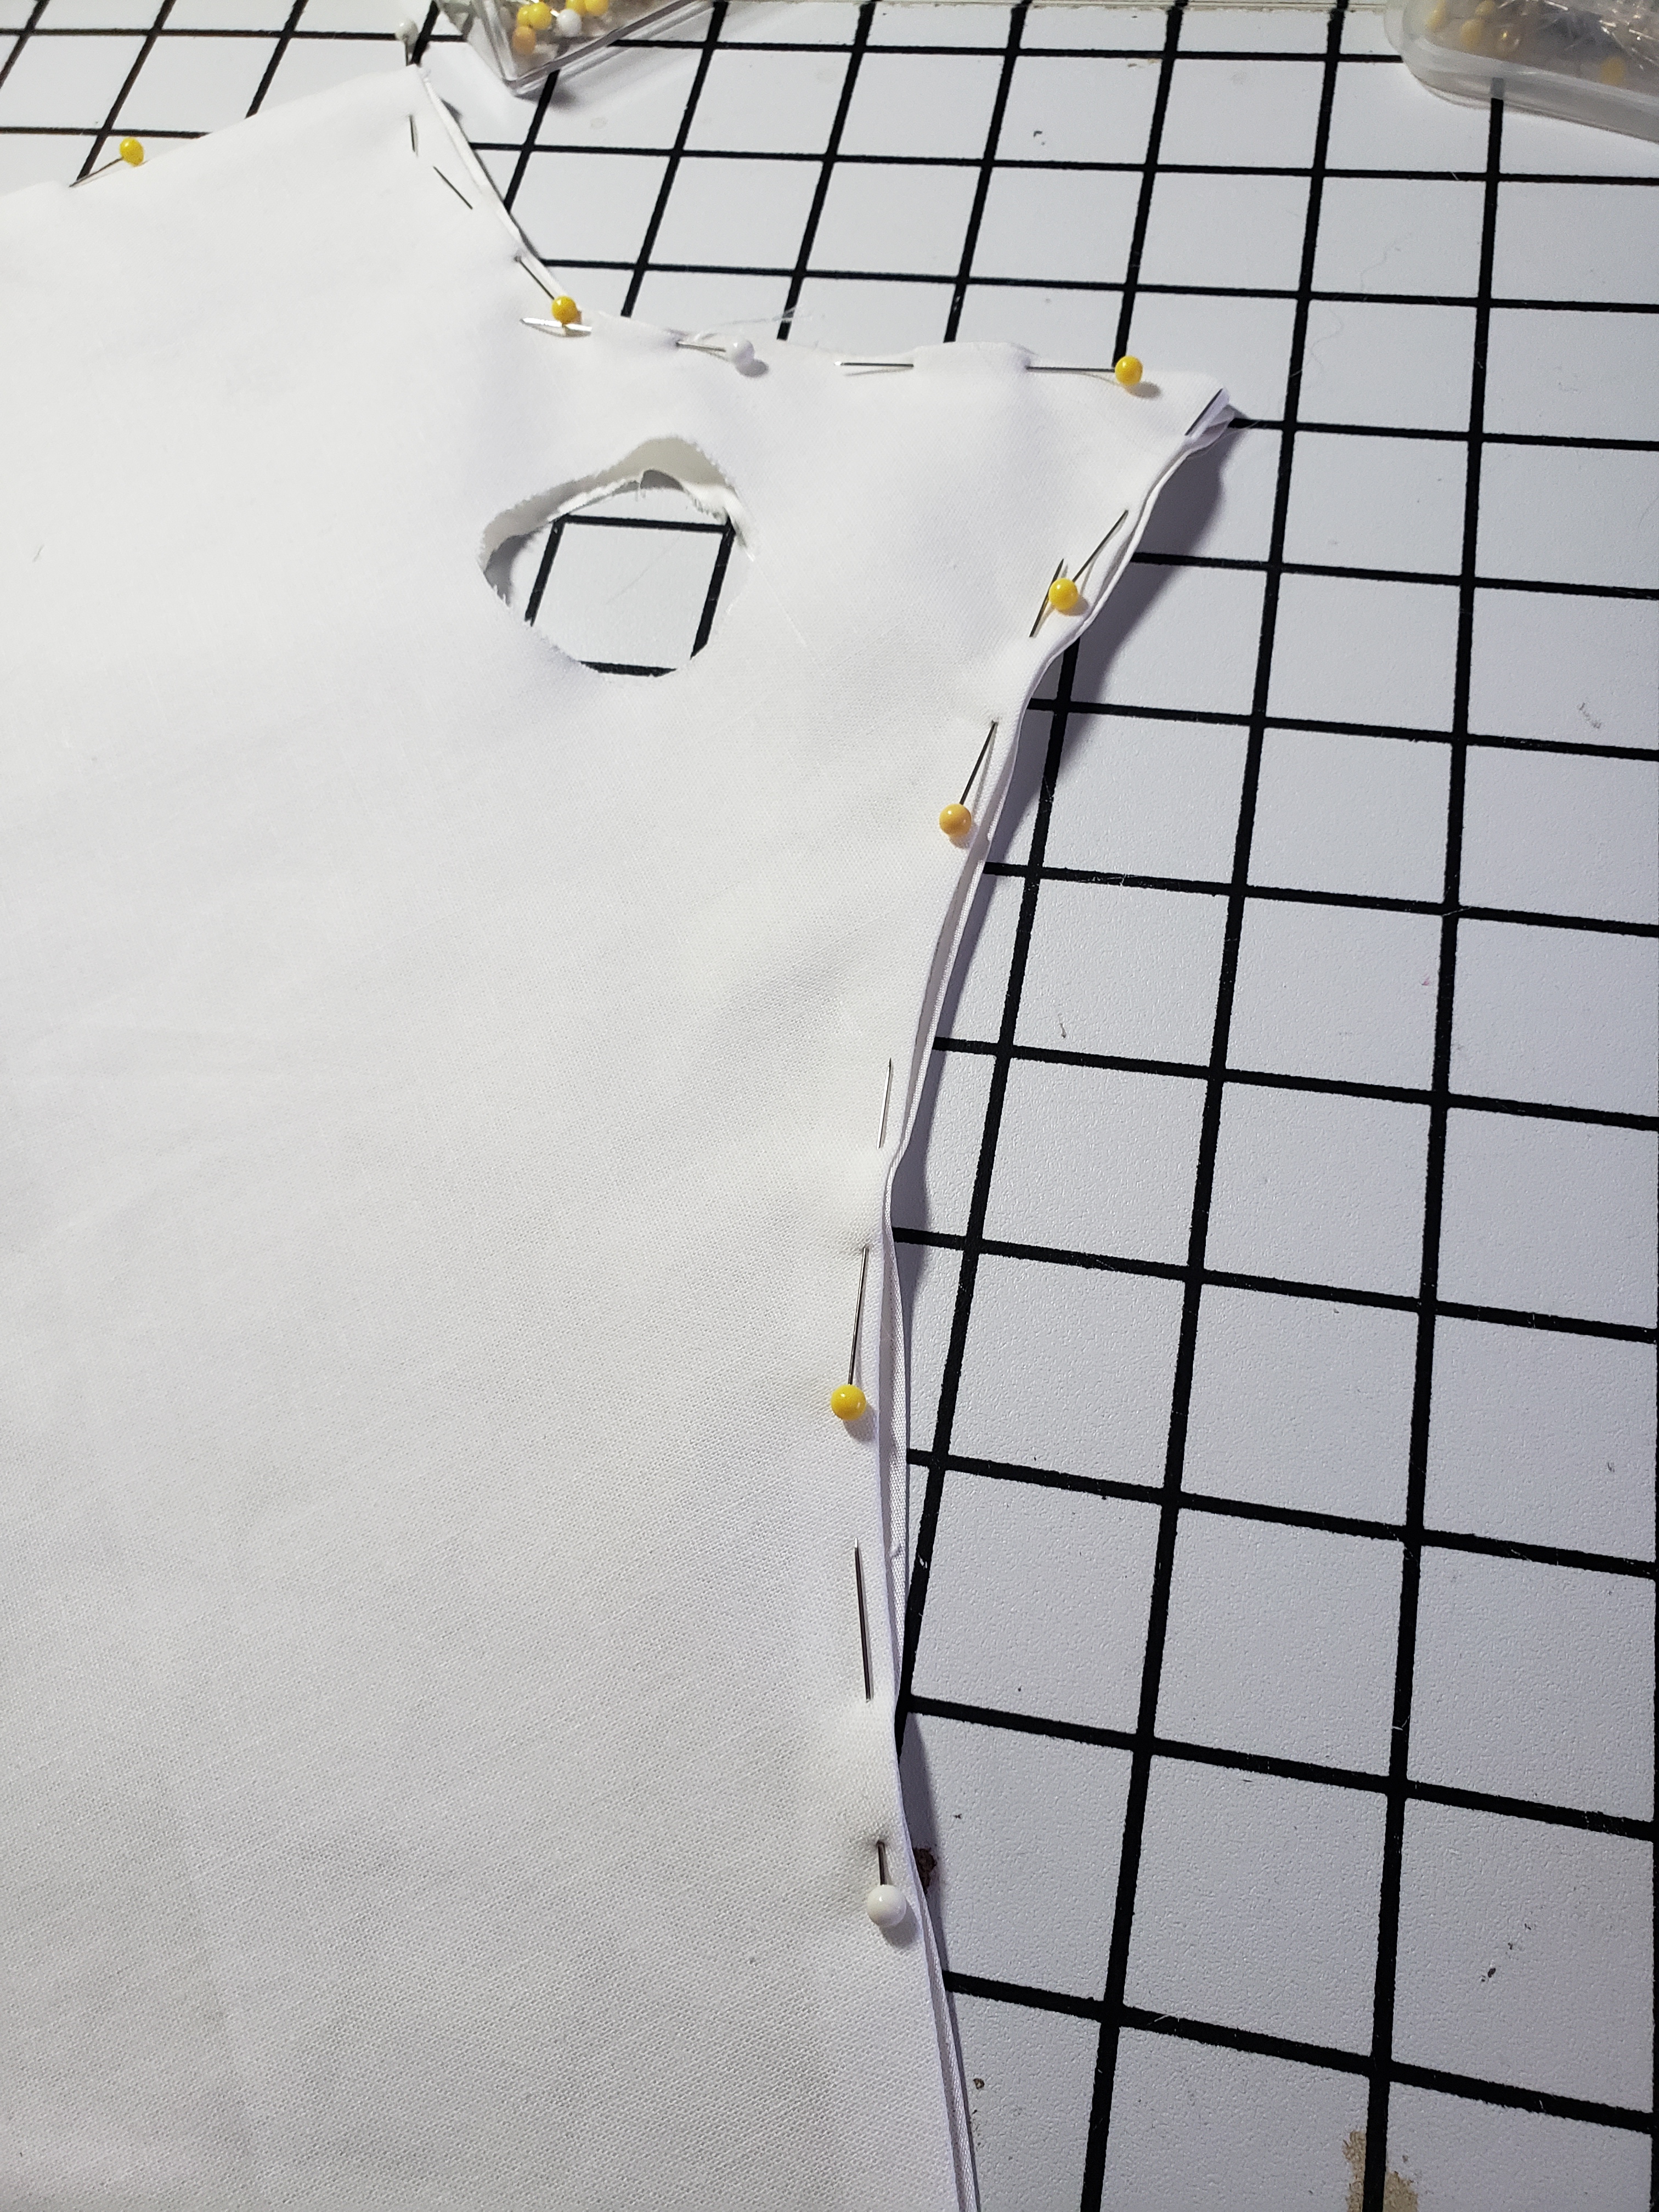
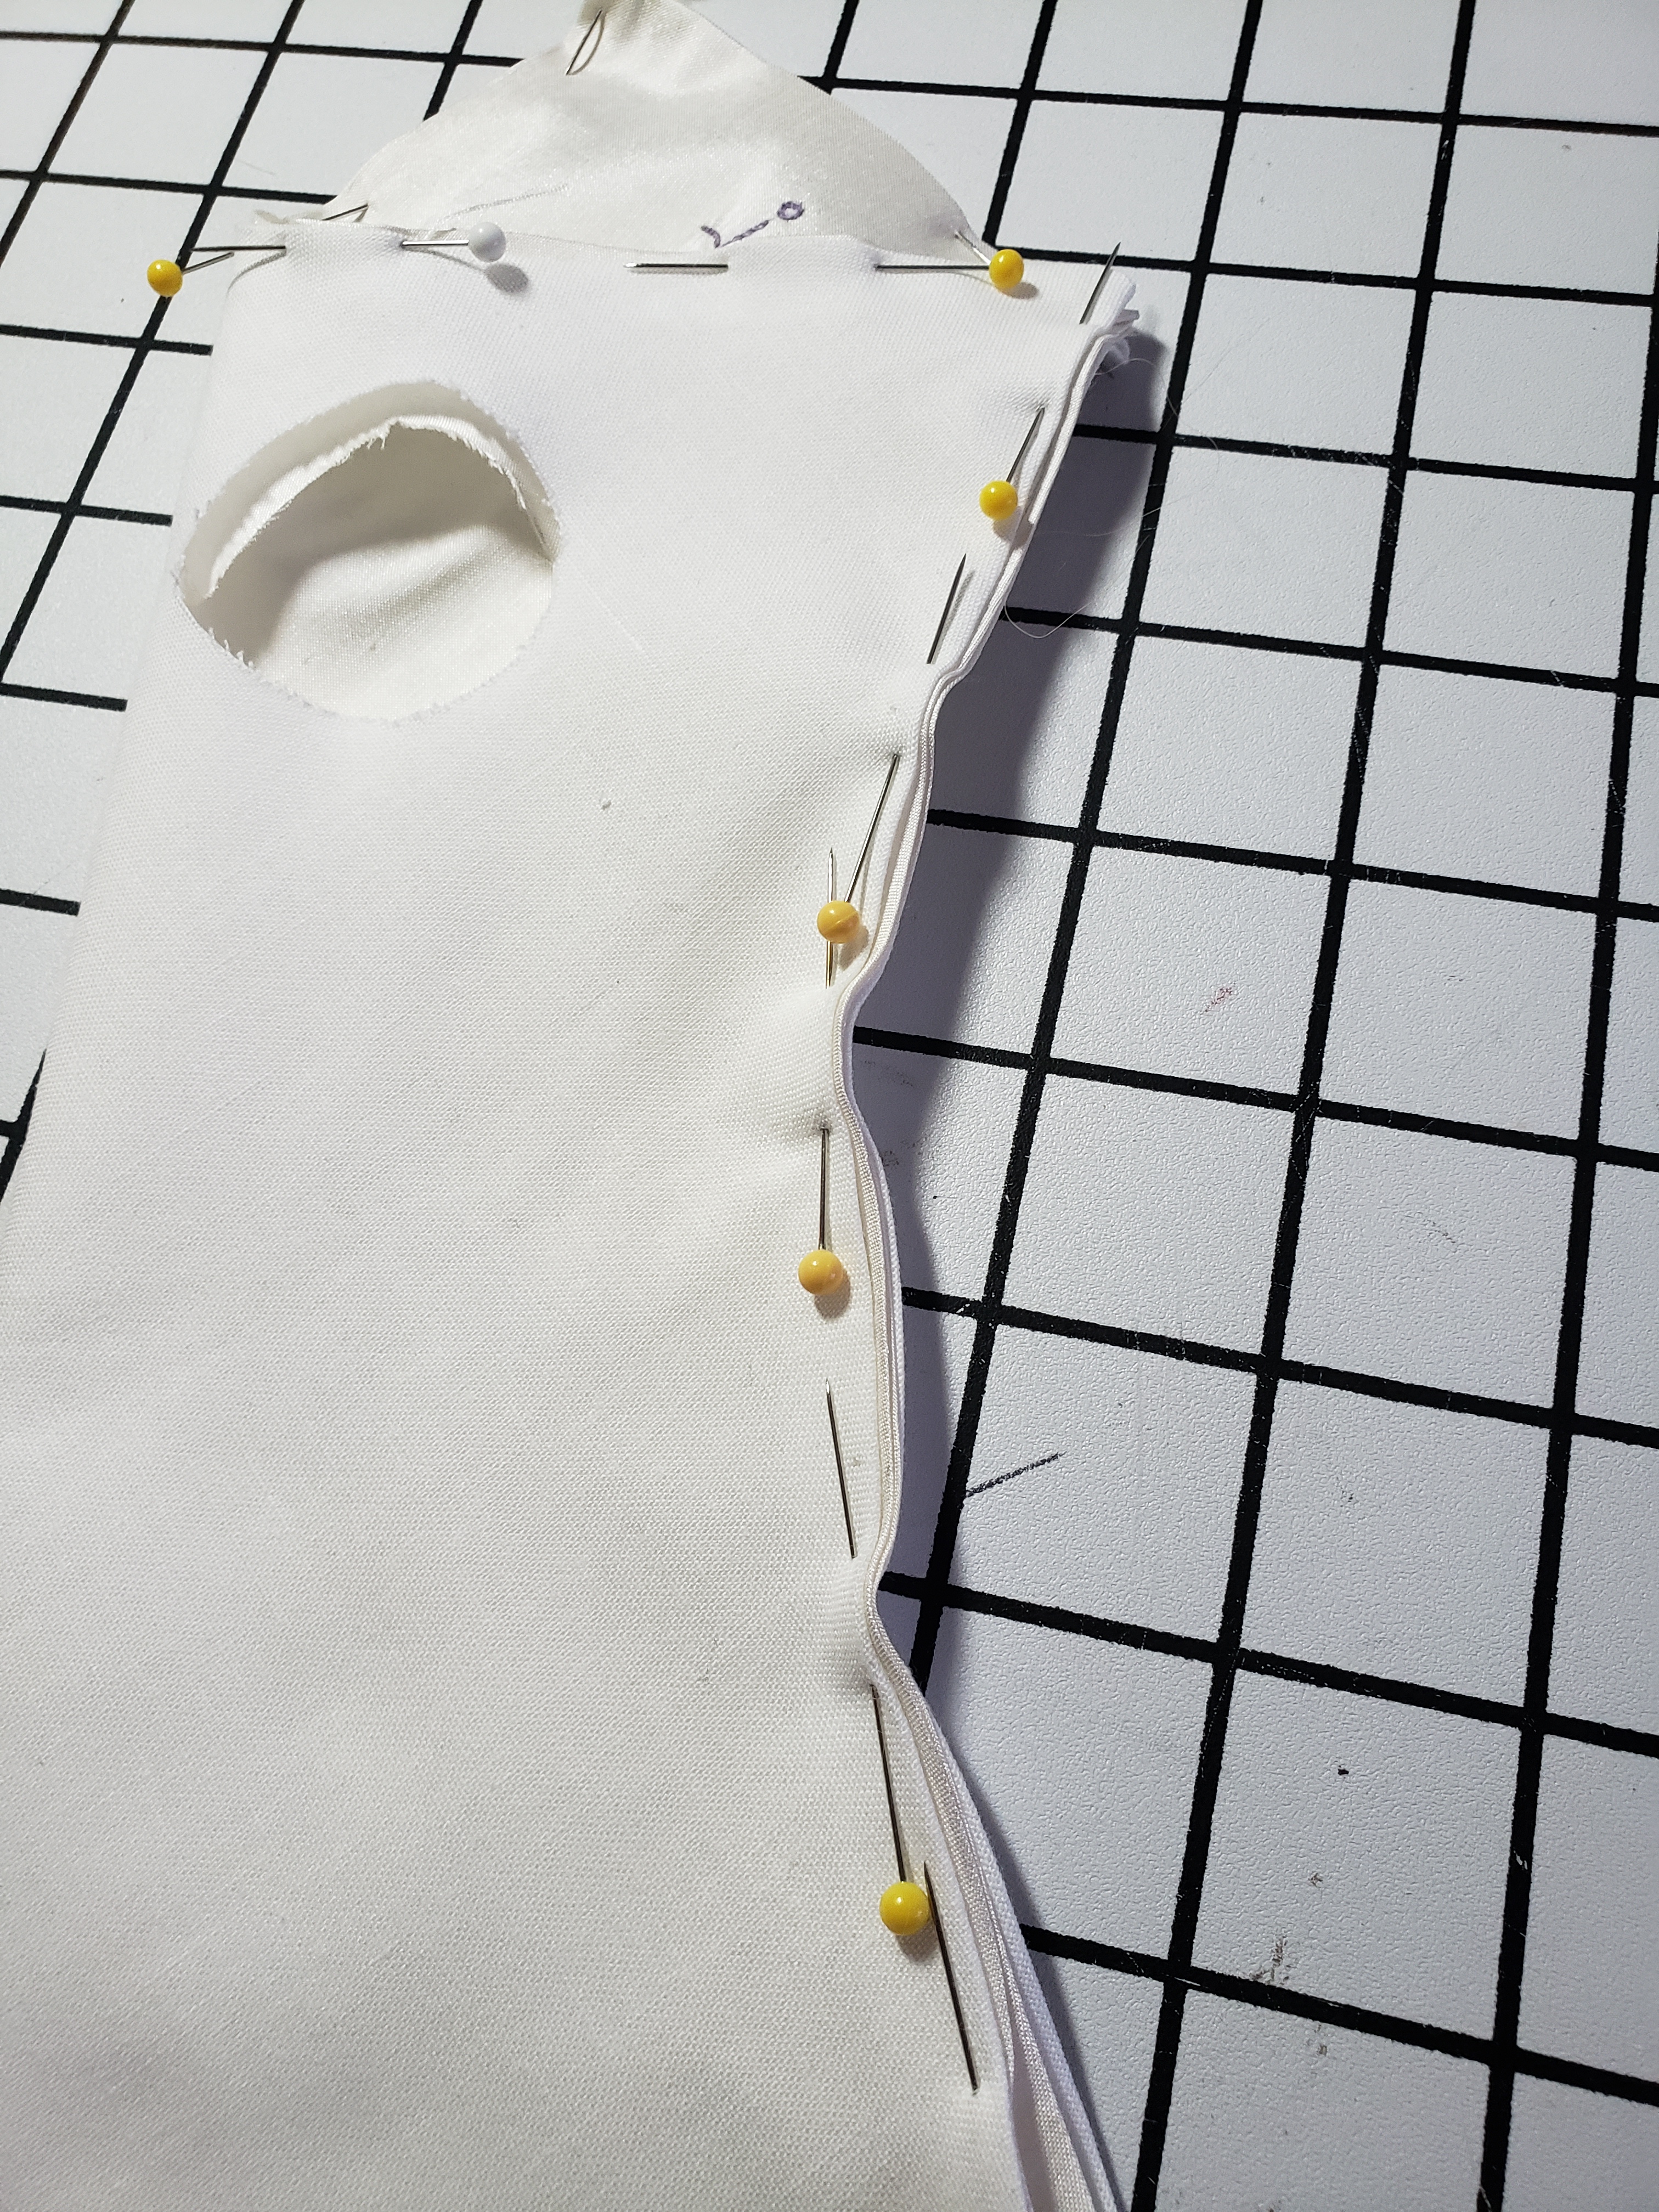
I took the front bodice piece from the Black Snail pattern (Okay if we’re honest it was the front spencer peice as I lost the bodice piece) and extened it about 5″ longer in the CF so I had width. It has a fitted lining that over laps and the fashion fabric is a has a drawstring at the top and under the bust.

Admire my booble ruffle

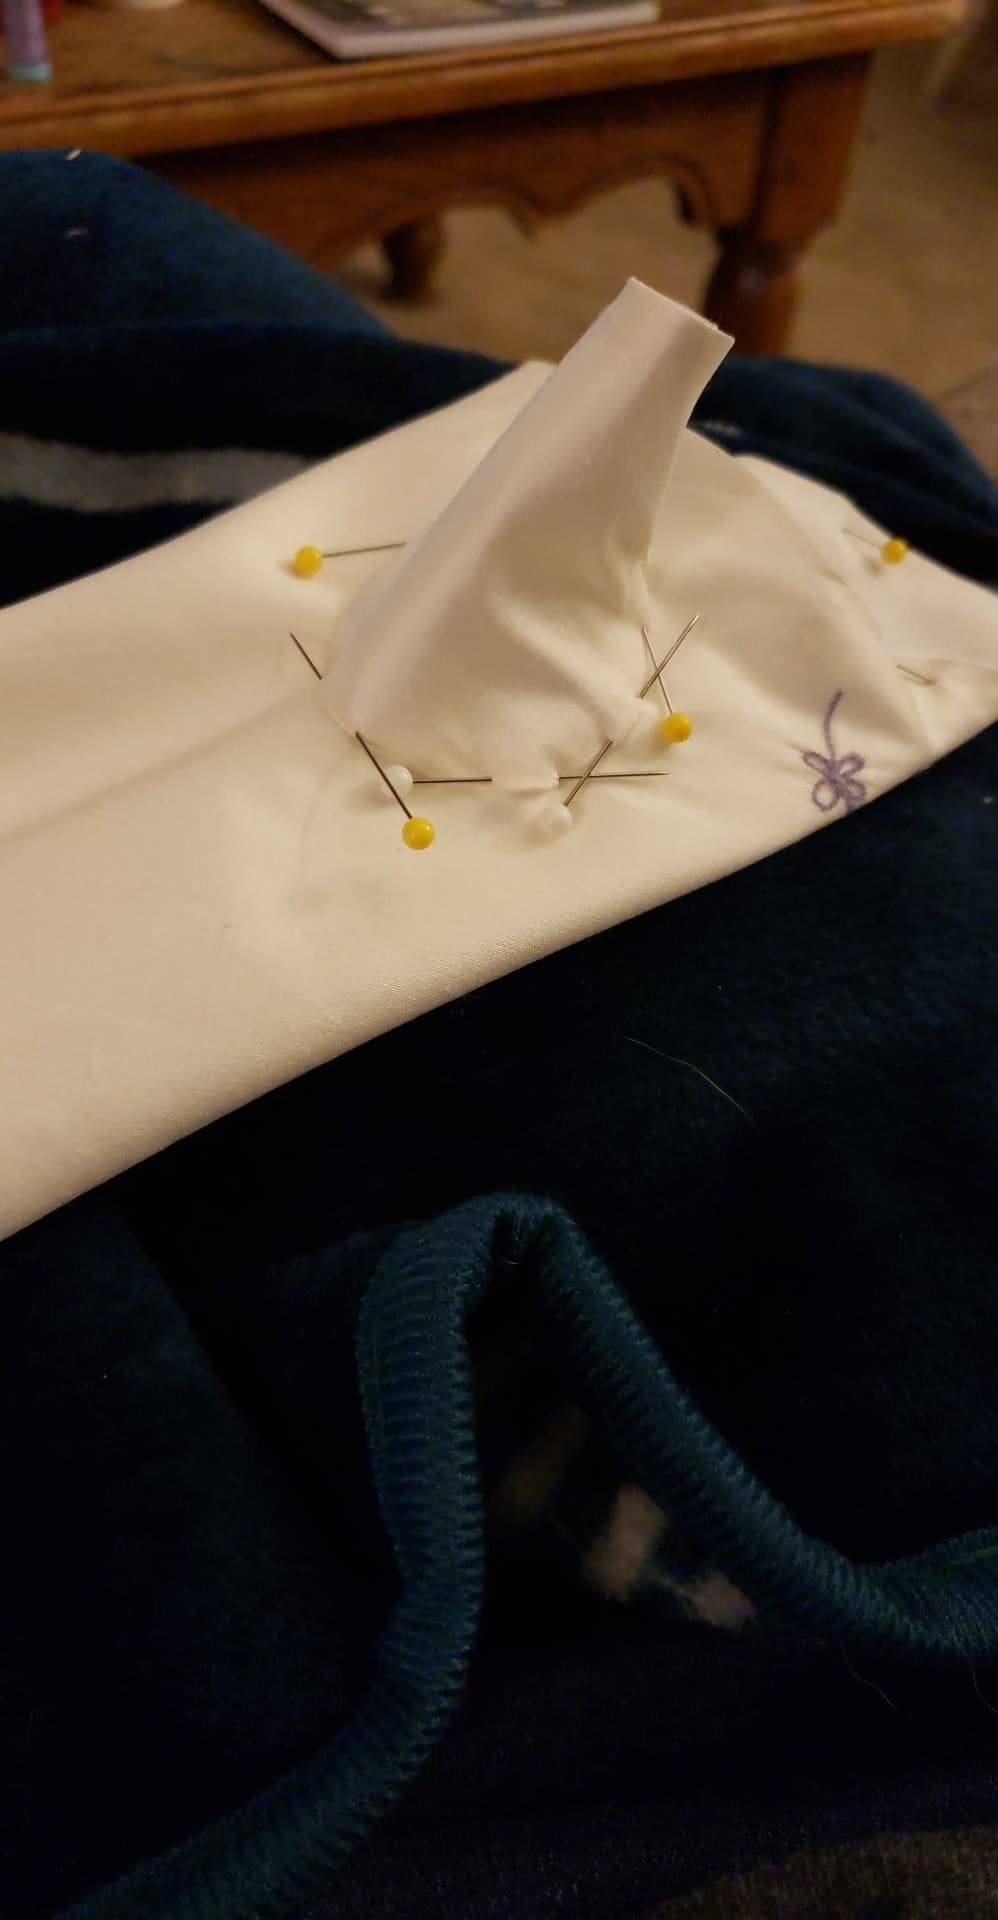
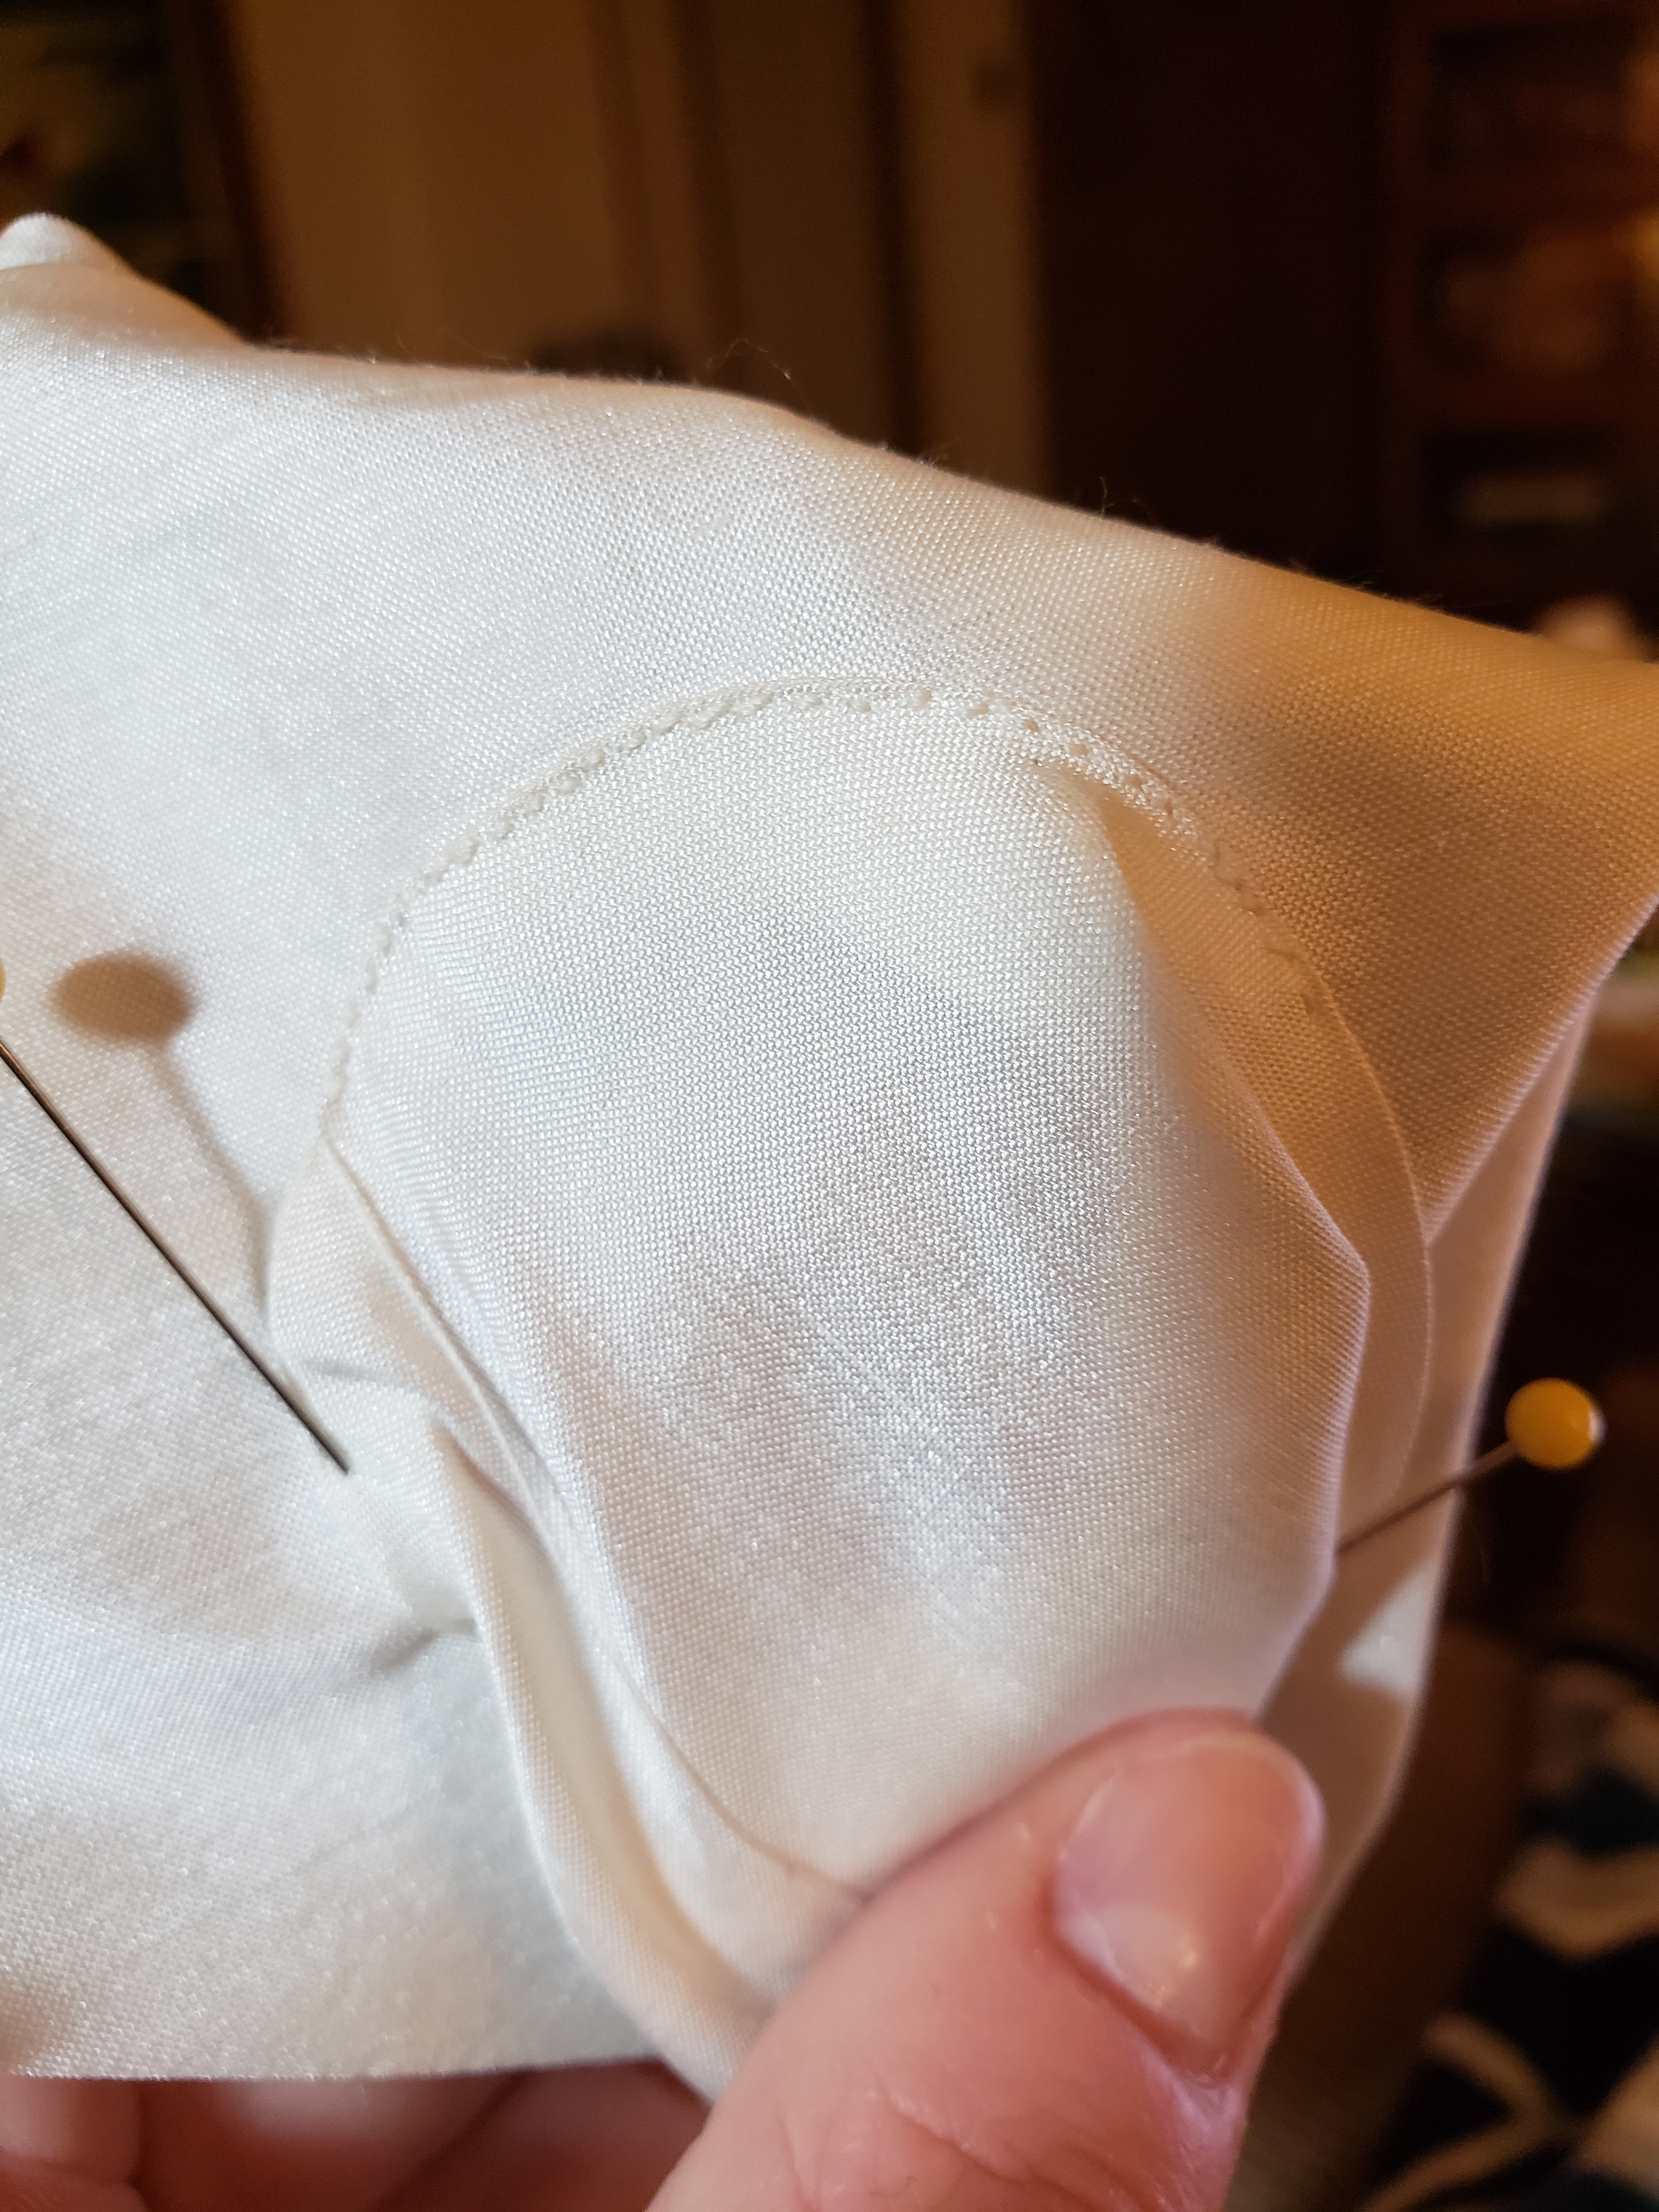
I assembled the bodice most of the way then tried it on the tighten up the shoulder seams. I have increadibly slopey shoulders, and everything is always falling off them. I was contemplating racerback stays yesterday. Then I set the sleeves and tried it on again. Without the skirt to pull it down I got a lovely boobe ruffle.

This fabric is “rail roaded” meaning the pattern runs vertically between the selvages. So I just ripped off a strip from the top and used the opposite selvage as my hem. (did I mention I had a week?). There’s only one skirt seam, straight down the CF.

Seam is hidden in the ruffles

I would also like props for the fact that probably for the first time in my adult costuming life I didn’t accidentally make my hem miles too long.

The wearing

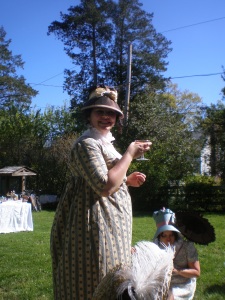
In the end we had a rather rainy day for a picnic, but we had fun seeing each other inside the cafe anyway! The azaleas were in peak bloom, and as a non-azelea super fan, I gotta say they were pretty damn breathtaking.

Walking up from the Peony Gardens

I was very happy with how this dress turned out! I’m absoultely in love with the fabric, and the pattern from Black Snail makes for a super comfy dress on me with no changes other than those I made. I do love a drawstring for adjustability.

I wore the dress over my Redthreaded Regency stays, a shift from Willoughby and Rose, and an old 18th century cotton petticoat. My shawl is from Bohemian Belle. My earrings and coral necklace are from Dames a la Mode. I have a small hair cushion in from Jennylafleur.

Please admire the sash in may hair as it’s from my dress-up box and I distinctly remember wearing that actual old bridesmaid dress to my 10th birthday party.

Event photos:

Thank you so much for everyone who came out! I hope to organize a similar event next year as Winterthur continues to be SO welcoming of our shenanigans and the grounds are just stunning. Some year we’ll have a dry, ACTUAL picnic, and I shall bust out the graces and lawn blankets. If you are interested in joining us sometime feel free to follow my Facebook page as that’s where I organize things, or I would encourage you to join the Greater Philadelphia Area Historical Costuming & Events group!

A recipe for 18th Century Mitts

Standard
A recipe for 18th Century Mitts

Last week the Usual Suspects and I went to the Museum of the American Revolution’s History After Dark event which promised dancing and embarrassing the Couture Courtesan into admitting she knows us (did a fantastic hand sewn polonaise gown for them for an Eliza Hamilton exhibit). It being winter in Pennsylvania the forecast was brisk and I deemed it time to get around to making the set of silk mitts I’ve been meaning to make for 25 or so years.

Patterning

This is a pattern for a pair in costume close up. If you don’t have that book, get it.

I thought I might make this a sort-of tutorial, okay more like an old school dress diary for how I made them. I’ll even leave in my mistakes!

Step 1. You’ll need a few measurments

  1. Around the widest point of your hand
  2. Around your wrist
  3. Around your forearm
  4. The length you want them to be
  5. length from the base of your thumb to where you want your mitts to end

Step 2. Lets start badly patterning together! I began with scrap fabric and drew a straight line on the bias. Mitts are always cut on the bias because you need as much stretch as possible. This line will be come the point where you fold the mitts in half.

Why am I including a photo here…I’m sure you all know what this would look like

Step 3. (which is what I really SHOULD have taken a photo of) You’re going to take your earlier measurements and draw horizontal lines off your center line. You basically center your measurment on the line.

Divide your measurements by 2, use that number to center the amount on each side

Line A is the measurment around the widest part of your hand. Line B is the measurment around you wrist and Line C is around your forearm.

The length of your point is complete personal preference

Step 4. pick one side to be the top of the mitt. I picked the right side. from the center line to the edge is the width over the top of your hand, draw on a point on that side if desired. There are examples without the point but I think it’s very elegant.

Please admire my terrible photoshop skills here

Step 5. Connect the dots for the outline. You’ll end up with an hour glass shape.

Step 6. add a thumb hole. Honestly start small and when you try them on you’ll tweak this. But a word of warning. My first mock up I centered the hole on the line. But thumbs aren’t centered on our hand. The beefy part of your thumb is more on the palm side.

Off center thumb adds extra wrinkles

Step 7. Cut them out and pin up the side seam. Try them on. If you have a very large hand to wrist ratio you may need to add extra ease to the wrist measurment so you can get them on. But make them as tight as you can, I made mine super tight and by the time I wore them an hour they stretched so much I want to take them in.

mock up #2 with off center thumb, muuuuch better

Now the awkward part. The thumb. I started by drawing a straight edge and then folding it around my thumb and pinning.

If there’s a way to draft this it’s beyond my skills

I wish I had helpful thumb advice but mostly I just…futzed. I promise it’s not hard. Just wrap your thumb and trim away the excess. You’ll be left with a pattern that’ll sit nicely on top of the body of your mitt.

ta daaa a finished mitt…pattern

Here’s what my final pattern looks like. But again everyones arm measurements are different so no one-size-fits-all pattern will look good on everyone. It’s really very easy to fit your own, don’t be intimidated!

I kept my seam allowances small, 1/4″ to reduce bulk

Decorate

embroidered mitts from the MET

If you want to add any embellishment it is MUCH easier to do so before you assemble them. Mr. Sewloud got me a tambour embroidery kit for christmas so I wanted to try a small bit of practice embroidery on mine.

Drawing out a simple design
One of my mitts has WAY nicer embroidery as I was getting better as I went. Don’t look close

Assembly

Okay you’ve made a lovely pattern for a pair of mitts….now what? The fun part! Sewing them together. I feel the need to point out here that there is no one way to sew together mitts. Four sets of mitts went to the MAR in the car I was riding in, and all 4 were sewn together differently, and all 4 were documented ways. This is just the way that I found easiest.

Step 1. Iron all the seam allowances in on both the lining and the fashion fabric. I made mine out of silk taffeta scraps and cotton broadcloth scraps. You need such a small amount this is a great “use up scraps” project. Just remember to cut them on the bias. This is important for giving you the stretch needed to get them on over your hands.

why yes I DID burn my fingers, what makes you ask?

Step 2. Place the lining over the silk, wrong sides together.

it’s so pretty when all the edges are encased

Step 3. Fold in half and sew up the side seam. I personally used the “English Stitch” Which is demonstrated far better than I could by American Duchess Here. I was really pleased with this stitch though as it provided a stretchy very small flat seam allowance, and I didn’t want bulk on the inside of my mitts

Step 4. Sew the top and bottom hems, I used a hem stitch but a whip stitch would work, or really any hand stitch will work.

Thumb seam ready to be sewn before applying to mitts

Step 5. Thumbs! Thumbs are fiddly. No way around it. So I can’t stress this enough, it’s like 4″ long, it’s worth it to hand sew it. You just can’t fit that small space in a sewing machine. or if you can you’re a better woman than me. (making these did lead to a long thought experiment where I wondered how they mass manufacture barbie clothes). Begin by pressing all the thumb seam allowances up the same as the mitts. Overlap the side seams and top stitch into a tube.

Imma thumb!

Step 6. Pin the thumbs onto your mitts. Make sure they point in the correct direction.

It’s happy to see you…

Step 7. Sew your thumb! I used tiny back stitches. This is the one part of your mitts that will really take strain so take the time to really sew them on.

I use gutterman silk thread and I do recommend waxing it

ALTERNATIVE: Amanda made her mitts by folding under the seam allowance of the mitt body and inserting the thumb from below.

That’ll work

Step 8. Thumb lining. Assemble the thumb lining in a tube same as the thumb, now turn the entire mitt inside out so the thumb is sticking up, shimmy the thumb lining down over the thumb. Whip stitch in place to the lining and slip stitch to the top edge.

This would be easier to see if both my mitts and lining weren’t white

Step 9. If you want a facing of a contrasting silk or leather cut a triangle the size of your flap and iron the edges under. I used a scrap of lavender silk and whipped it into place.

Step 10. WEAR YOUR NEW GORGEOUS MITTS AND BASK IN YOUR GLORY

A note on fit

You may be like me, tempted to be annoyed that your mitts are wrinkly in the arm, live with it. The wrinkles come from the bias, and if you have any difference in the width of your hand and the width of your wrist you will have wrinkles. You NEED those wrinkles to get them on.

See? period correct wrinkles

Also fit them as tightly as possible because any fabric, even stiff silk taffeta will stretch with repeatedly be taken on and off. I could BARELY get them on when making them and in an hour of wearing them I need take in the palms.

also…I don’t normally flip my wedding ring that way..I blame the cold.

Lets end with more beauty shots

The Scarlet Pimpernel

Standard
The Scarlet Pimpernel
Untitled
They seek him here, they seek him there, Those Frenchies seek him everywhere

Wherein my husband is a very “good sport”

Or at least that’s what my mother persists in telling me constantly.  Jenny-Rose and her family (they’re all just as amazing and talented but I don’t think they have blogs…) decided to host a very swanky 18th century dinner party called The Pimpernel Dinner, and one cannot have a Pimpernel Dinner without well a Pimpernel. So who’s got a husband with great acting chops and will wear whatever he’s handed? *looks around the room*…*crickets*…shit I’m making menswear again aren’t I?

Now I’m really not a fan of menswear making for a few reasons.

  1. I don’t get to swan around in the results and look pretty.
  2. Men are strangely shaped with bits in places. BITS I SAY.
  3. Pants.

The Inspiration:

4336ce0db40fbdcc254d68ded5844926

And that sassy pose

7daba7eecd861471dde1180cdb57c07f

They seem to have suffered microcephaly a lot though.

One of the things I like about this period in menswear is how patently ridiculous it gets. You do see some matched three piece suits, but more often then not it’s a free for all. My friend Ginger nicely picked up some silks in the L.A. Garment district for his jacket and breeches and I found some fabric for the waistcoat online. What I didn’t have a lot of was time (we’ll leave out the part about the party being announced like a year in advance or that I committed to two major events two weeks apart and that was probably maybe my fault…I said we won’t discuss it).


Breeches:

I was trying to keep the budget for this monstrosity to within semi-reasonable levels. I splurged on the silk so one of the ways I save money was to re-use a pattern I had for breeches that was just slightly off period. a68ec9e4f1a67f1d7a0571bf977ae08c

Technically this pattern by Country Wives is for 1800-1825 but the narrow fall is close enough and I was working with what I had.

I shortened the legs, then tried him on the victim husband and took in the legs till we reached foppish-vacuum-sealed and added knee bands. My knee bands gaped just a tiny bit…so bows.

Untitled


Waistcoat:

I used the pattern I draped for his Mr. Darcy waistcoat and added to the length and front width. Re-drafted the collar. It’s really a beautifully embroidered waistcoat…too bad you can’t see it worth a damn. I should have just skipped it.

42407551_2211120709133051_3250160370320408576_n

after party shenanigans


Coat:

For the coat I did spring for a real pattern and bought Laughing Moon 124. A word to younger costumers, when you’re choosing where to invest and where to cut corners. Sometimes if you don’t have the right sleeve pattern it’s worth the money to pay someone else.

Lets take a moment to appreciate the absurdity of the collar. I meant to cut it down to be more proportionate to Rob’s average height, but 11pm Robin forgot. So absurdity it is! For next wearing I would like to properly finish it with all the called for buttons, shorten it about 2″ and shorten the sleeves an inch. But considering I did zero mock ups and just made it…I got away with highway robbery in terms of fit.

44873948841_3243877b29_o

how DARE YOU MADAM! With Modern Mantua Maker.

His stockings were borrowed from my closet, Amanda gave them to me for Christmas a few years ago so I can’t be sure, but knowing her shopping habits they’re from sockdreams. (regardless of these stockings another highly recommended shop). And the absurd pointy shoes were from target the night before. Yeah the costume gods smiled on me on that one.

44873941881_6048a03980_o

There was stiff battle required to save the champagne!

29937161487_dfe8c80c8c_o

With two of our three beautiful hosts

44823608002_d3020b5726_o

I happily re-wore my copper open robe and feel beautiful

43962758385_aabdbfe09c_o(1)

Did I mention the location was stunning?

Wow you’re still reading? Colour me impressed. Thank you to Ginger for getting fabric in LA, thanks to Jenny-Rose for styling his delightful hair and thanks to my husband for always being a good sport.

Untitled

1882 Lemonade Dress

Standard
1882 Lemonade Dress

belvidere201620015_zps026uz59g

Aren’t you hot in that?!

This past weekend was our annual outing to Belvidere Victorian Days in Belvidere, NJ. Every year this event is in early September and I start thinking fall thoughts. I’d say half the times I’ve gone it was actually autumnal and half it’s been summertime heat…This year was sadly the later with temps in the high 90s.

Our friend the Earl of Westwood was setting up his camp from 1882 Egypt and I simply had to have a natural form dress to match. I love a good theme. (we’ll pretend the classic car collection and large array of pop-up vendor tents are a different theme).


d736ff1146f1036838052a9791988b48
1880s afternoon dress in the FIT collection

I found this dress that I deemed PERFECT. It was autumnal it was cool and light, it was sophisticated and I wanted it. So I headed over to my favorite voile pusher on etsy and ordered 12 yards (which wasn’t nearly enough) of their finest “off white” voile. I named it “The Coffee Victorian” and eagerly awaited it’s arrival.

Like a kid on Christmas morning I eagerly dug into my package of fabric…it was yellow. Not like warm beige, or ecru, or dark tan..no it was YELLOW.  I put it in the naughty pile for a week.

I tried bleaching a sample. It became a slightly lighter yellow…it sat in the naughty pile…finally time was running out, and I decided: when life gives you lemon fabric, make a lemonade dress.

belvidere201620028_zpsce1i3k87
You can hardly tell it’s 150 degrees Celsius can you?

Having spent so long pouting I kind of ran out of time to do all the finishing touches I wanted, and sewed the trim on the front at 11pm the night before. There is a lot I’d like to revisit about this dress before it’s next wearing, but surprisingly I like it enough that it will definitely have a second wearing.


img_2125
I’m not shopping…nope

The skirt is actually Truly Victorian TV208, I just added more fullness in back and ties behind the knees. I’ve used this pattern now three times for victorian skirts and I just adore the sweep of the train.

The bodice is TV 420 with some mods. The original had a high neck and a fake v-neck out of trim. But I have a plate in Harper Bazaar from 1883 with a deep V and it was 100 degrees.  For the same reason I did 3/4 sleeves.

belvidere2016%20018_zpsakibsi2q
pay no attention to the fact I’m wrapped in my train

Amanda made my adorable bonnet for herself and promptly decided she hated it…so I giddily made off with it. I think it was a Lynn McMaster’s pattern? But not having made it I’m allowed to not really know.

14292382_10154547591219510_1788039497871620238_n
Posing for our tintype

We had such an amazing time hanging out after the public left when the lit the lanterns and we relaxed listening to good conversation, live music and I laughed till my sides hurt.

14317474_10101143252614529_5049068176273811220_n
Serenaded by the Earl himself


14355723_10101143959368189_8770725335543339512_n
Amanda looking dashing


14322434_10154552748489510_2084159589271004494_n
I’m not sure what I like more, the backwards flag or the spyglass “accidentally” aimed at Alice’s bustline

venturing into the 1860s

Standard
venturing into the 1860s

Have you ever wondered what a 208″ petticoat looks like? Step right this way and let me show you!

Giant Petticoat of Doooooom

Giant Petticoat of Doooooom

My friends Alice and Amanda have agreed to venture into the 1860s with me. I love a good hoop but up until now no one was willing to run around in hoops with me! So I pretty much have to start from the inside out.

I bought the hoop off of ebay ages ago for renaissance things, I had always intended to shrink the top hoop to make it more farthingale shaped, but I never got around to it! Yay for laziness saving the day! I will wear my standard victorian corset as it’s actually pretty short and more suited for early Victorian than the later stuff I usually wear it for.

Now why on earth would anyone WANT a 208″ petticoat you say? Good question. Again, laziness. I got a great deal on some 104″ white quilting cotton at Joann‘s. It was supposed to be 108″ and when the company figured it out they had us put it in clearance, plus clearance was half off..and then we realized it had stains on it..so I got it for 75% off of that. The whole petticoat cost under $5. Now one 104″ panel wasn’t enough, and I really didn’t want to deal with half panels…so 208″ it was!

I didn’t use a pattern just ripped it into rectangles that were the right length. For me it worked out to 32″ to the top of the ruffle, then the ruffle is three widths 12″ deep. I rolled hemmed them with my serger. Then I used my serger’s magical ruffling foot to attach the ruffle while it gathered it on.

In the end I couldn’t gather it all the way down to my 34″ waist measurment so it overlaps by 2″ in the back…I gathered instead of pleating. If I did stacked pleats I could probably fit it more tightly.

Onto the skirt!

Onto the skirt!

The skirt isn’t nearly as full. Again, no pattern required. I used the 45″ width of the fabric as my skirt length. Ripped a panel 150″ long and sewed the back seam, gathered the top and added a waistband. Ta da!

my fabric

my fabric

Again I found this sheer cotton in the Joann’s clearance section. It was $1.50 a yard. (Hey being a Joann’s employee has it’s perks!)

Some regency stays

Standard
Some regency stays

I have not one but TWO pairs of regency stays to share with you. The first pair I made for Madame Kat’s Pride and Prejudice Tea last month.

OLYMPUS DIGITAL CAMERA

Please don’t mind Polly’s Falsies. She just doesn’t lift the way I do.

 I used the 1804 stays from Jean Hunnisett’s Period costumes for the stage and screen with only a few minor tweaks. Things I’ve learned:

  • Paint stir sticks are a weeeee bit too short as busks. But it’s still working for now
  • Cording under the bust makes a HUGE difference
  • The hip gores in the pattern are for someone who has more of a curvy shape than I, but I’m not redoing them :-p
  • You don’t need all the bones the pattern calls for, I only put three on each side.
  • If you use thin quilting cotton on the outside you will see your busk and your hemp cording through it, oops.

close-up of gores and cording

close-up of gores and cording


The second pair of stays I have to share with you today were a pair I made for Judy of Learning to Costume. They are finished more nicely than mine because I’m kind of neurotic when sewing for other people. Her’s are made with a layer of cotton duck and a muslin lining. Machine sewn with hand finishing. I started with Simplicity 4052 and added a few things. I put in a diagonal bone on the sides to help lift the bust, as well as my new favorite thing, cording under the bust. Jennylafleur has great instructions on how to insert the cording on her website.

Judysstays

She’s so much smaller she doesn’t fit my dress form. So extra thanks for her modeling them for me!

The Great Bachelorette Party

Standard
The Great Bachelorette Party

As I’ve mentioned before my dear friend J is getting married NEXT WEEK! So what are a bunch of costume girl’s going to do for a proper bachelorette party? Why dress up in 1920s gowns and go see the new film version of the Great Gatsby!

The beautiful woman of the hour!

The beautiful woman of the hour!

I used Past Patterns 2757 because I liked the wrap dress shape. I’m an apple figure and I was hoping it would help soften the blow of the bag shape (that and the über spanx I was wearing). The fabric I picked up out of the Joann’s clearance bin and was juuuust a bit short on so it ended up being sleeveless. I swear it was lack of fabric and NOT a dislike of sleeves, that was just a bonus!

I have four pairs of spanx on

I have four pairs of spanx on

Now this dress has ZERO instructions so it’s a tiny bit of a puzzle when you’re putting it together and I had to make a few executive decisions finishing wise. I roll hemmed with my serger around the bottom hem and the ties, but for the neckline I turned the edge back onto the right side and sewed ribbon down over it. This both gave me a little decoration and a bit of stability.

I was going for "serious movie star" and ended up with "slightly constipated"

I was going for “serious movie star” and ended up with “slightly constipated”

Overall I was pretty pleased with it, especially as I only had a week to make it. I accessorized with Rob’s great-Aunt’s mike stole and some fun orange gloves.

why yes I AM having a shirley temple in a champagne flute

why yes I AM having a shirley temple in a champagne flute

Judy of Learning to  Costume looking smokin'

Judy of Learning to Costume looking smokin’

I watched a bunch of youtube tutorials as I was avoiding my finals and thought I would give some absurd flapper make-up a go. I have to say it was pretty funny to wear as I’m generally a no frills kinda-girl.

check out those eyebrows

check out those eyebrows

Having fun with Madame Kat and some Noir editing

Having fun with Madame Kat and some Noir editing


All photos shamelessly stolen from Madame Kat as mine turned out horrible and her’s great. I bow to her awesome.

A dress for Tea

Standard
A dress for Tea

On Saturday Madame Kat from madamemodiste hosted one of her famous parties (Kat is the originator of the Francaise dinner party, a killer annual Victorian party, the original moon landing and many other exploits).

I decided that I simply required a new dress and that it was the perfect time to try my hand at making a bib front style regency. I started with Simplicity 4055 that I’ve used in the past and started making mock-ups. In the end I made three of the bodice. I changed the shame more to coincide with shape of the bib front gown in Patterns of Fashion

OLYMPUS DIGITAL CAMERA

They told me to strike a dramatic pose, America’s Next Top Model WATCH OUT


I used white cotton muslin as it was affordable and easy for my first bib front, if it didn’t turn out I was only out a few bucks. And in the end I DID go through two skirts so it was a GOOD thing I didn’t mind burning through some fabric. (and I turned the bad skirt into my petticoat)

OLYMPUS DIGITAL CAMERA

a boring front view


My bonnet, No mine! I saw it first!

My bonnet, No mine! I saw it first!

Some of the other beautifully dressed guests

Some of the other beautifully dressed guests

Julia from The Bohemian Belle was there selling her gorgeous wares

Julia from The Bohemian Belle was there selling her gorgeous wares

Taylor from Dames a la Mode satisfied all our ribbon cravings (and cravings we didn't know we had)

Taylor from Dames a la Mode satisfied all our ribbon cravings (and cravings we didn’t know we had)


A group photo courtesy of Gloria from In the Long Run

A group photo courtesy of Gloria from In the Long Run